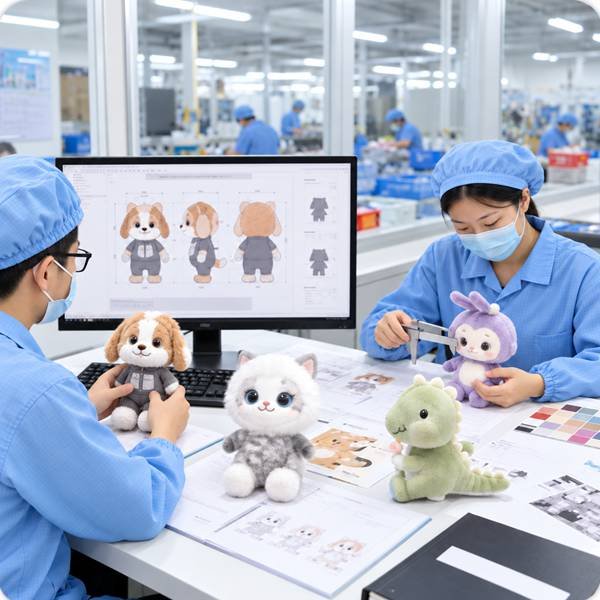
Plush Pattern Engineering for Accurate, Production-Ready Shapes
Turn 2D artwork and character concepts into stable 3D plush structures with better proportion, fit and repeatability. Ewin Toys helps reduce shape distortion, panel mismatch and bulk-production variation before sewing begins.
20+ Senior Pattern Specialists | 60+ Product Development Team | Character Proportion Control | Panel & Seam Engineering | 3D Structure Validation | Fit & Balance Adjustment | Released Pattern for Bulk Production
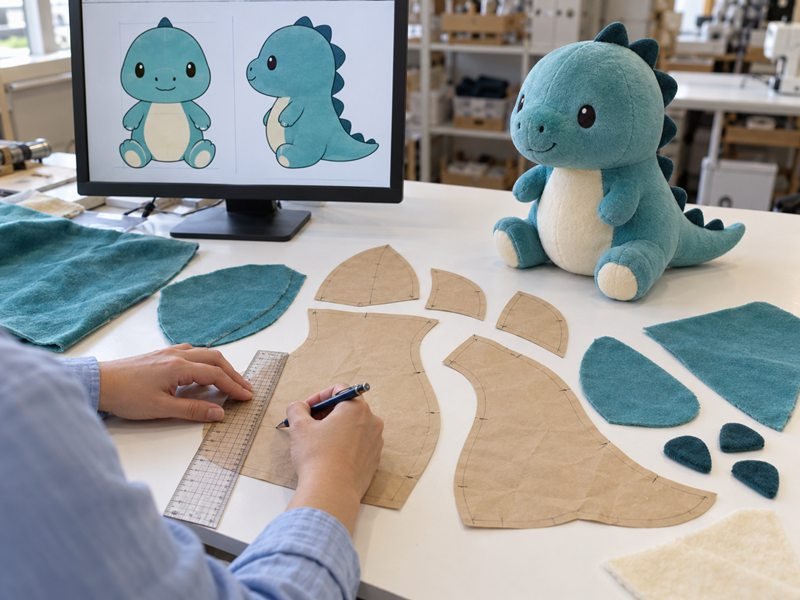
Pattern Engineering Controls Shape, Access, and Repeatability
Control the Shape
Curves, darts, gussets, panel boundaries, seam allowance, and filling space determine the final silhouette. Pattern engineering converts visual proportion into physical volume instead of tracing an outline and hoping sewing will create the right shape.
Control the Process
A visually accurate pattern can still fail if operators cannot reach a curve, turn a narrow limb, install a component, or fill a deep cavity. Good pattern work includes real manufacturing access from the beginning.
Control Repetition
The approved product must not depend on one sample maker’s hand adjustments. Pattern IDs, alignment points, material directions, decoration marks, seam logic, and revisions give production teams repeatable instructions that can be checked and reused.
Start Pattern Development From the Best Available Reference
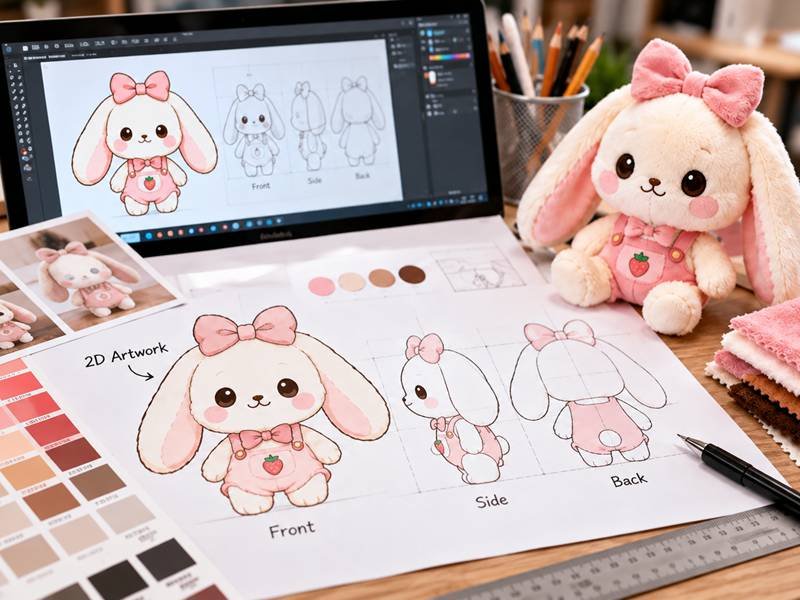
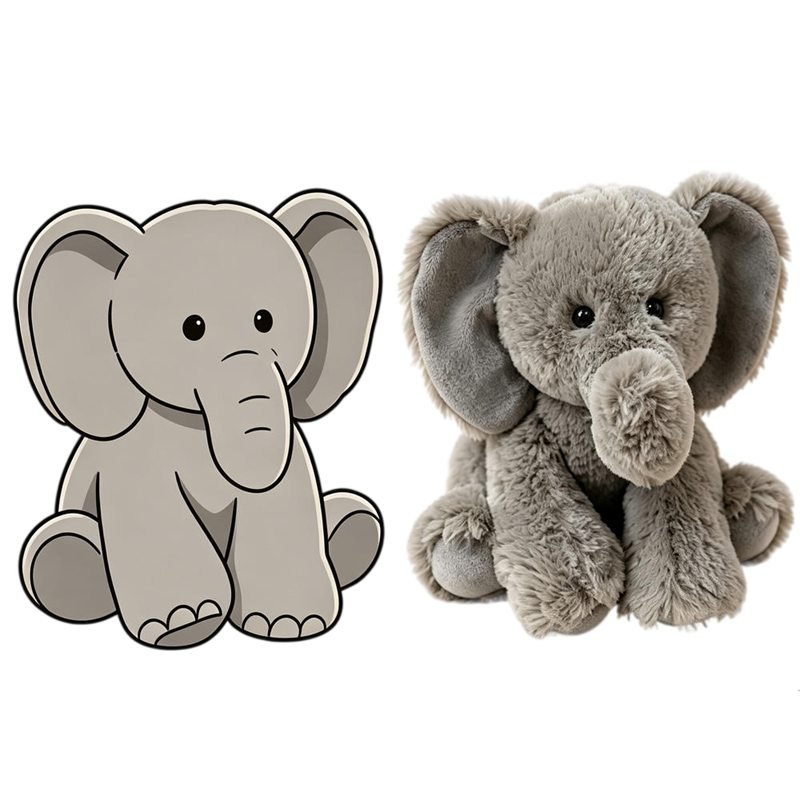
2D Artwork
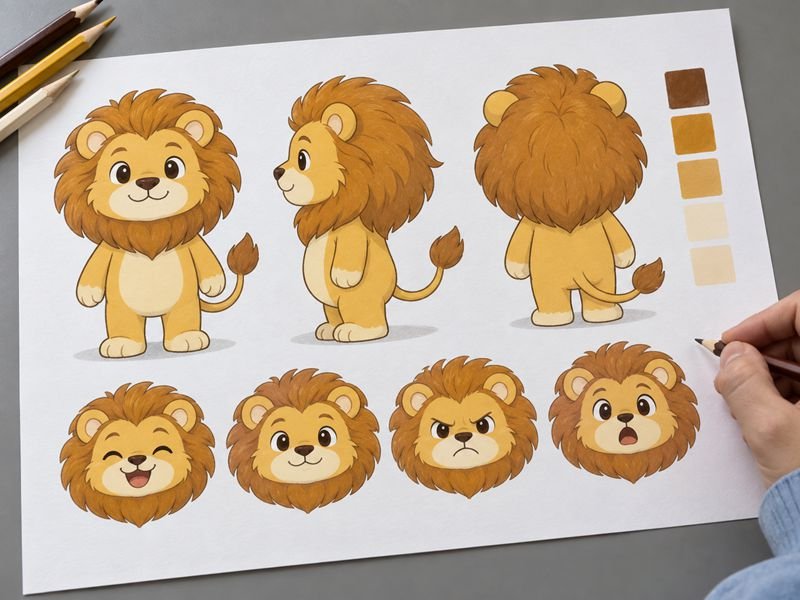
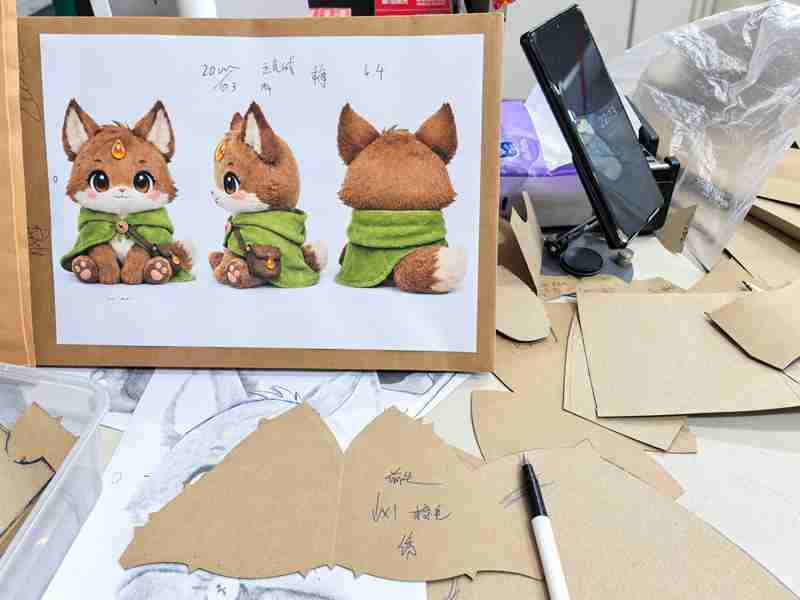
Character Sheet
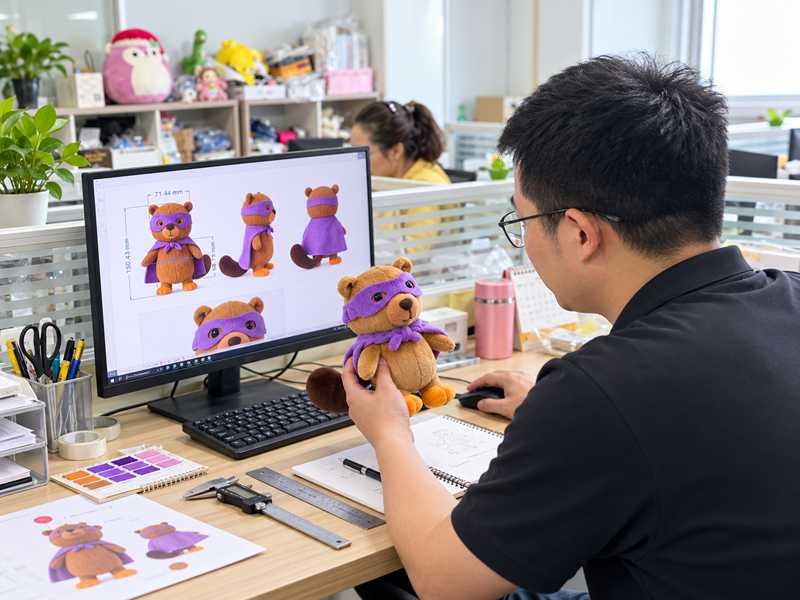
Front, side, back, expression, costume, and detail views reduce guesswork. The pattern team can extract key proportions, landmarks, material zones, hair structure, accessory locations, and important features that must survive physical translation.
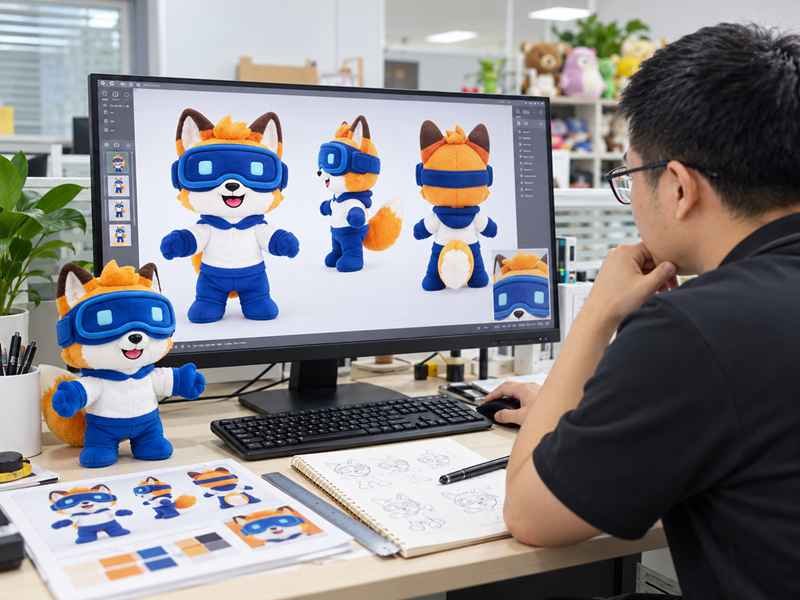
Three-View Reference
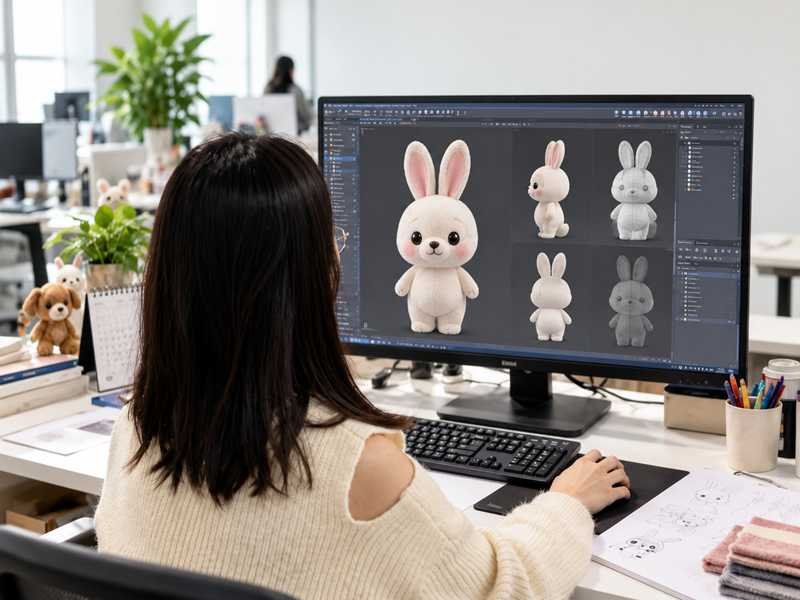
3D Render
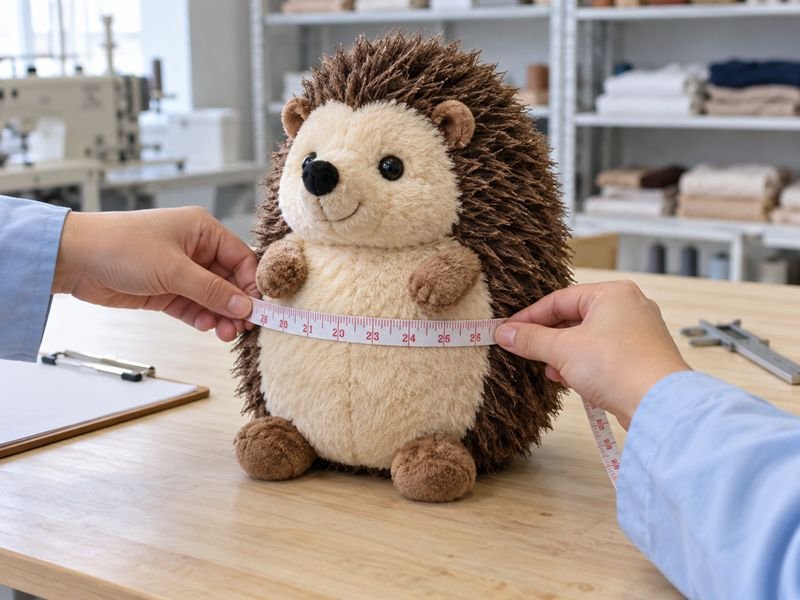
Existing Sample
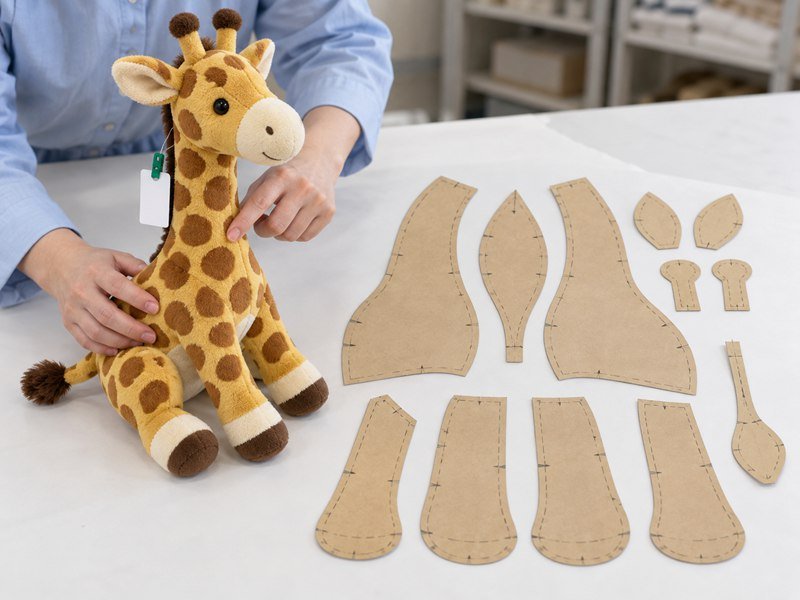
Approved Prototype
Move From Character Geometry to Released Pattern
Define Geometry and Key Landmarks Before Panel Breakdown
Pattern work starts by identifying the relationships that must remain stable: head width and height, eye centers, eye spacing, muzzle depth, ear roots, chin, top of head, body width, limb length, tail position, pose, and other character-specific landmarks.
Those landmarks help the pattern maker decide where volume must be created and where seams should stay away from sensitive visual areas. A facial seam that moves only a few millimeters can change cheek volume, eye angle, or expression after stuffing. The goal is to turn subjective comments such as “the face feels too wide” into geometry that can be corrected and reviewed.
The pattern maker also checks material zones, color boundaries, hair direction, clothing coverage, accessories, and decoration locations before panel lines are fixed. Early landmark control reduces repeated rework because visual corrections are tied to measurable pattern decisions.
Break the Form Into Panels, Seams, Darts, and Gussets
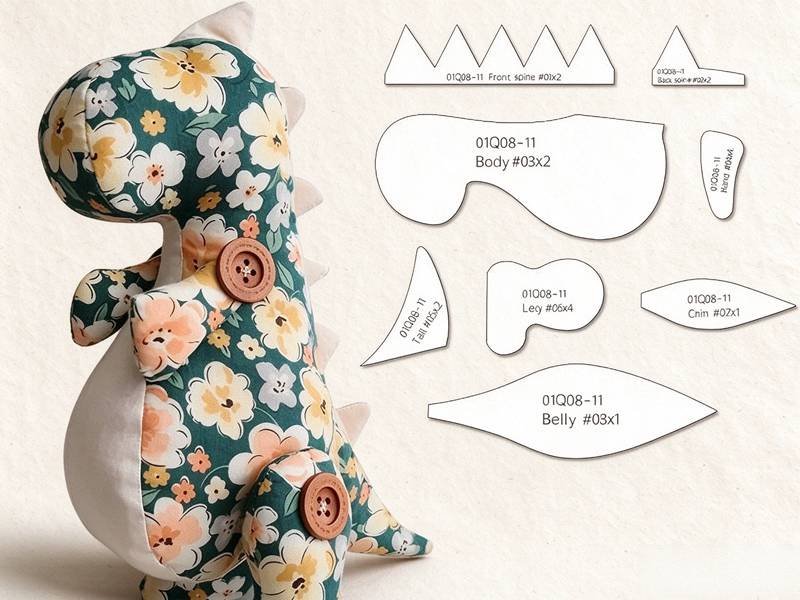
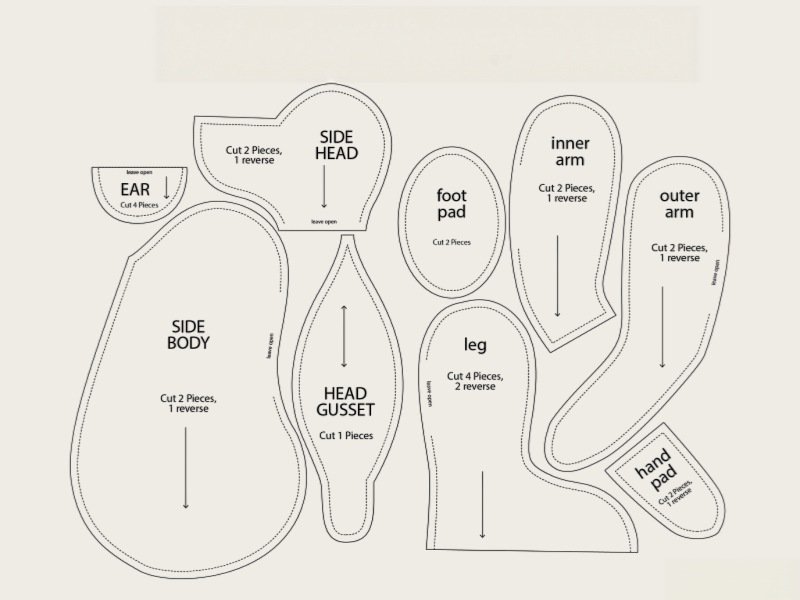
A three-dimensional plush shape is built from two-dimensional panels. Pattern makers decide where to use curved edges, center gussets, side gussets, darts, separate muzzles, foot soles, belly panels, ear structures, hair layers, costume panels, and color-block sections.
Panel count is not a quality score. More pieces can reproduce complex curves and material boundaries, but they also add cutting, matching, sewing time, cumulative tolerance, and wrong-part risk. Too few pieces may simplify sewing while flattening the character or forcing excessive hand shaping.
Ewin keeps pattern pieces that contribute meaningful volume, material separation, decoration access, structural function, or assembly control. Seam placement becomes part of the design: some seams are hidden away from the face, while others intentionally create cheeks, muzzle projection, belly depth, foot shape, or standing support.
Validate, Revise, and Release the Pattern for Manufacturing
Development patterns are tested through physical samples. Cutting, decoration, sewing, turning, filling, assembly, and shaping reveal whether the planned geometry works in the real material and whether production access is sufficient.
Sample review separates Pattern Issues from Sewing Issues. If both sides follow the same pattern but the geometry is wrong, the pattern needs revision. If the pattern is correct but one seam route produces inconsistent shape, the sewing method or alignment control may need correction instead.
Each meaningful change receives a traceable revision rather than overwriting the prior file. The current pattern is linked to the sample version used for approval. When Golden Sample freeze is completed, the final pattern can move from Development Pattern to Released Pattern status, with the approved revision available to cutting, production, and QC teams.
Build Three-Dimensional Volume From Flat Pattern Pieces
Use Curved Edges to Create Form
Two flat fabric edges can create a three-dimensional curve when their geometry is designed to pull material into volume after sewing. Head sides, cheeks, bodies, limbs, and tails often depend on carefully balanced convex and concave lines rather than straight joins.
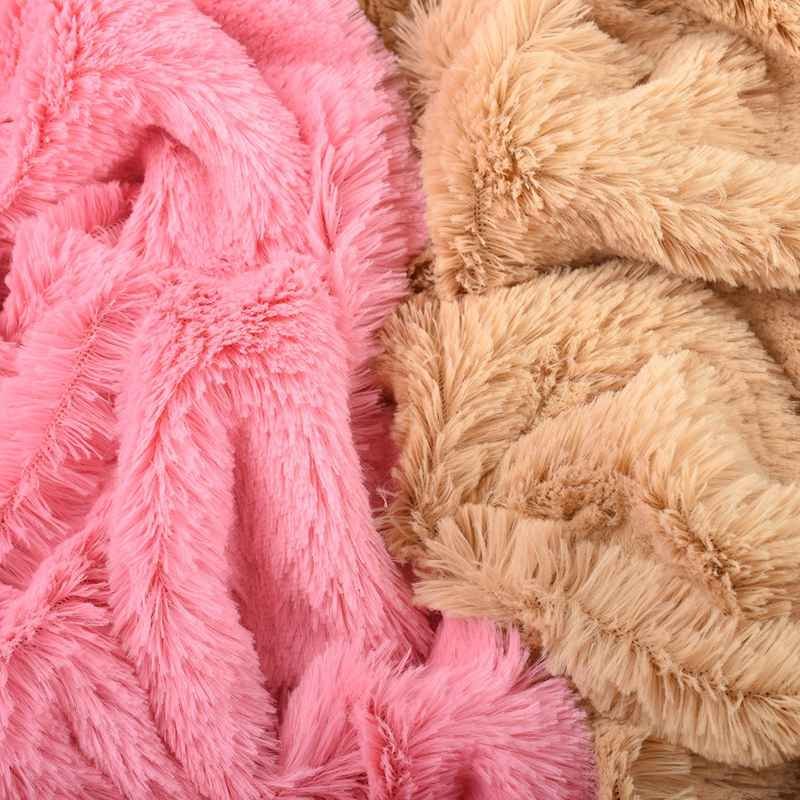
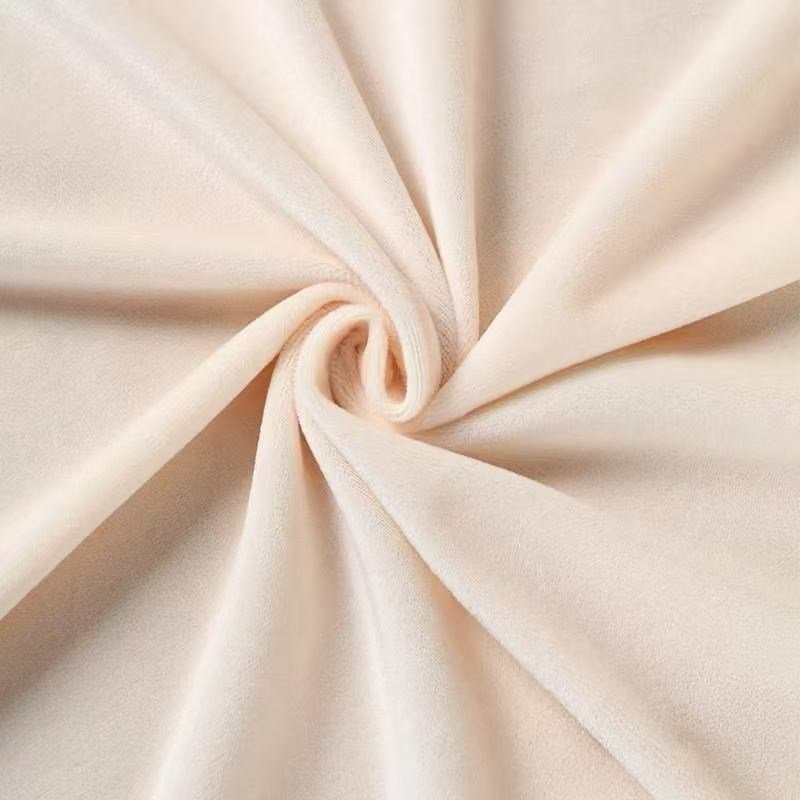
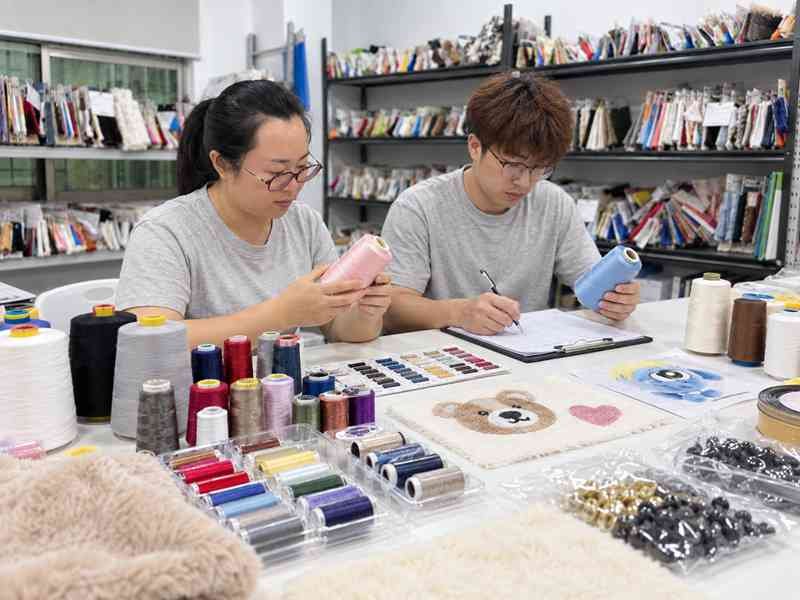
Curvature must consider the selected fabric. A stretchy Minky can expand more after filling than a firmer Felt or coated material. Long-pile fabric can visually soften an edge, while thin short pile exposes small geometry errors. Pattern dimensions therefore need to be evaluated together with material stretch, pile, seam allowance, filling pressure, and the approved silhouette.
The sewn shell is only an intermediate form. Final review happens after filling and shaping because internal pressure changes face width, body depth, and appendage angle. A curve that looks correct while flat may still need revision after the physical sample develops volume.
Use Gussets and Darts Where Local Depth Is Needed
Gussets add width or depth between main panels and are common in heads, muzzles, bellies, feet, hands, bags, and structured sections. A head gusset can change forehead height, face width, back-of-head volume, and the way ears sit even when the side panels remain unchanged.
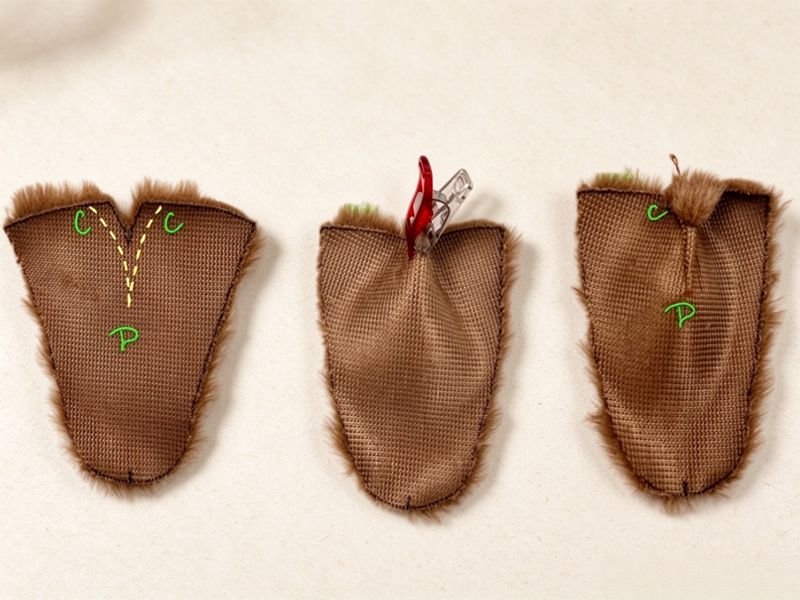
Darts create local curvature without adding a separate full panel. They can shape cheeks, bodies, limbs, or rounded areas where extra volume is needed but another visible seam would not improve the product. Dart length, angle, and intake affect how quickly the surface curves.
Neither method should be added automatically. Pattern engineering compares visible seam impact, sewing access, material thickness, repeatability, and cost. The chosen route should create the required form with the fewest unstable adjustments while keeping important character zones clean and manufacturable.
Balance Panel Count Against Production Complexity
Complex characters often tempt development teams to keep adding pieces until the sample looks right. Every additional panel creates another material identity, cut part, orientation, notch, seam, matching step, inspection point, and potential assembly error.
Ewin reviews whether each piece contributes enough value to justify the added process. A separate facial panel may be essential because it creates muzzle depth or provides a stable embroidery zone. A hidden decorative split with no structural benefit may only add sewing time and cumulative variation.
The same logic applies to color blocking. A color area can sometimes be created through separate fabric, printing, appliqué, or embroidery. Pattern segmentation is selected only when it improves shape, material identity, surface quality, or repeat production. The objective is controlled complexity, not maximum complexity.
Seams, Darts, and Gussets Solve Different Shape Problems
Each construction feature changes volume, visibility, sewing access, and production tolerance, so placement should follow the finished product rather than habit.
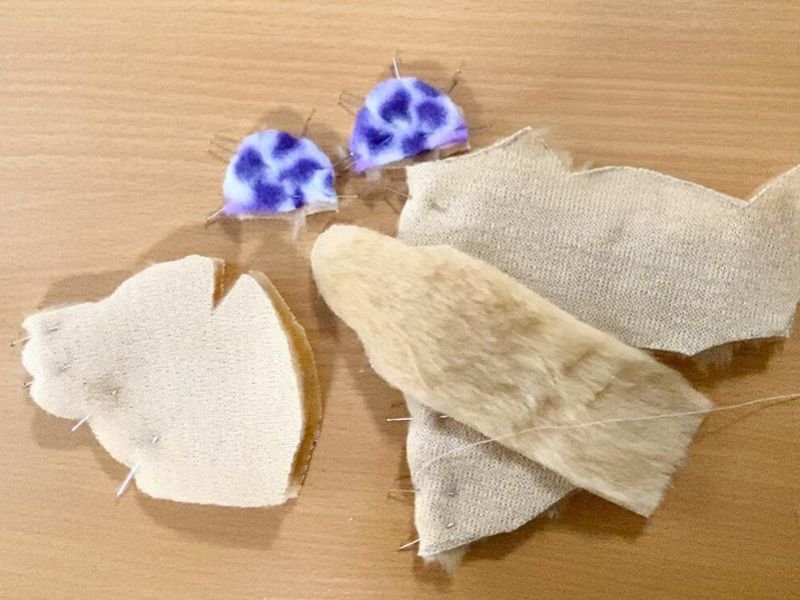
Head Gusset
Muzzle Panel
Belly Gusset
Foot Sole
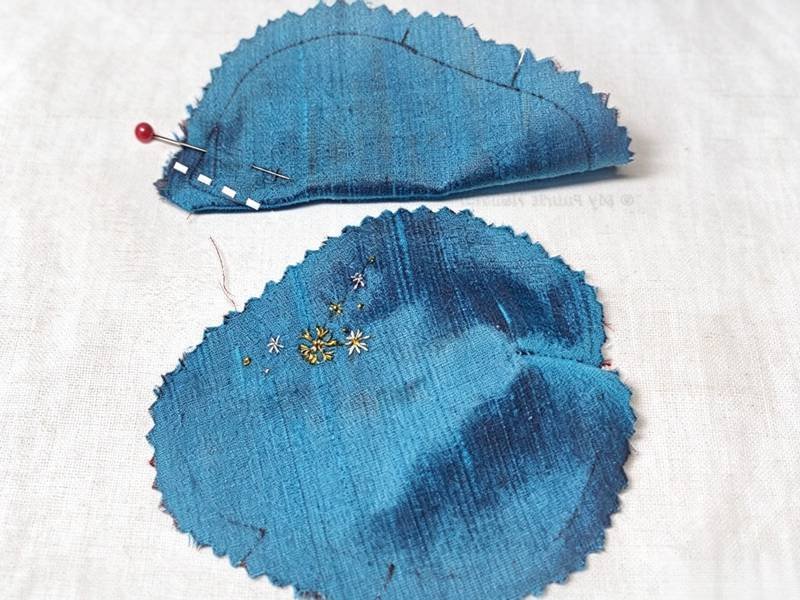
Dart Shaping
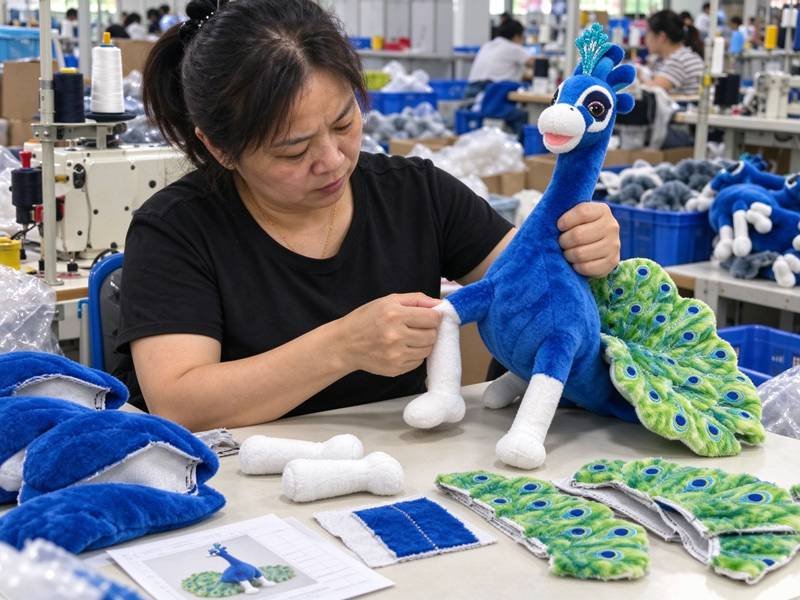
Structural Seams
A Production Pattern Needs More Than a Cut Outline
| Pattern Field | Production Purpose | Risk if Missing |
|---|---|---|
| Pattern ID | Gives every pattern set a unique project reference | Similar characters or sizes can be mixed |
| Revision | Shows which geometry is current | Old V1 or V2 pattern can return into production |
| Panel Name | Identifies each cut piece | Wrong parts can be sewn together |
| Material | Links each panel to the correct fabric or component material | Correct shape is cut in the wrong substrate |
| Nap / Grain Direction | Controls pile flow or stretch direction | Character surface looks uneven or twisted |
| Mirror Cut | Defines left/right paired parts | Two left parts or two right parts are cut |
| Seam Allowance | Controls sewing margin | Size, strength, and curvature change |
| Notches | Provides alignment points | Curves shift or panels become asymmetric |
| Centerline | Provides visual and decoration reference | Facial or structural placement drifts |
| Decoration Marks | Locates embroidery, print, appliqué, or patches | Logo or face moves after pattern revision |
| Attachment Marks | Locates hardware, ears, tails, straps, or accessories | Components sit at inconsistent positions |
| Turning Opening | Defines where the sewn shell is reversed | Operators create uncontrolled openings |
| Filling / Closing Opening | Defines fill access and final closure location | Fill distribution or visible closing worsens |
| Quantity per Unit | States how many pieces are needed for one product | Missing or excess parts enter assembly |
| Size Reference | Connects the pattern to the intended finished size | Similar size sets can be confused |
| Release Status | Separates Development Pattern from Released Pattern | Unapproved geometry can enter bulk production |
Product Types Create Different Pattern Engineering Challenges
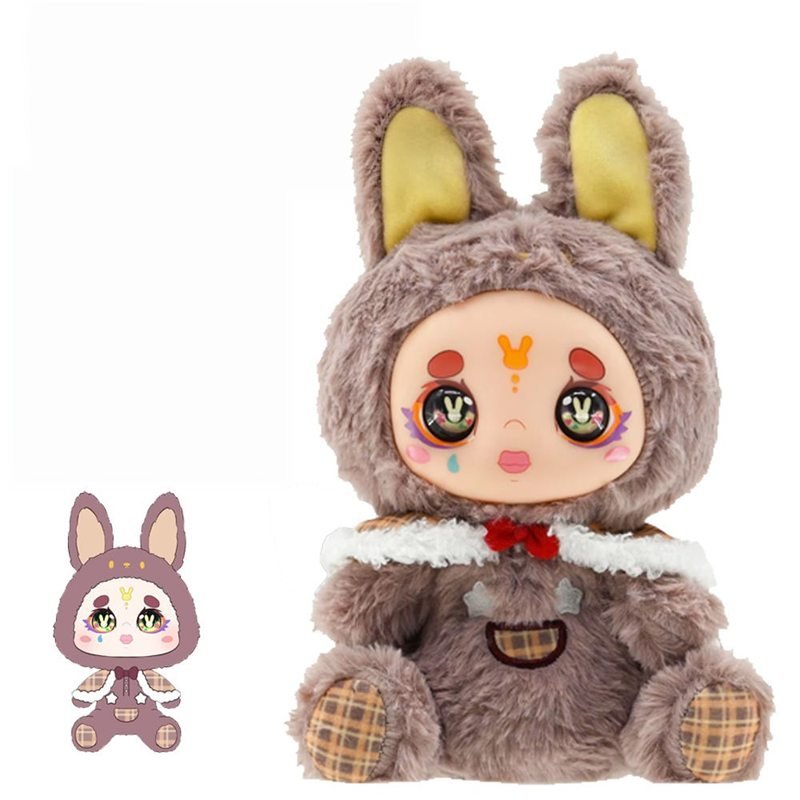
Collectible Plush
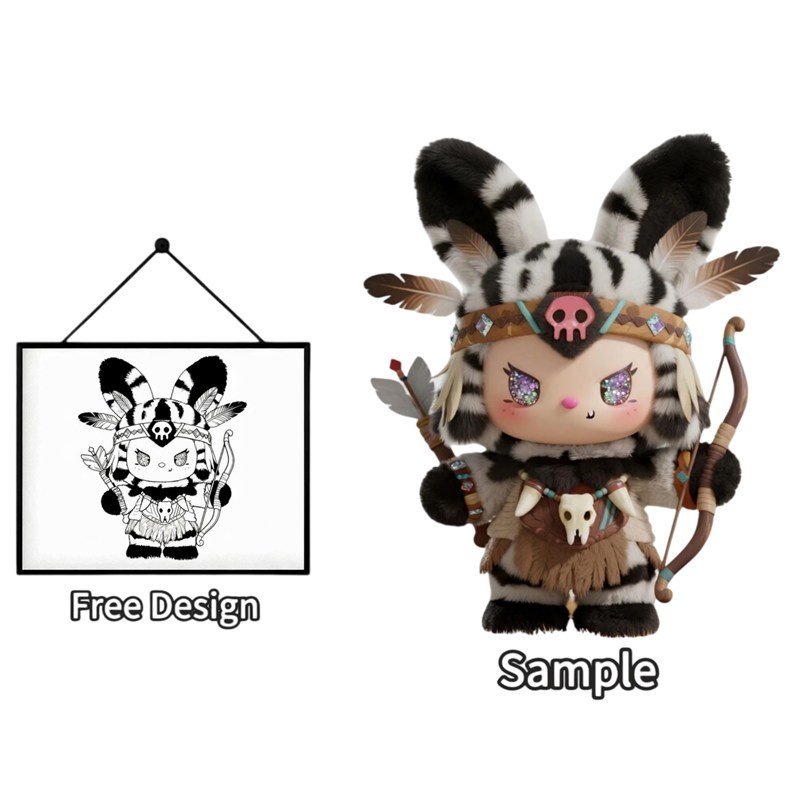
Character IP Plush
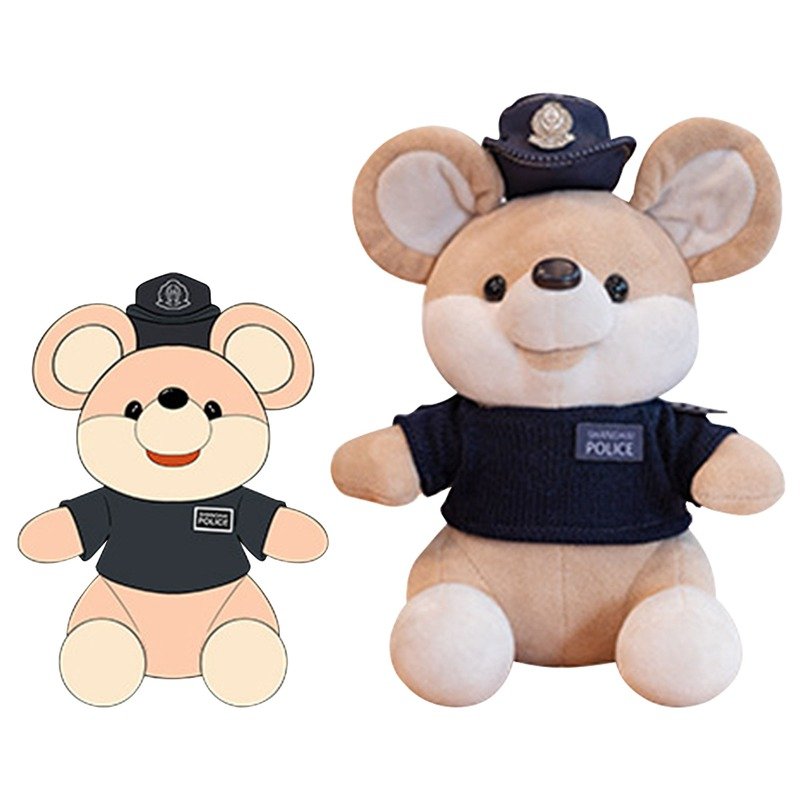
Anime Gaming Plush
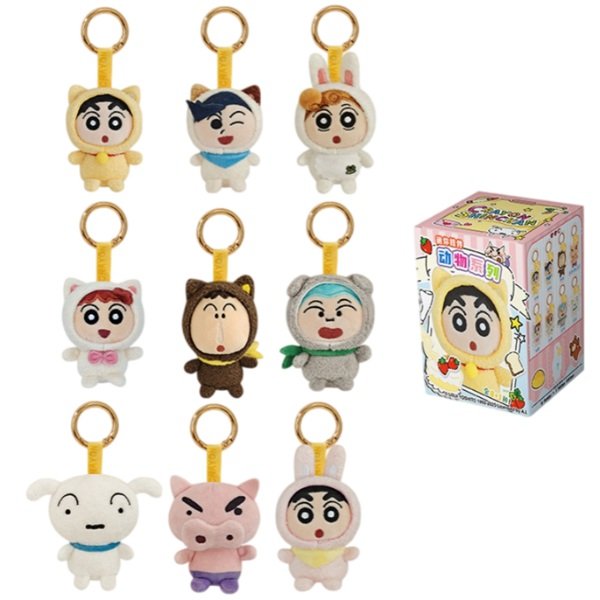
Blind Box Plush
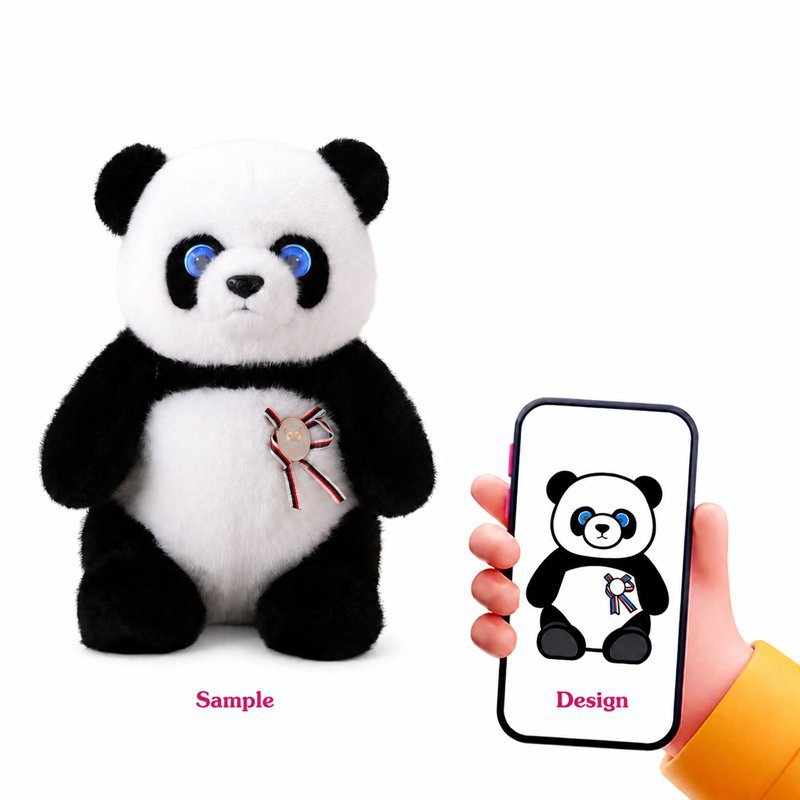
Electronic AI Plush
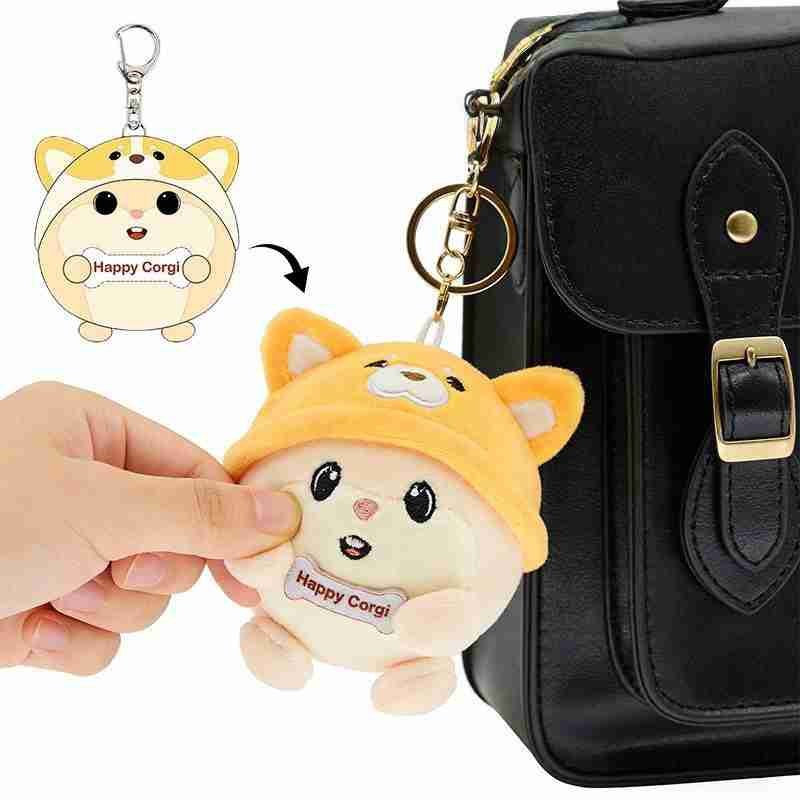
Keychain Charms
Weighted Plush
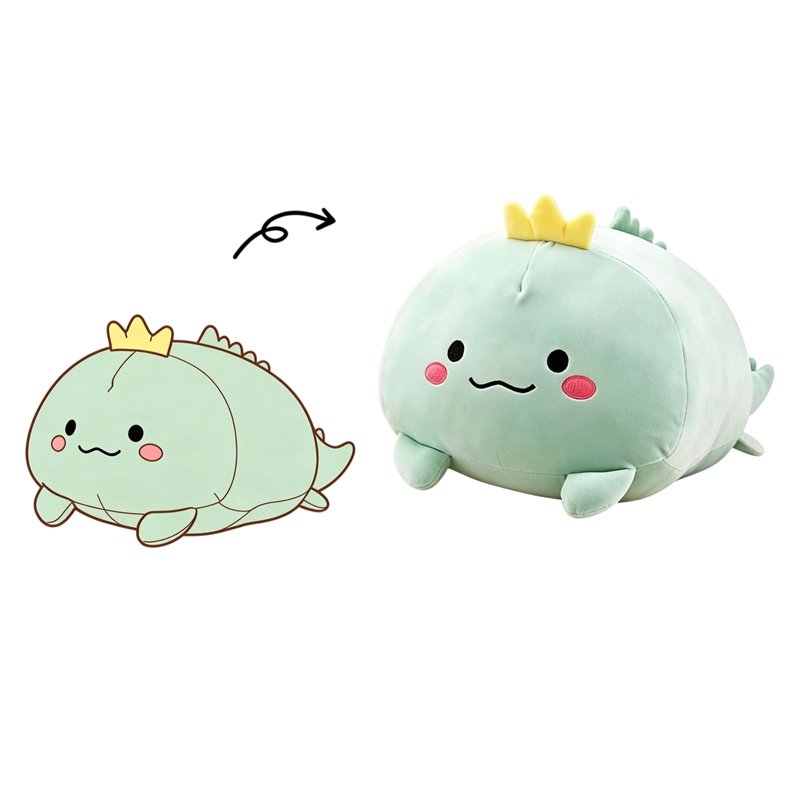
Lifestyle Plush
Pattern Engineering Supports Different Commercial Project Teams
Global Brand Teams
IP Owners
Licensing Teams
Toy Companies
Collectible Brands
Game Animation Studios
Retail Programs
Second-Source Programs
Fabric Behavior Changes the Pattern Result
Minky
Super Soft Plush
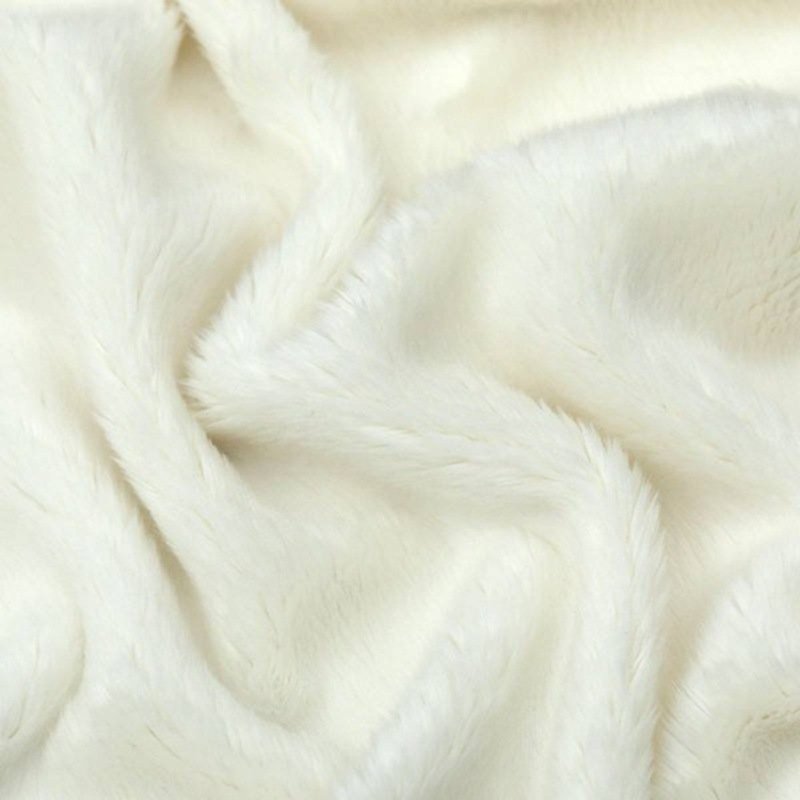
Velboa
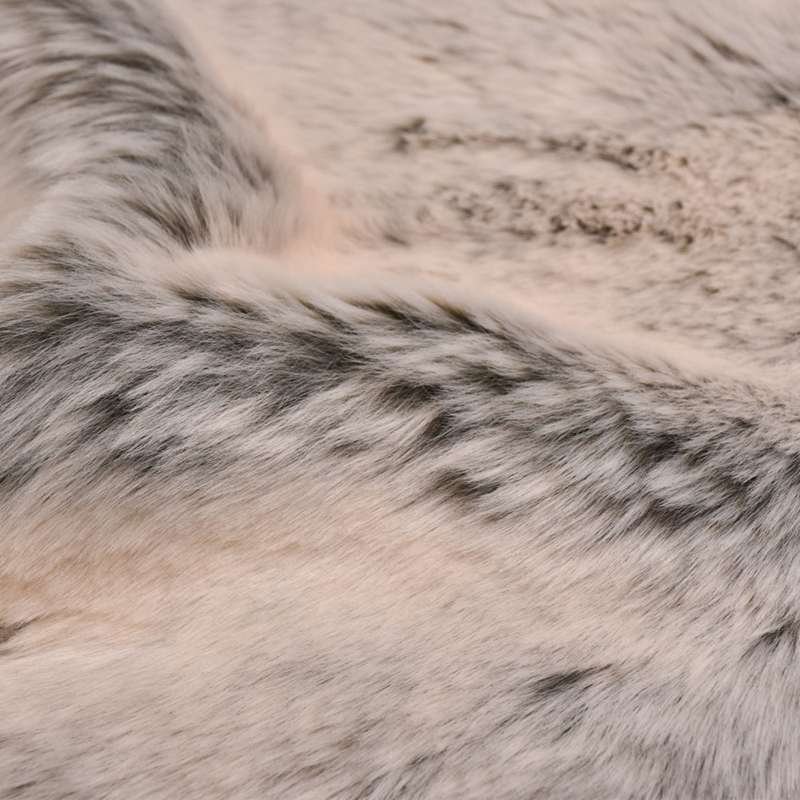
Faux Fur
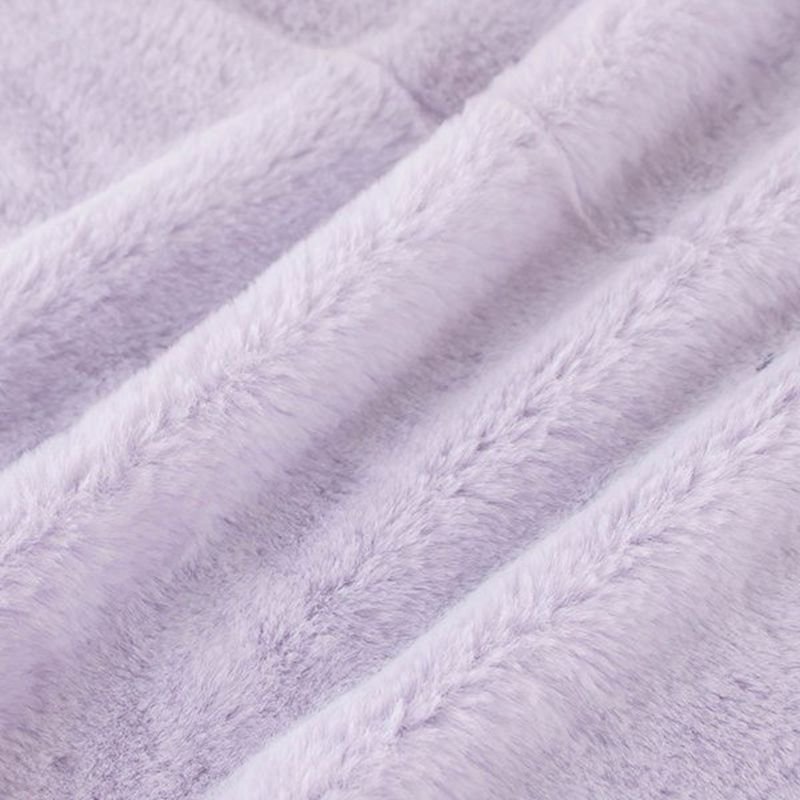
Fleece
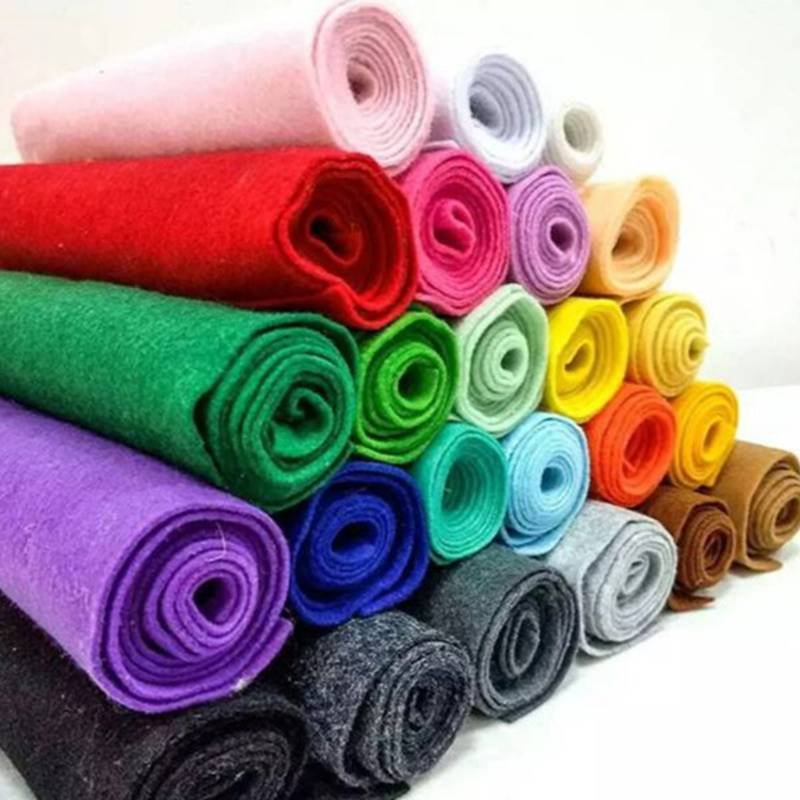
Structural Materials
Felt, PU, coated fabric, foam-backed panels, and other firm materials behave differently from plush knits. Pattern edges, seam allowance, folding, turning, heat processes, and interface points may need separate construction logic.
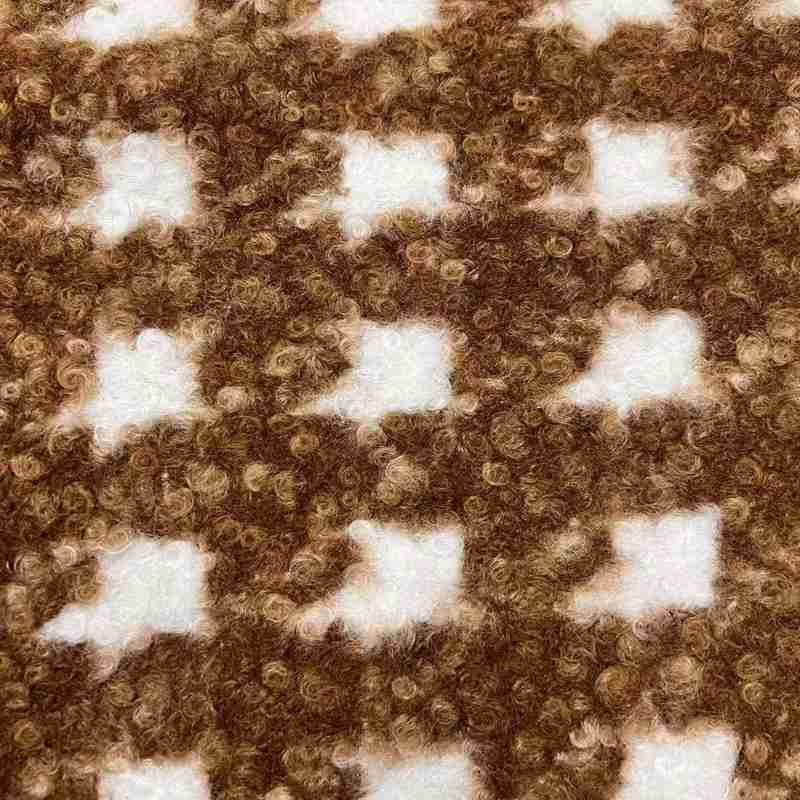
Sherpa
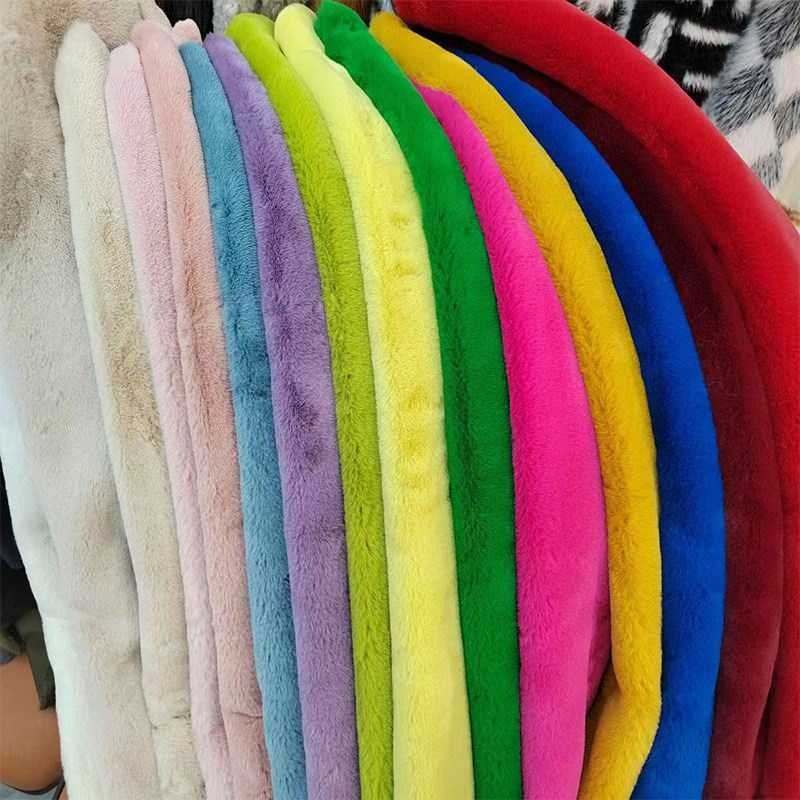
Stretch Fabric
Trims Can Change Pattern Openings and Reinforcement
Supporting materials should enter pattern planning early when they affect seam thickness, access, load, fit, closure, or internal construction.
Sewing Thread
Linings
Webbing
Elastic
Hook and Loop
Zippers
Accessories Need Patterned Space, Position, and Load Paths
Hard parts and functional components affect geometry before sewing begins because they need attachment zones, reinforcement, cavities, openings, and repeatable locations.
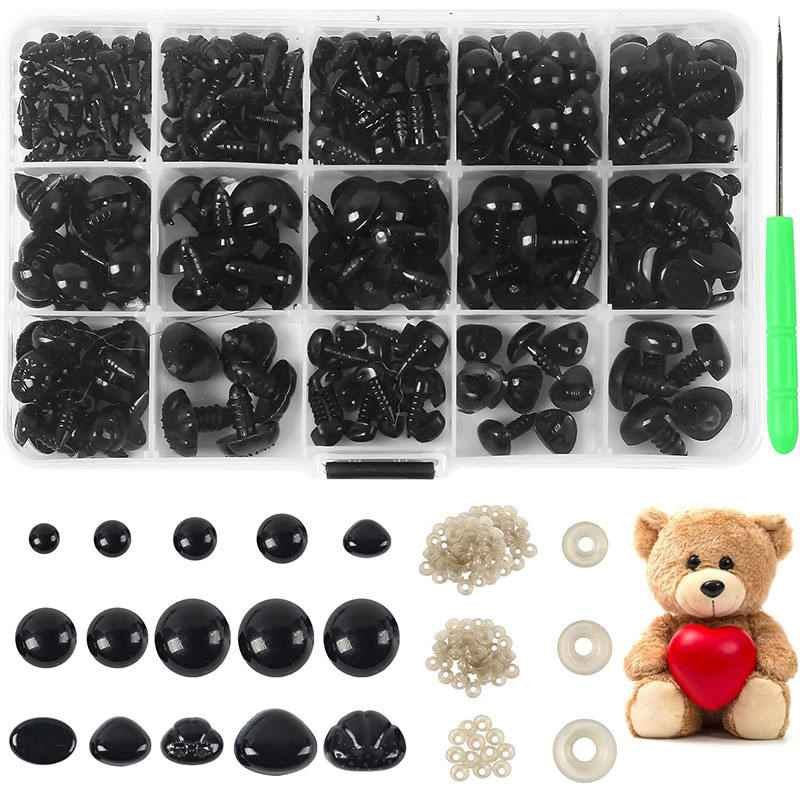
Plastic Eyes Noses
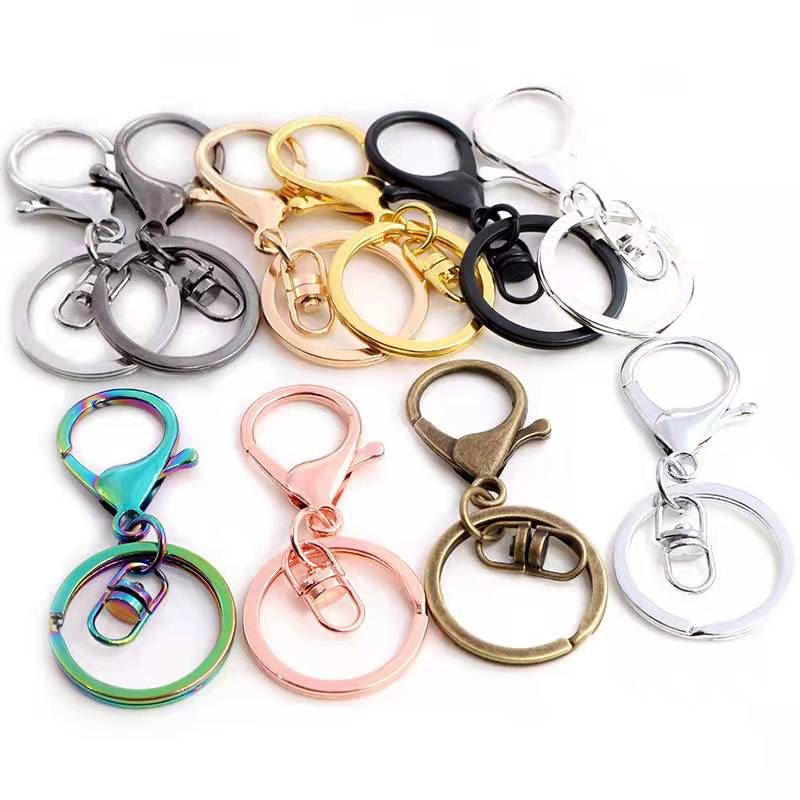
Keychain Hardware
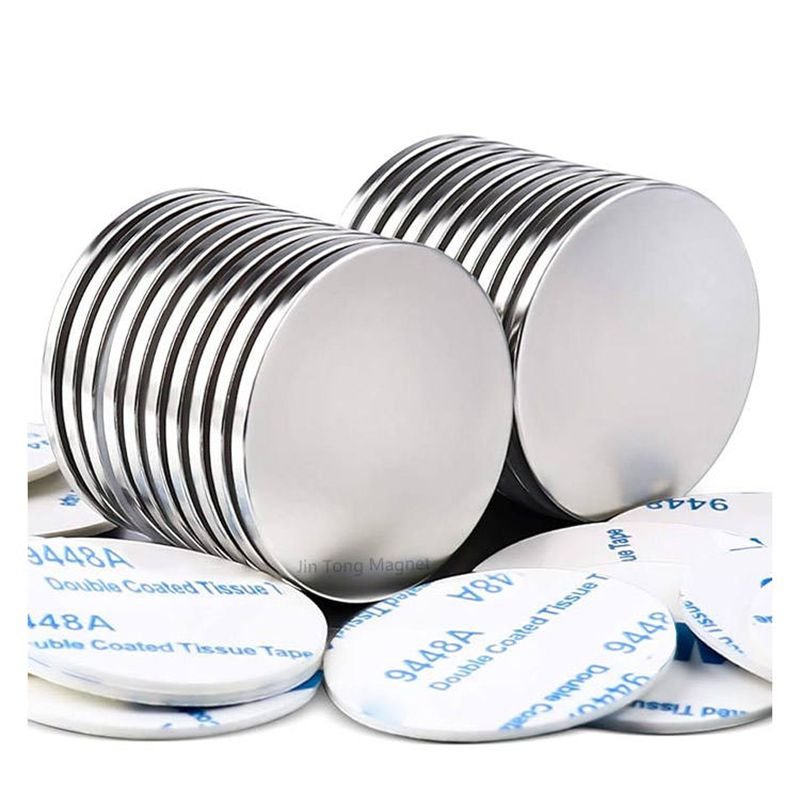
Magnets
Magnets require pockets, polarity control, retention, and consistent spacing from the outer surface. Pattern pieces may need dedicated internal compartments or alignment references so magnetic interaction works across repeated units.
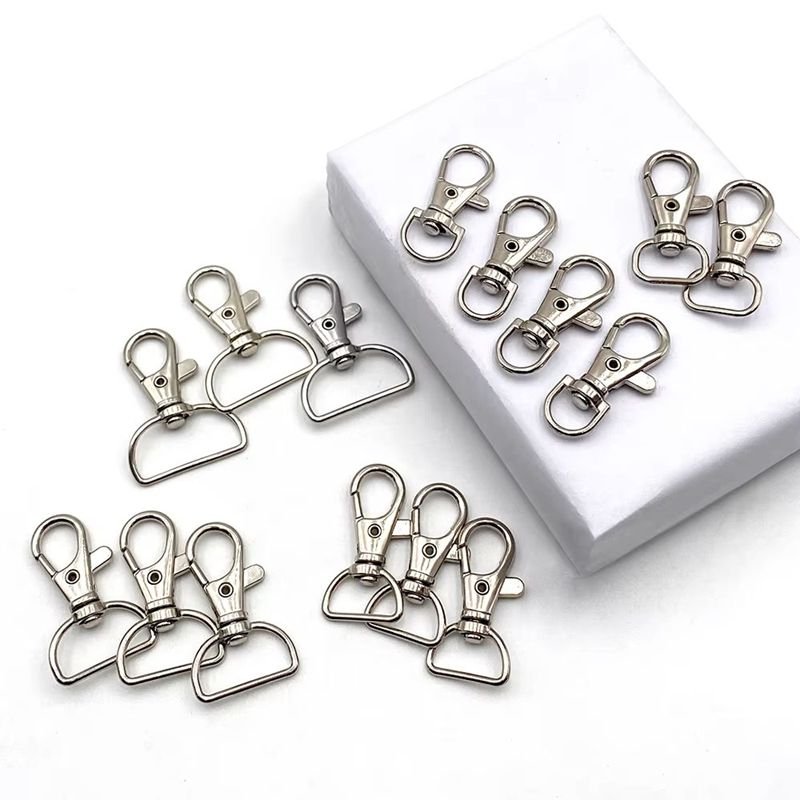
Metal Hardware
Buckles, snaps, clips, and rings can add weight and local stiffness. Patterns may need wider attachment zones, hidden backing, protective layers, or adjusted openings so assembly remains accessible and surrounding fabric is not overstressed.
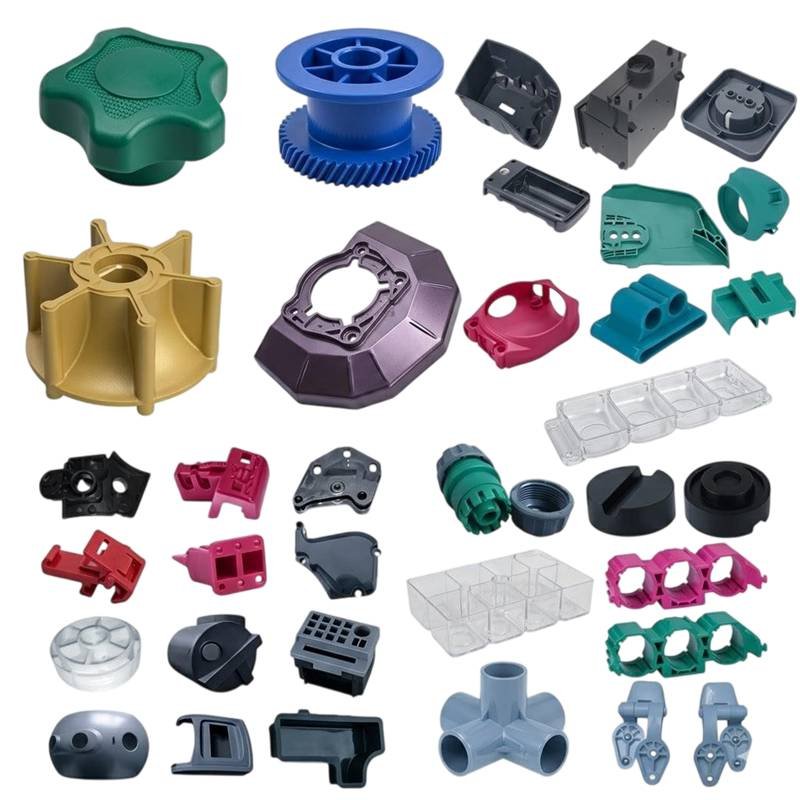
PVC Silicone Parts
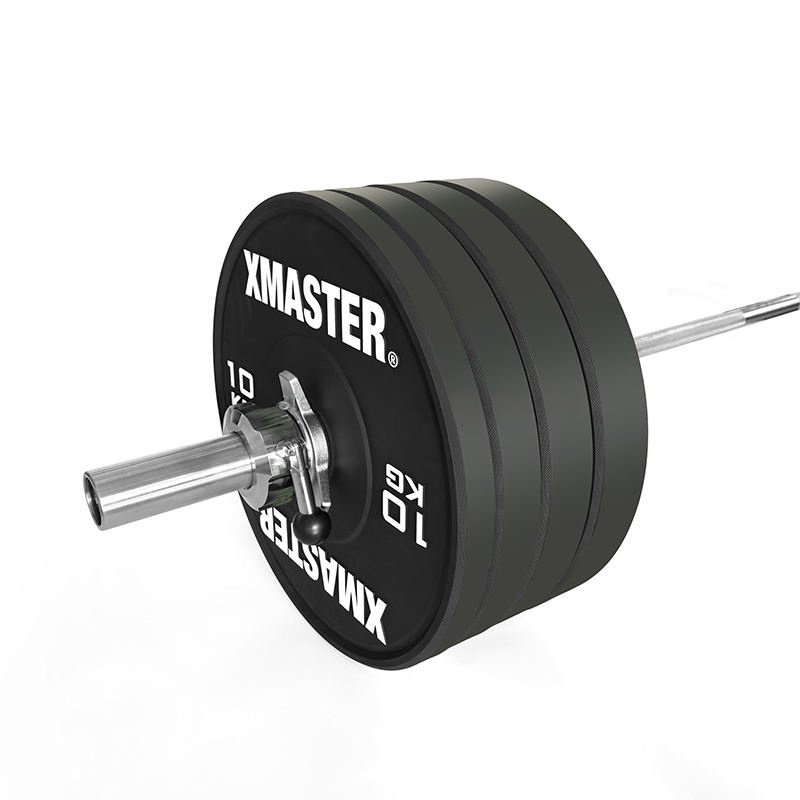
Weighted Inserts
Weighted bags need controlled compartments, support seams, and fixed positions. Pattern geometry should prevent the weight from migrating into corners or pulling the body away from the approved sitting or standing form.
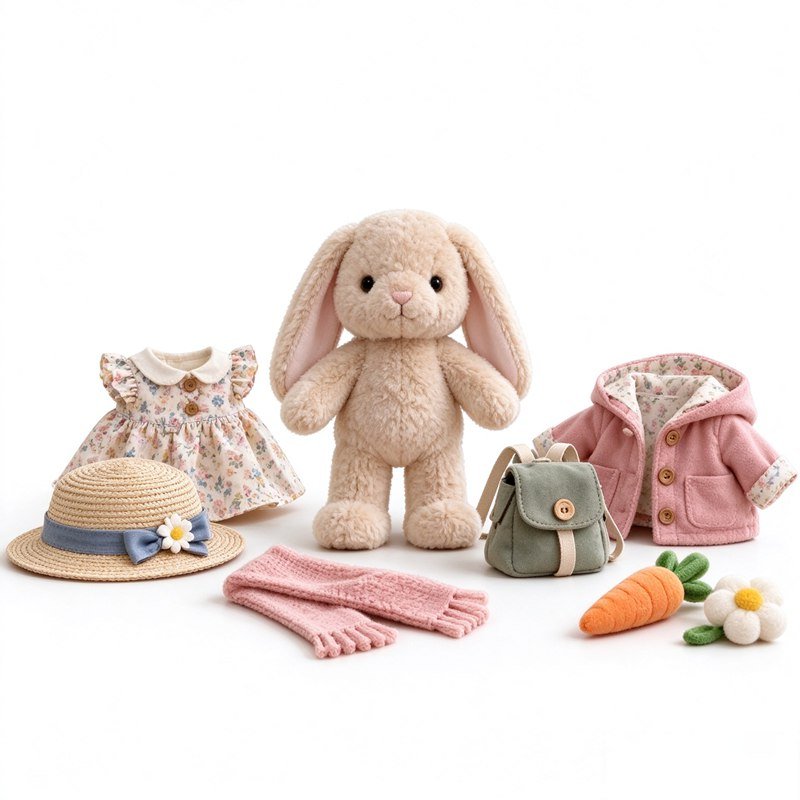
Removable Accessories
Clothing, bags, hats, props, and detachable items need predictable attachment points. Pattern marks help keep snaps, loops, hook-and-loop, magnets, or fitted openings aligned with the accessory and the main plush body.
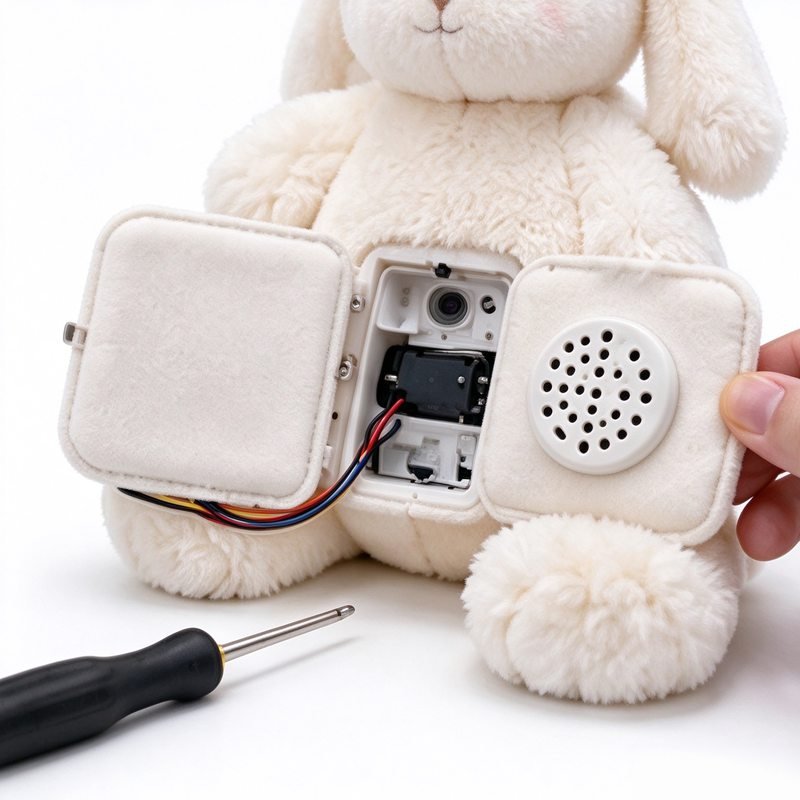
Electronic Modules
Sound, light, sensor, or smart modules require cavities, service openings, cable routes, padding, and installation space. The pattern must support assembly without placing hard components directly against high-visibility or high-contact areas.
Decoration Placement Must Move With the Pattern
Embroidery
Screen Printing
Digital Printing
Heat Transfer
Applique
Patch Label
Patches and woven labels need a repeatable location, orientation, and fixing route. Pattern references are especially useful when the mark sits near a seam, on removable clothing, or across several sizes in one product family.
Scale Plush Patterns by Re-Engineering Each Size
Establish a Master Size Before Expanding the Range
A master size is useful because it allows the team to solve character geometry, panel logic, materials, decoration, accessories, filling, pose, and assembly on one controlled product before creating a size family.
The master does not mean every later size is a mathematical copy. It provides the visual relationships that should survive scaling: head-to-body ratio, eye spacing, ear angle, hair silhouette, limb proportion, accessory placement, and other recognizable features.
For a collectible program, the master size might be the version most important to retail presentation. For a keychain family, a larger development size can sometimes clarify shape first, then the mini version is re-engineered around sewing limits. The chosen master should reduce uncertainty rather than create another arbitrary variant.
Re-Engineer Small Sizes Around Manufacturing Limits
A 10 cm plush cannot be produced reliably by printing a 40 cm pattern at 25 percent. Seam allowance, pile length, embroidery line width, hardware thickness, turning openings, and sewing access do not shrink in the same proportion.
Small products may need fewer panels, simplified darts, thicker limbs, larger eyes, reduced clothing layers, shorter pile, or different attachment methods so important visual features remain readable and the product can still be sewn and turned. Mini blind-box plush can be particularly sensitive because each millimeter represents a larger proportion of the finished body.
Decoration also needs new review. An embroidery line that looks fine at 40 cm may become too dense or too wide at 10 cm. Pattern scaling therefore remains connected to material and decoration scaling.
Re-Engineer Large Sizes Around Weight and Gravity
Larger plush introduces different problems. More filling increases weight and pressure on seams. A large head can pull the body forward. Long limbs may sag. Accessories become heavier, and packaging compression can create stronger deformation.
Pattern engineering reviews panel size, seam strength, internal support, filling openings, filling distribution, foot area, sitting base, carrying points, and attachment reinforcement for the larger product rather than relying on enlargement alone. Some seams may need to move to improve access, while long curved seams may require additional notches or process references.
The objective is a size family that looks related while each size remains stable, manufacturable, and appropriate for its own physical scale.
Sample Development Proves the Pattern in Real Materials
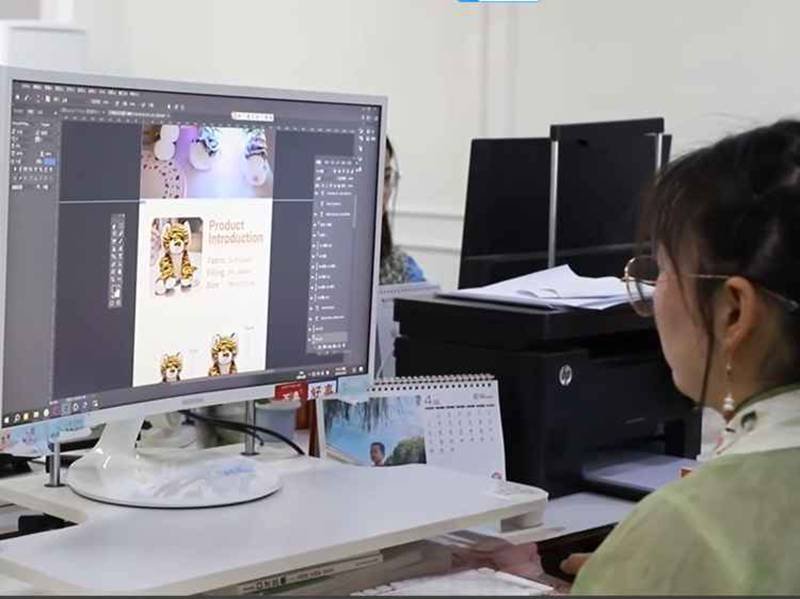
Prototype Patterns Explore Shape and Structural Feasibility
Prototype work is used when the three-dimensional form, pose, structure, or panel strategy is still open. Pattern makers can test head volume, body depth, appendage thickness, support, seam placement, turning access, and major material behavior before the product is treated as a near-final sample.
Temporary fabric or simplified decoration can be acceptable when the prototype question is clearly defined. The pattern team should still record which decisions are provisional and which geometry has been validated. A successful prototype answers whether the construction direction works; it does not automatically become a production reference.
Prototype review should compare the sewn and stuffed result with the character geometry, not just the flat pattern. If the face is too wide, the team needs to know whether the problem comes from panel geometry, material stretch, seam execution, or filling before revising the pattern.
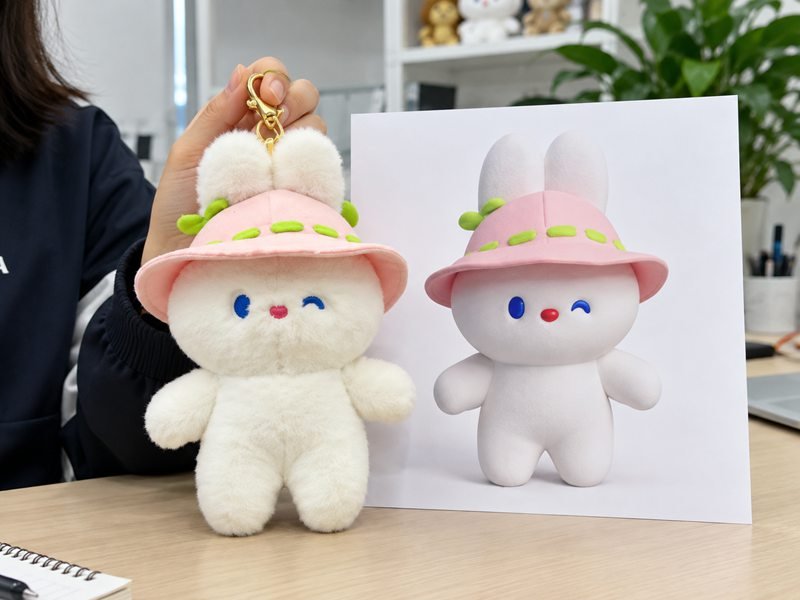
V1 and Revision Patterns Close Defined Product Comments
V1 is the first formal pattern attempt using a more complete product definition. Target materials, main decoration, accessories, filling, and intended construction should be close enough for meaningful review of proportion, size, silhouette, pose, and visual fidelity.
Revision patterns should be driven by specific comments. A change such as moving an eye 3 mm may only require a decoration update if the head geometry remains unchanged. Widening the head, however, can affect eye spacing, ear position, embroidery marks, filling weight, clothing fit, and packaging. The pattern revision therefore needs to capture linked impacts rather than correcting one visible symptom in isolation.
Each revision remains traceable to the sample version used for evaluation. Old pattern files are retained for comparison rather than overwritten by names such as “final-new” or “latest.”
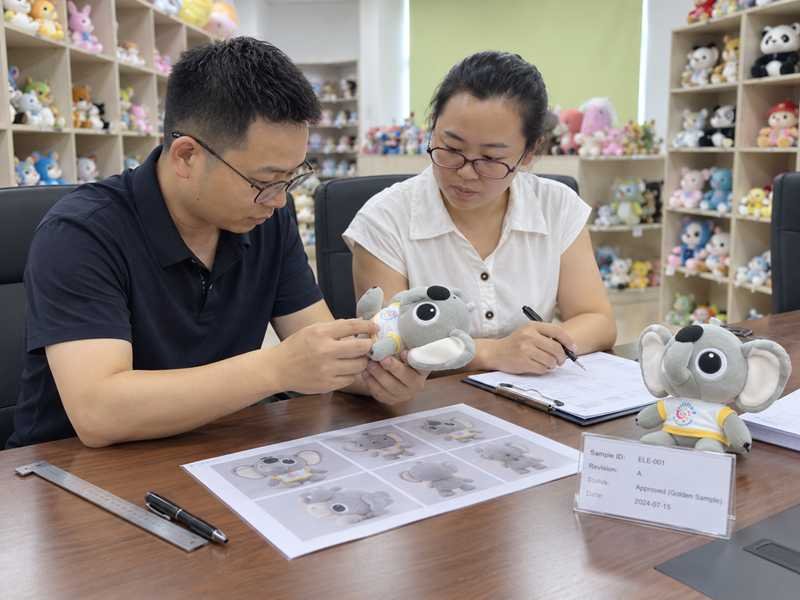
Golden Approval Converts the Final Pattern Into a Released Pattern
Once the physical product is fully approved, the final pattern revision is checked against the Golden Sample, frozen materials, artwork, measurements, filling, accessories, and other current specifications. The objective is to confirm that the pattern used to create the approved product is the one being released to production.
Released Pattern status is different from a development file sitting in the sample room. The released set needs controlled identification, panel naming, material mapping, nap direction, mirror-cut logic, alignment marks, decoration references, attachment positions, openings, and size information that cutting and production teams can execute.
If a later reorder or approved engineering change modifies geometry, the change creates a new controlled revision rather than silently altering the prior Released Pattern. That traceability protects repeat orders and multi-SKU programs from version drift.
Pattern Revisions Need One Traceable Source of Truth
| Pattern Stage | Example Status | Meaning | Production Use |
|---|---|---|---|
| Concept Pattern | PAT-P0 | Early geometry exploration; major change still possible | No |
| V1 Pattern | PAT-V1 | First formal pattern used for complete sample review | No |
| Revision Pattern | PAT-V2 / V3 | Defined sample comments are being closed | No |
| Approval Candidate | PAT-FA | Major geometry comments are closed; awaiting full approval | No |
| Released Pattern | PAT-REL1 | Pattern linked to approved Golden and current product definition | Yes, after production release conditions are met |
| Size Variant | PAT-S20 / PAT-S30 | Size-specific pattern derived from approved geometry | Only after size approval and release |
| Reorder Revision | PAT-REL2 | Controlled geometry change from prior released version | Yes, after change approval |
DFM Checks Whether the Pattern Can Survive Production
Check Sewing Access Before Complex Curves Become Line Problems
Narrow internal corners, deep concave curves, tiny appendages, multi-layer joints, and bulky seams can be difficult to control with production sewing equipment. A skilled sample maker may manipulate one piece successfully, but large-volume production needs a route that different operators can repeat.
Pattern review checks presser-foot access, seam sequence, notch placement, curve length, layer count, seam allowance, reinforcement, and whether specialized machines or fixtures are required. The pattern should help operators align the work naturally rather than forcing them to reshape every part by hand.
Sensitive zones such as cheeks, muzzles, small feet, and costume openings deserve early review because small sewing variation can create visible shape differences. Pattern and sewing teams should agree whether a defect comes from geometry or execution before changing the file.
Check Turning, Filling, and Closing Openings Before the Shell Is Built
After sewing, many plush shells must be turned right-side out through a limited opening. Thin arms, long tails, tight ears, small blind-box bodies, or heavily layered sections can become impossible to reverse if the opening or internal path is too narrow.
Filling creates another access requirement. Deep head cavities, feet, weighted compartments, internal bags, and electronic spaces may need dedicated openings or a different assembly order. The opening must be large enough for work yet placed where final closing will not damage the visible form.
Pattern engineering therefore plans access together with seam visibility, strength, handfeel, filling distribution, and closing method. A good opening reduces rework while staying hidden or visually acceptable after finishing.
Check Component Assembly Before Hard Parts Block Later Operations
Accessories, magnets, molded parts, zippers, weighted bags, and electronic modules introduce installation steps that can make later seams unreachable. The pattern must support the correct sequence: which panels are decorated first, which parts are installed before closing, where reinforcement is placed, and which opening remains available for final assembly.
The same logic applies to embroidery and printing. Decoration zones should remain flat enough for controlled placement and far enough from strong seam curvature to avoid distortion. If the pattern changes, decoration positioning must be reviewed again before the next sample or production run.
DFM turns a pattern from a sample-room solution into a manufacturing route. It protects the approved appearance by removing process conditions that would otherwise depend on manual correction at scale.
Certificates, Compliance & Quality Assurance
Ewintoys follows structured quality and compliance practices for custom plush production. We hold relevant certifications and support additional testing, inspection, and compliance documentation based on specific product requirements and destination markets, helping brands meet different international standards with confidence.























Prevent Pattern Failures Before They Become Sample Rework
Flat Head
Wide Face
Asymmetric Shape
Twisted Limbs
Shifted Eye Position
Cannot Turn
Visible Wrong Seam
Poor Size Scaling
Linear resizing can create tiny openings, oversized seam allowance, unreadable embroidery, or weak proportions. Each size needs its own review of pattern, material, decoration, components, filling, and balance.
Pattern Quality Gates Protect the Released Geometry
Pattern QC should confirm source references, symmetry, material direction, decoration, sample performance, revision closure, and release status before cutting uses the final file.
| Review Gate | What Is Checked | Typical Risk Prevented | Main Reference |
|---|---|---|---|
| Source Review | Correct artwork, character sheet, 3D or sample revision | Pattern built from obsolete reference | Project brief / approved assets |
| Geometry Review | Panel shape, seam route, darts, gussets, key dimensions | Wrong silhouette or volume | Character geometry / pattern review |
| Symmetry Review | Mirror parts, centerlines, left-right balance | Twisted head, limbs, ears, or body | Pattern pair comparison |
| Nap / Grain Review | Hair direction, stretch direction, material face | Surface flow or stretch behaves incorrectly | Material map / nap arrows |
| Decoration Review | Embroidery, print, appliqué, label positions and seam clearance | Face or logo shifts after revision | Artwork revision / placement map |
| Component Review | Hardware, magnet, accessory, internal-bag and module locations | Components cannot be installed consistently | Accessory spec / structure note |
| Sample Validation | Sewn and stuffed shape against intended geometry | Flat-pattern logic fails physically | V1 / revision sample |
| Revision Closure | Approved comments and linked changes completed | Old defect returns in later sample | Revision log / sample ID |
| Golden Match | Final pattern matches approved Golden result | Wrong pattern becomes production master | Golden Sample / current pattern |
| Release Check | Pattern ID, revision, status, cutting data locked | Unapproved file enters bulk cutting | Released Pattern list |
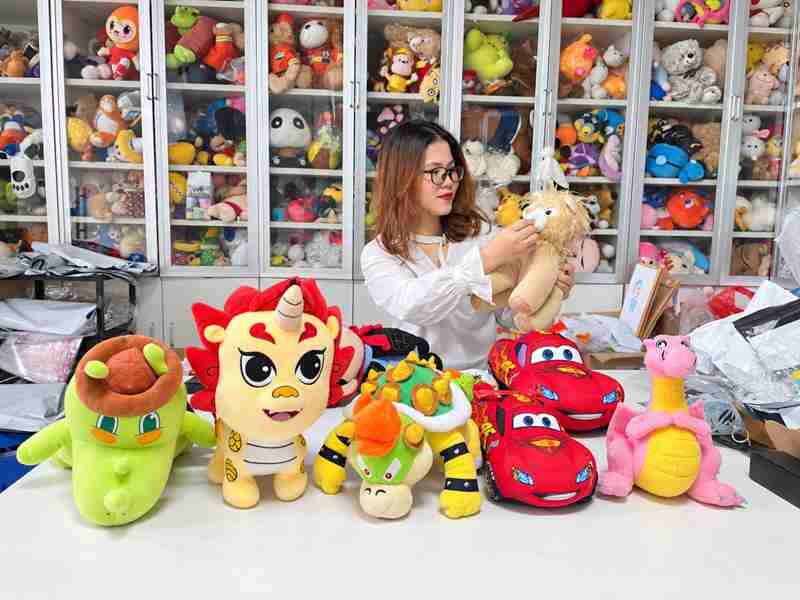
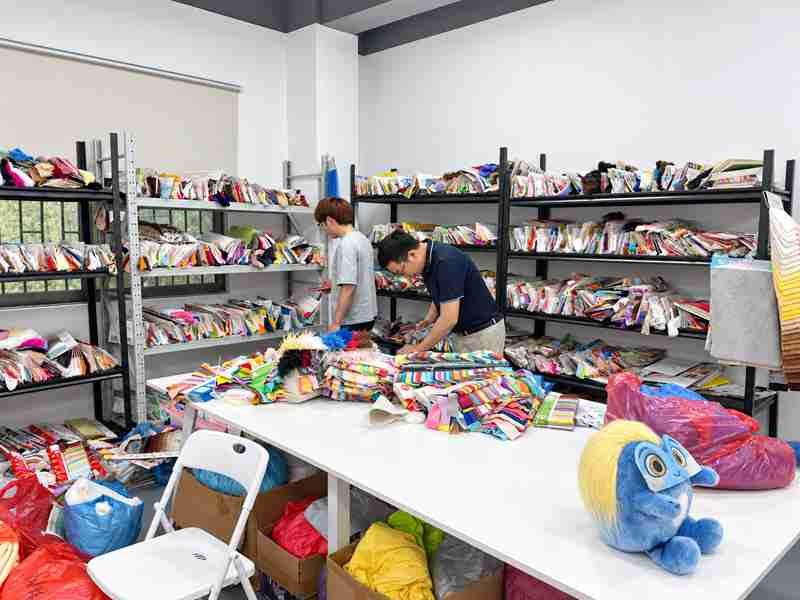
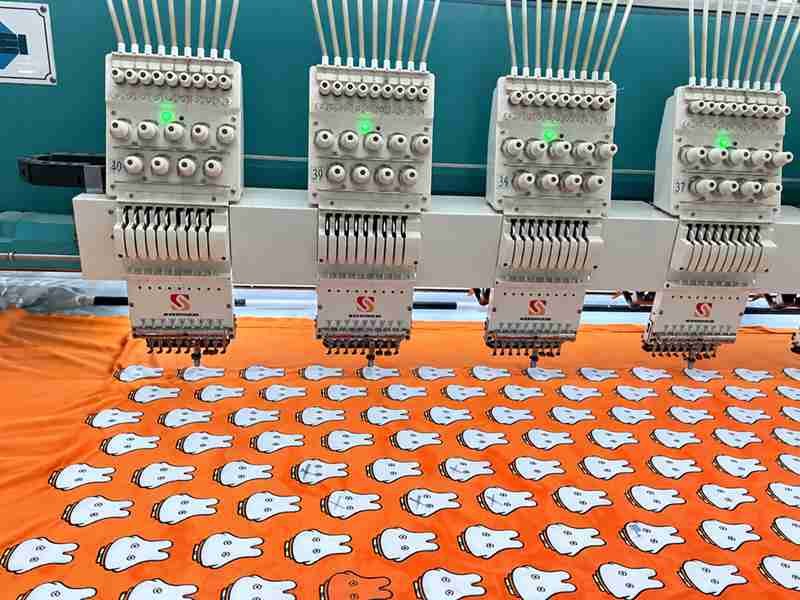
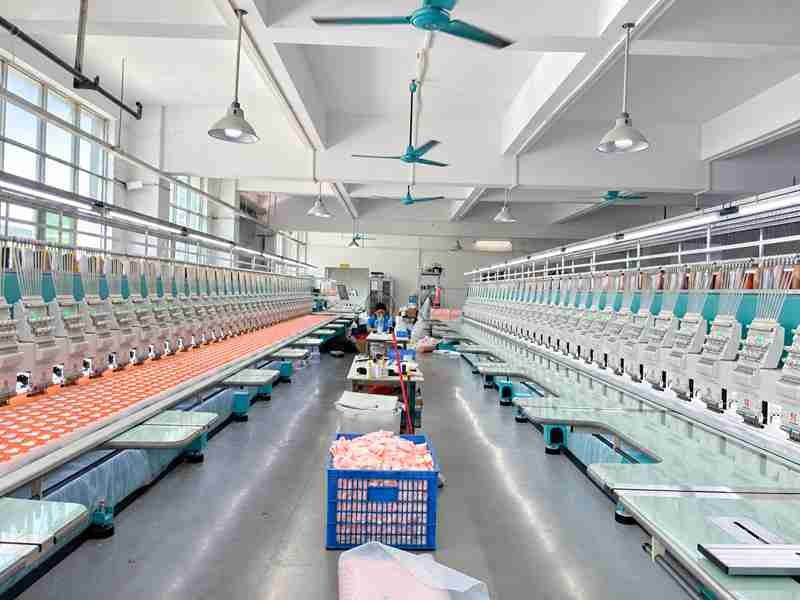
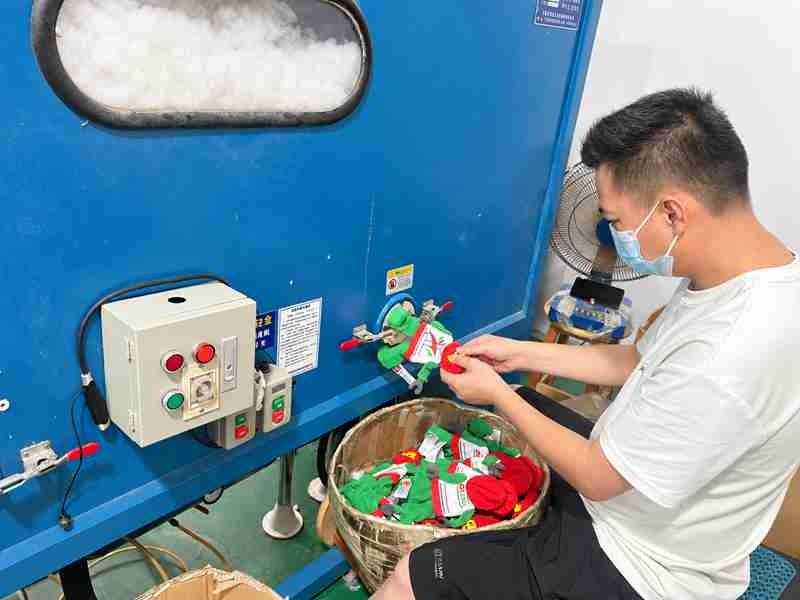
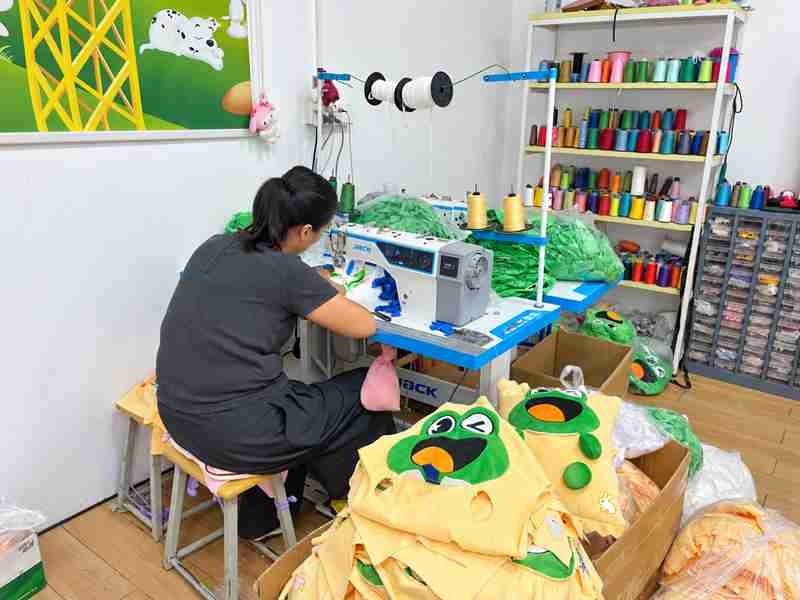
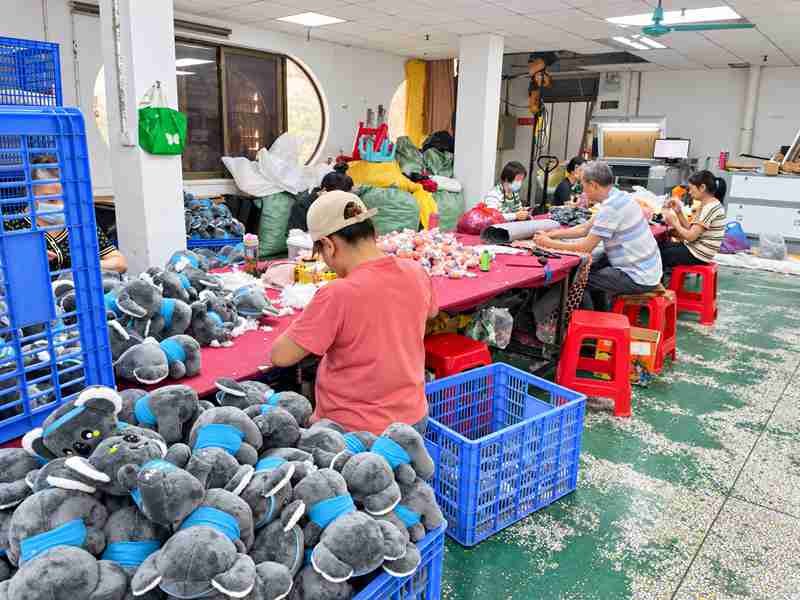
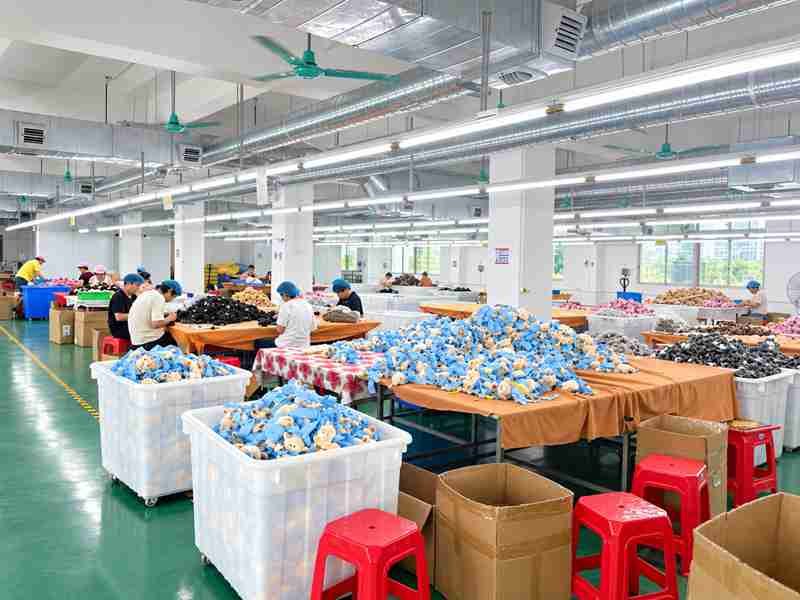
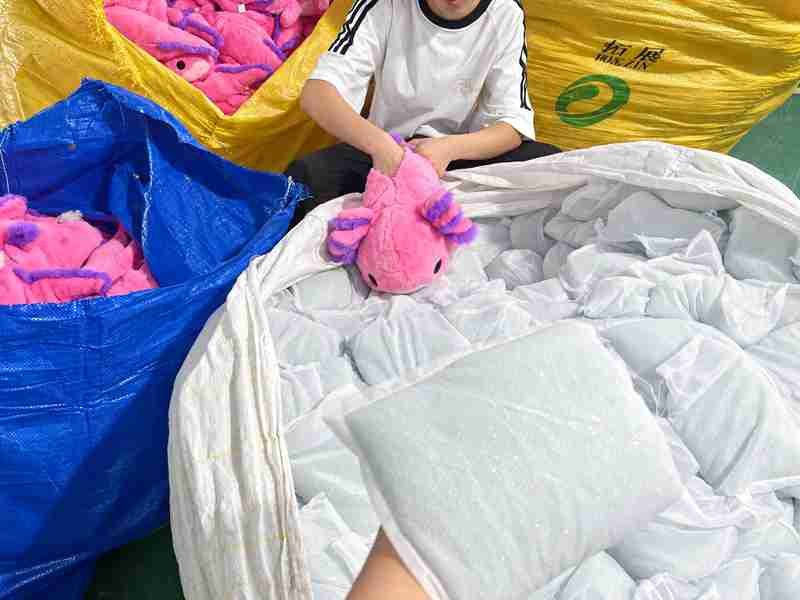
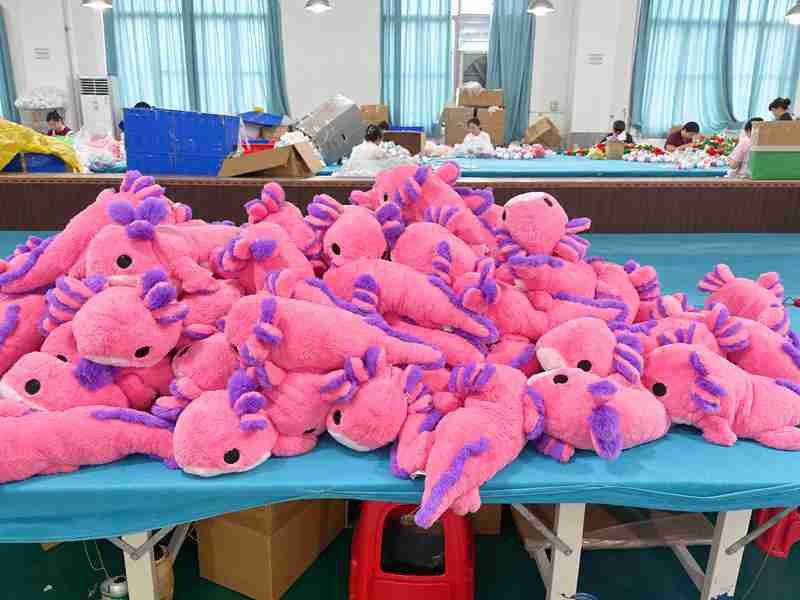
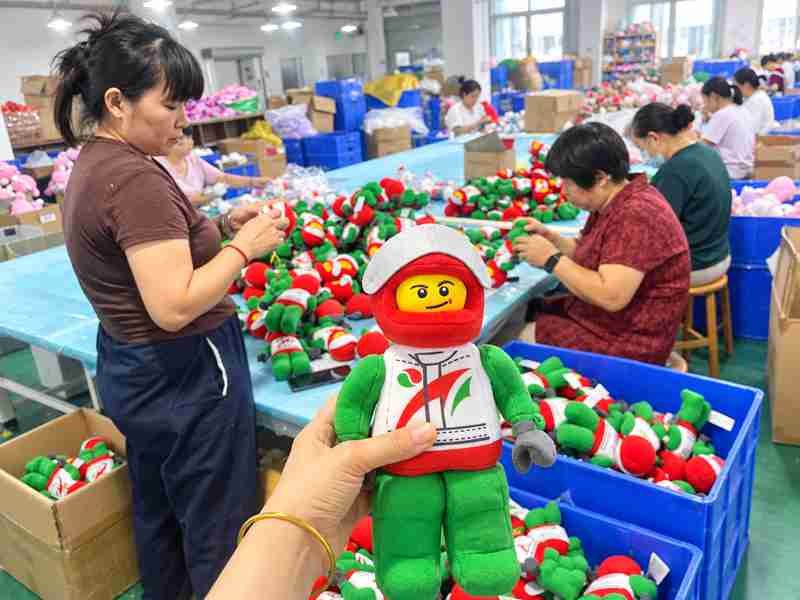
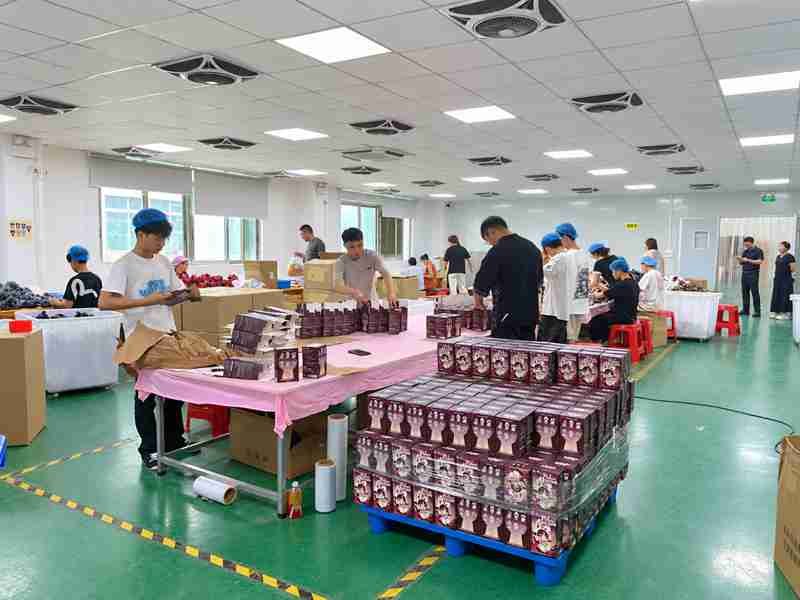
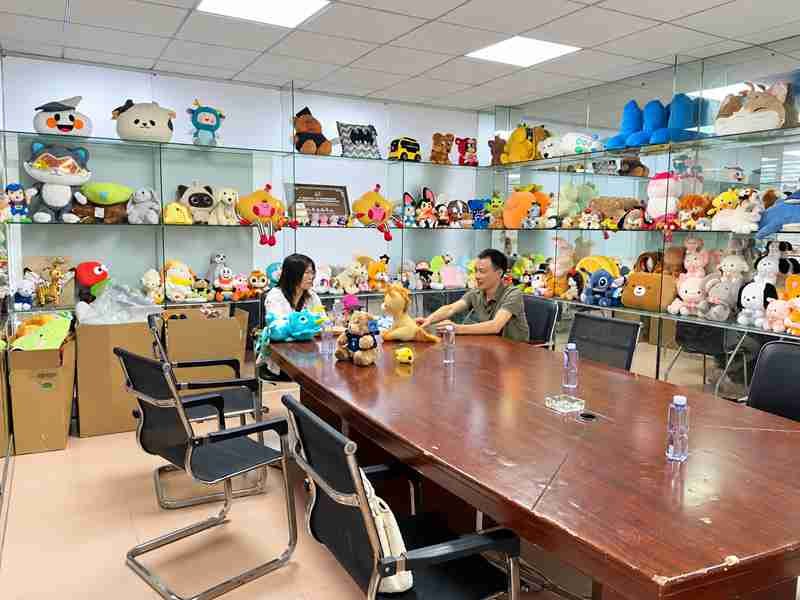
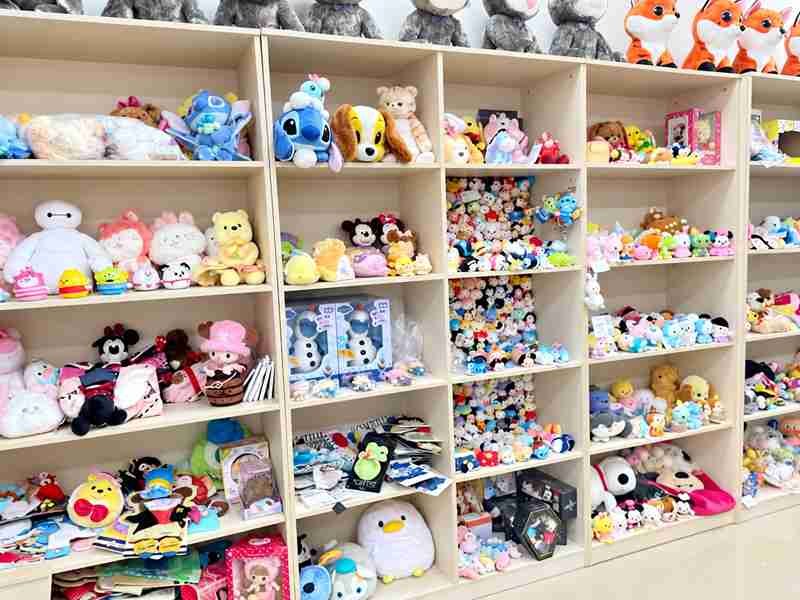
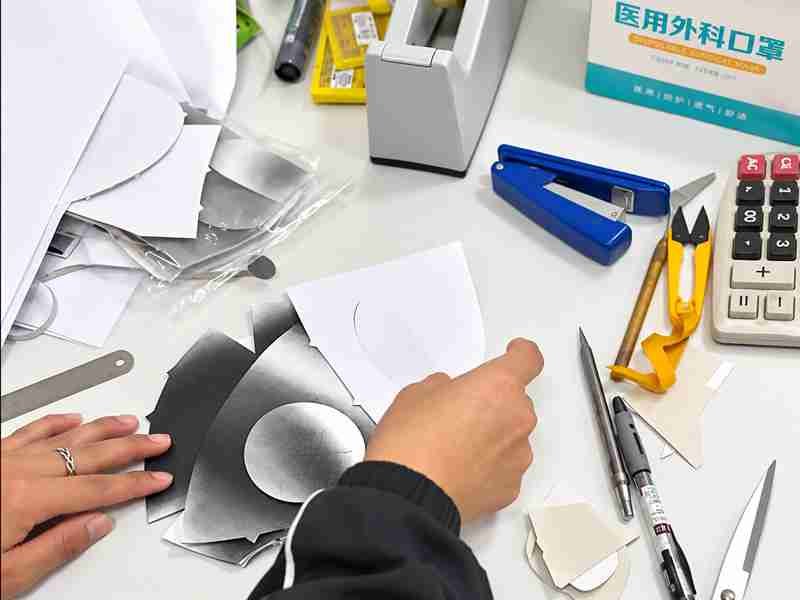
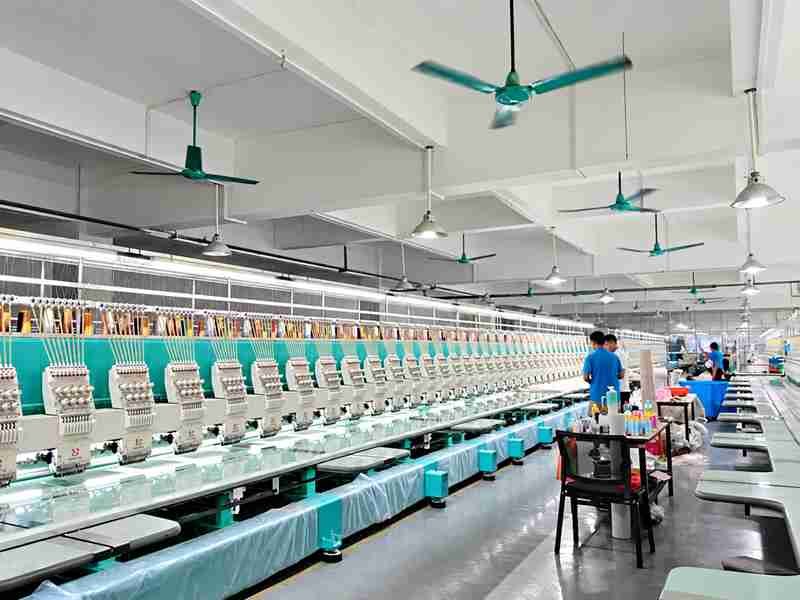
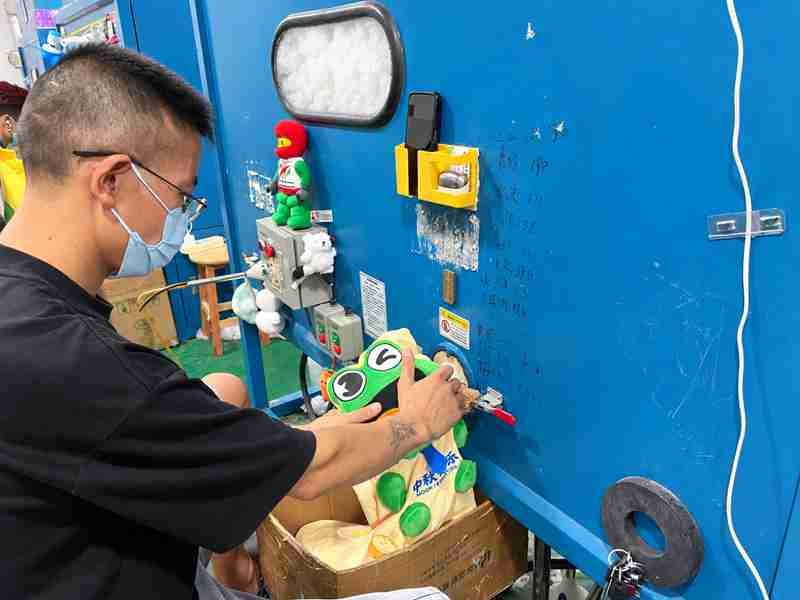
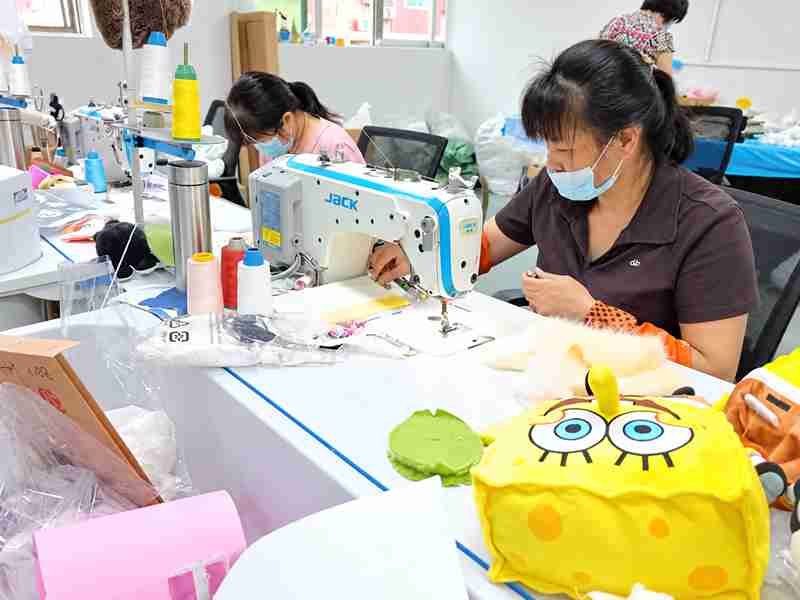
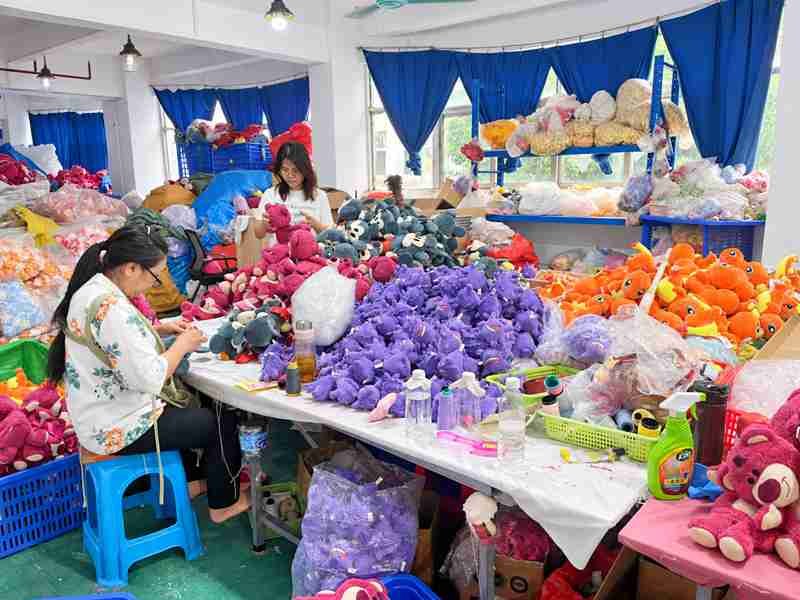
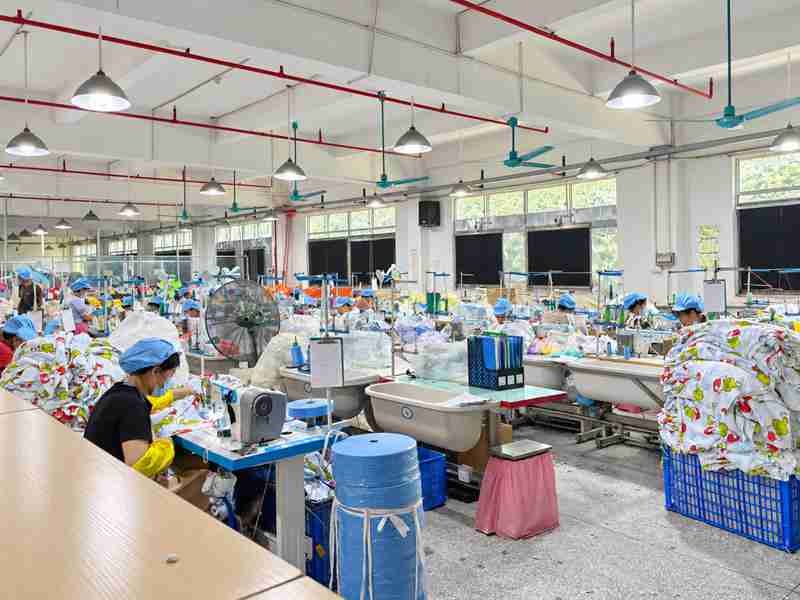
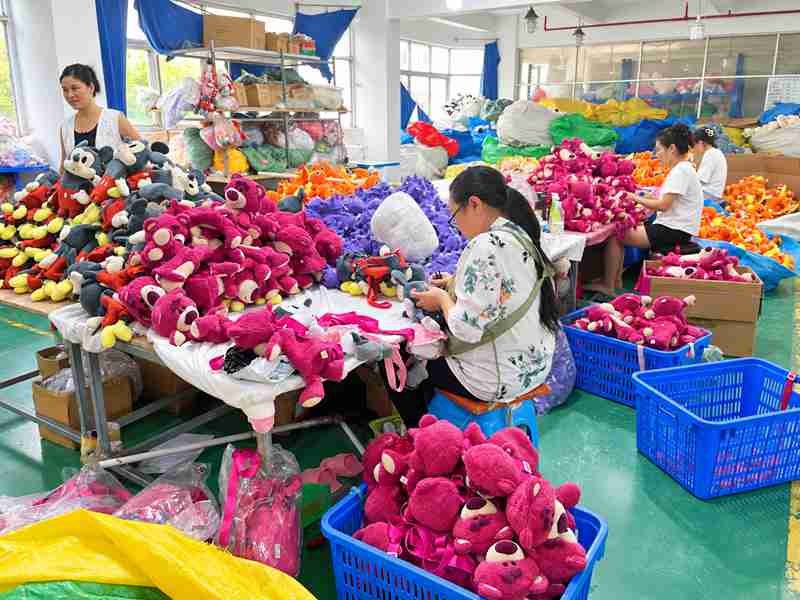
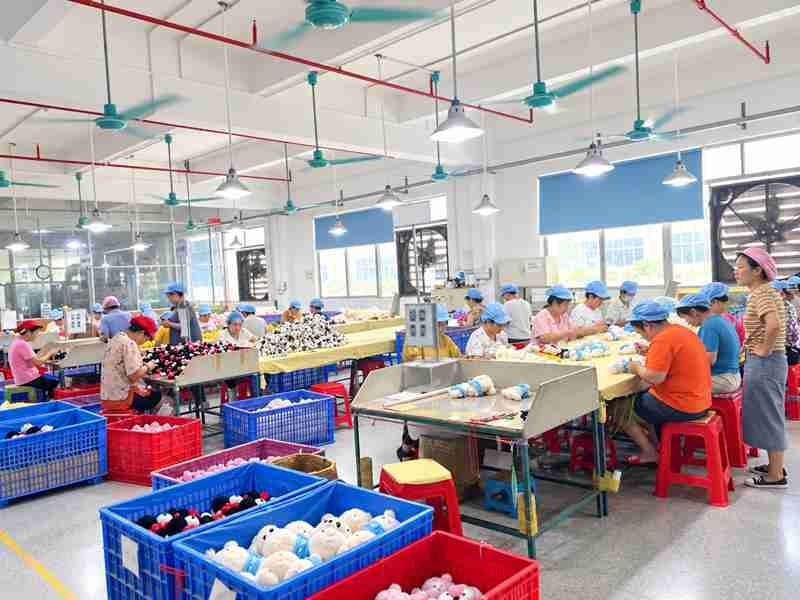
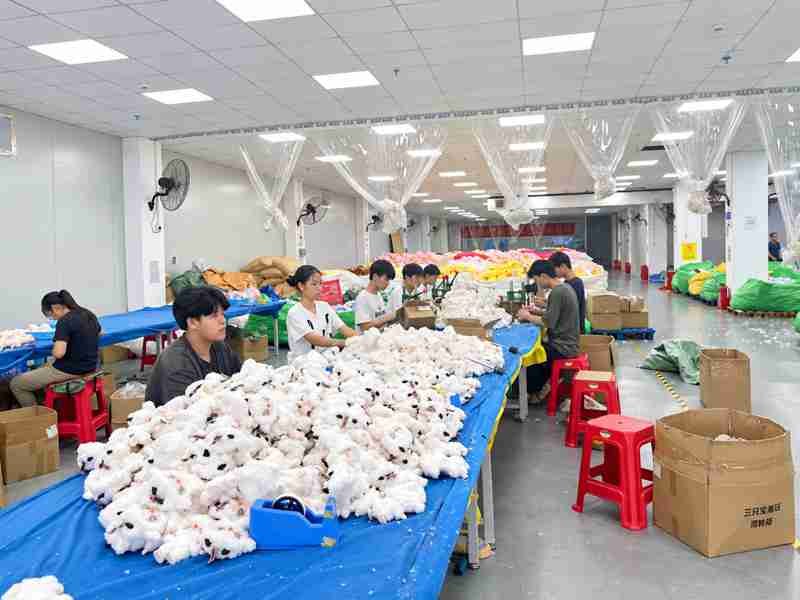
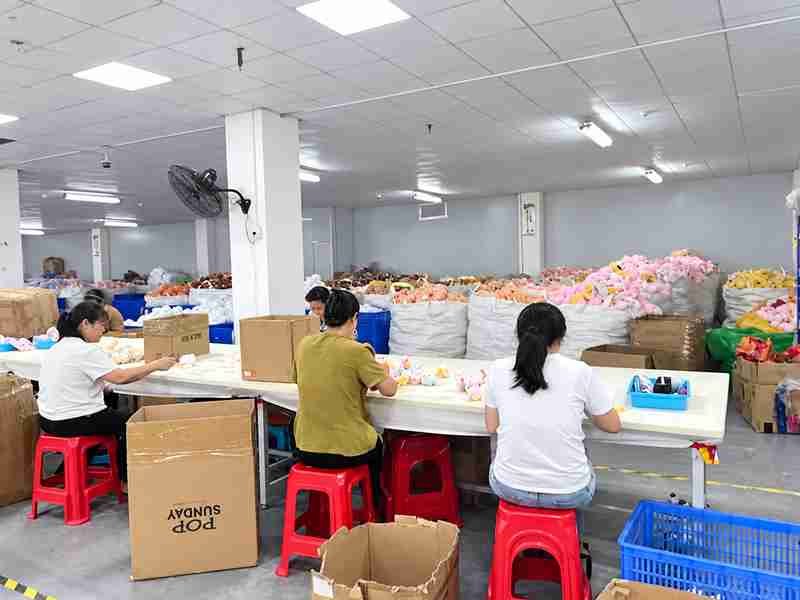
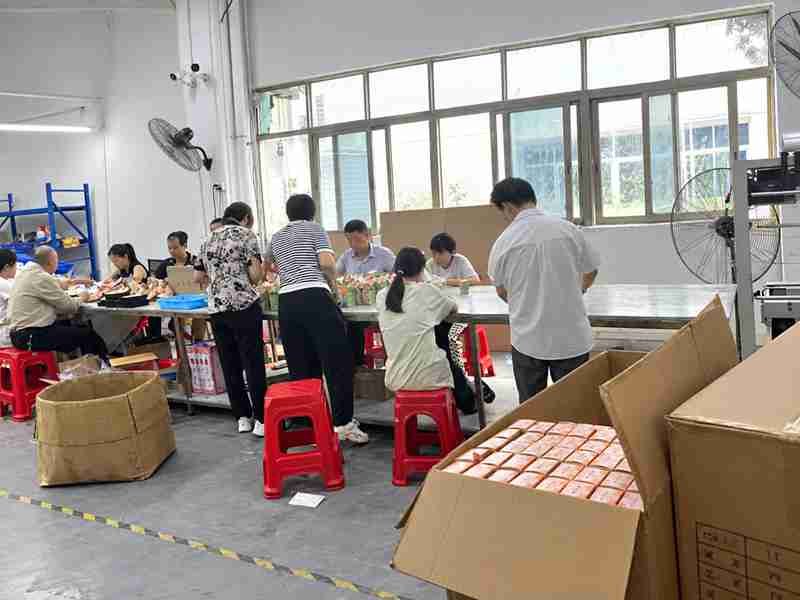
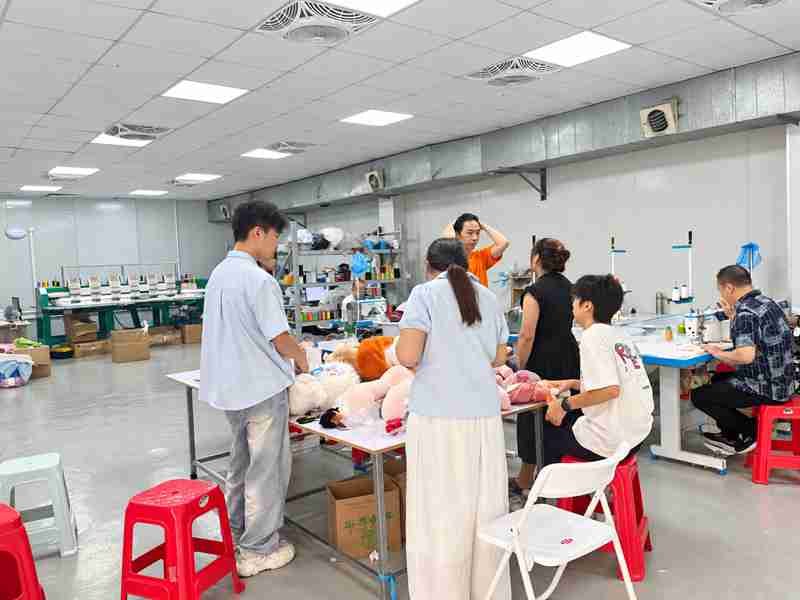
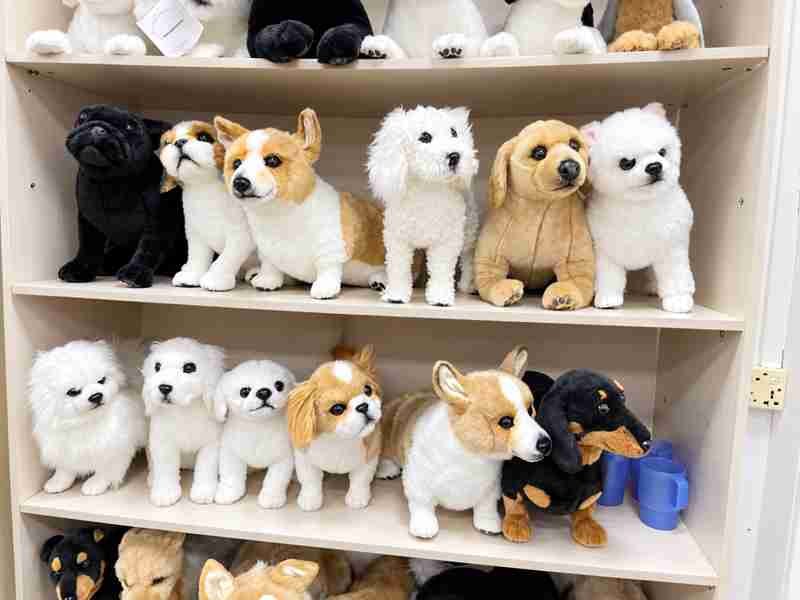
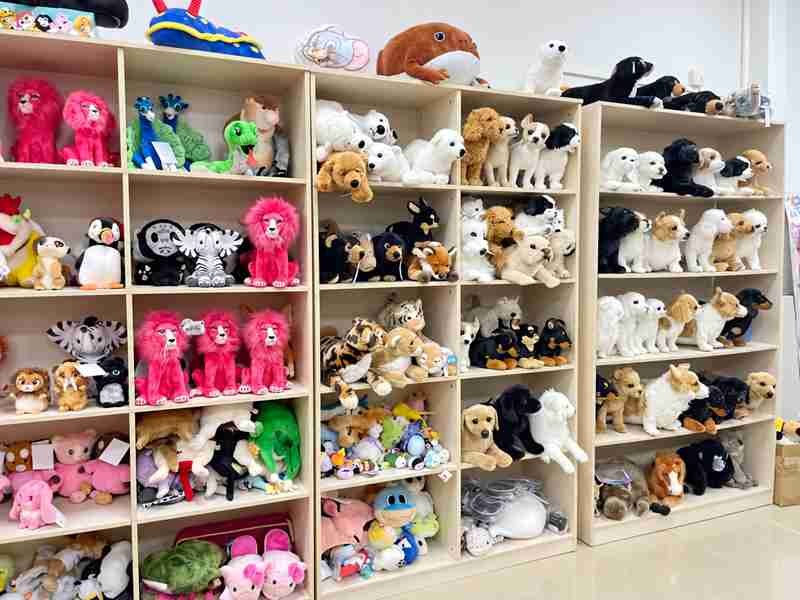
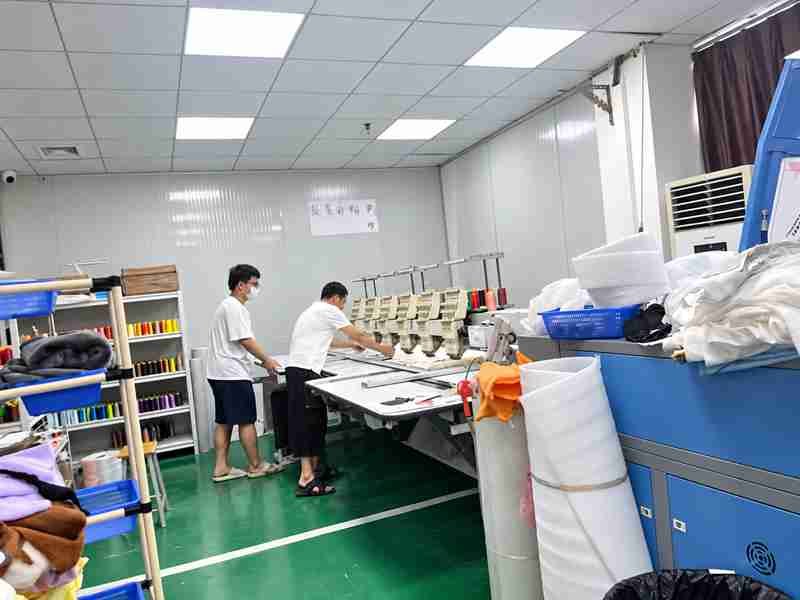
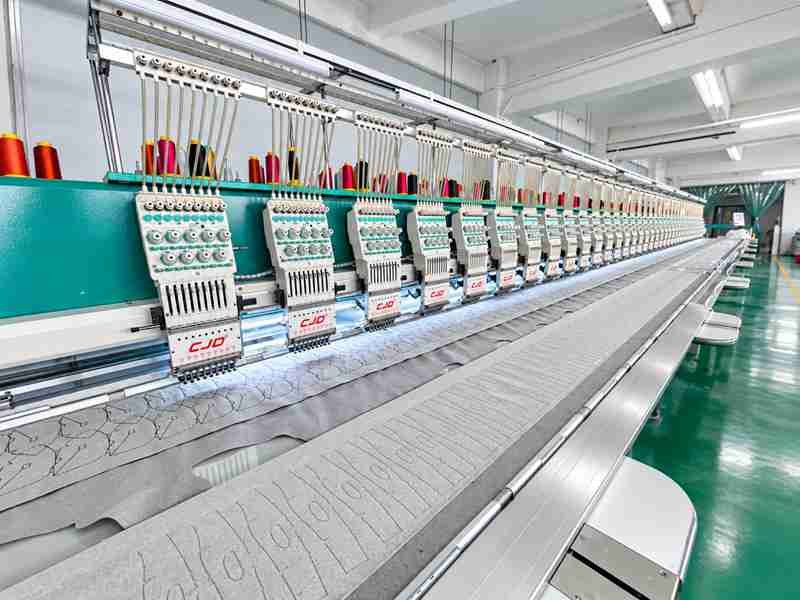
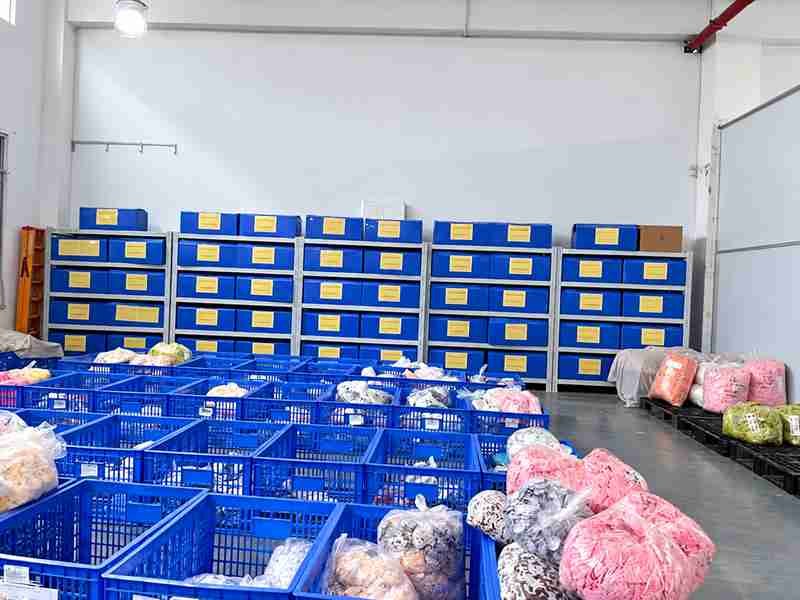
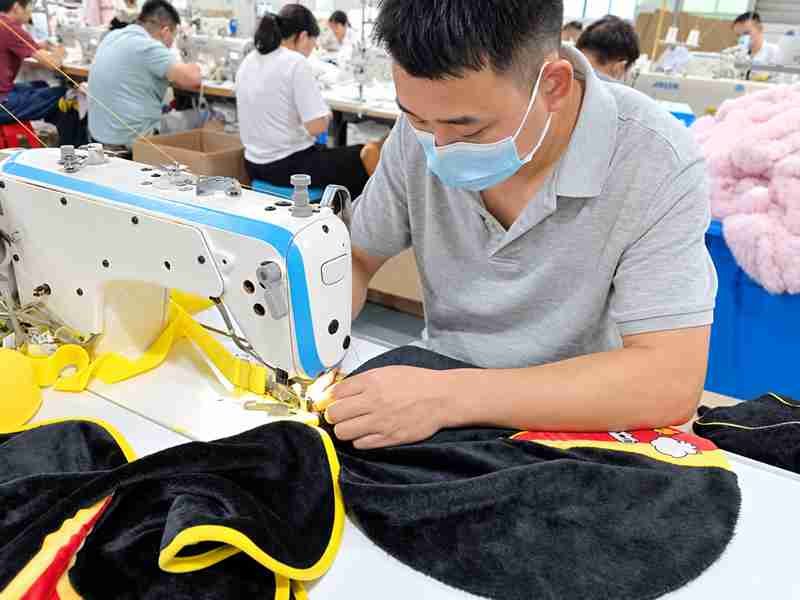
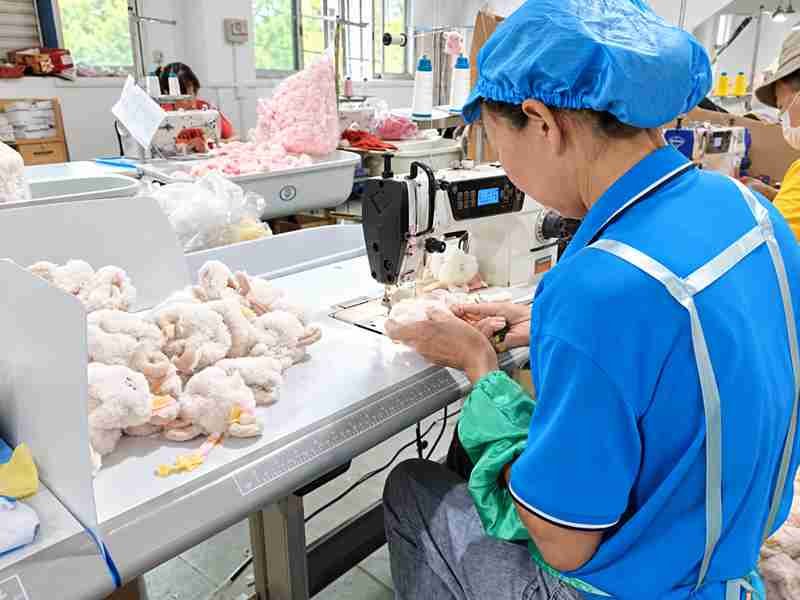
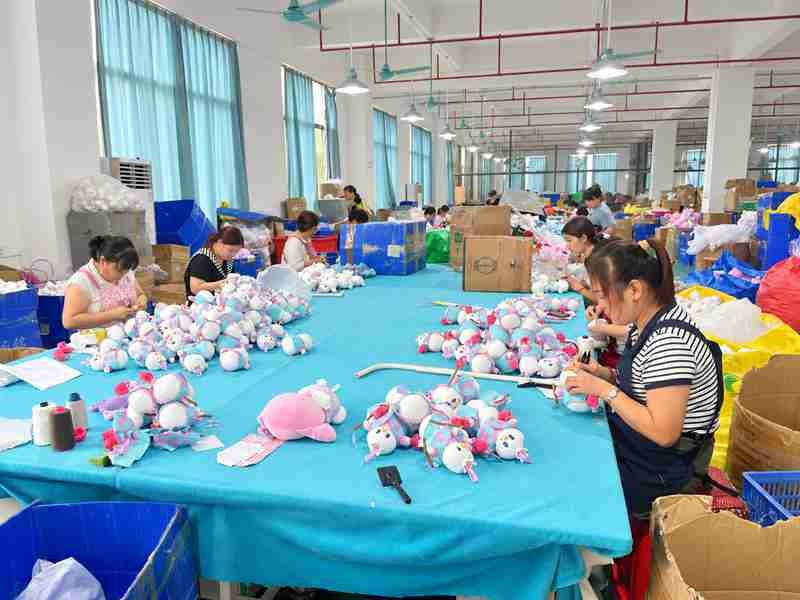
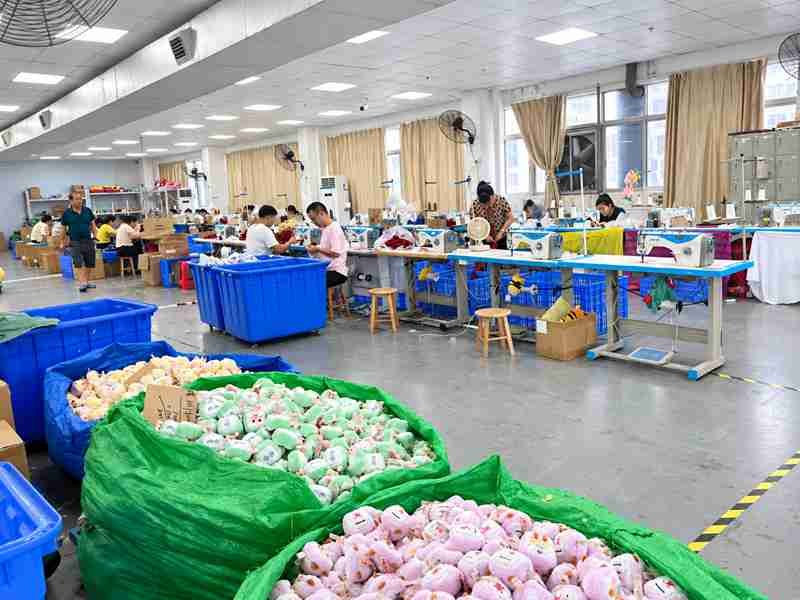
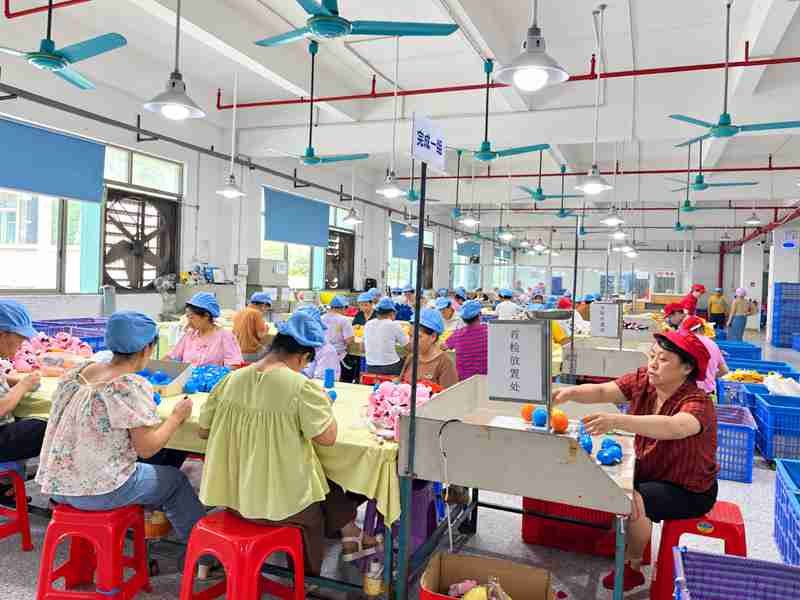
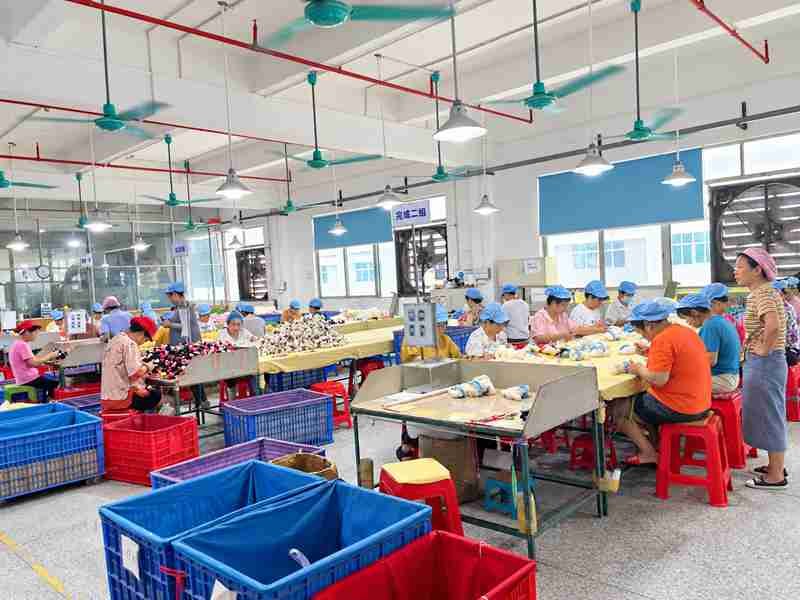
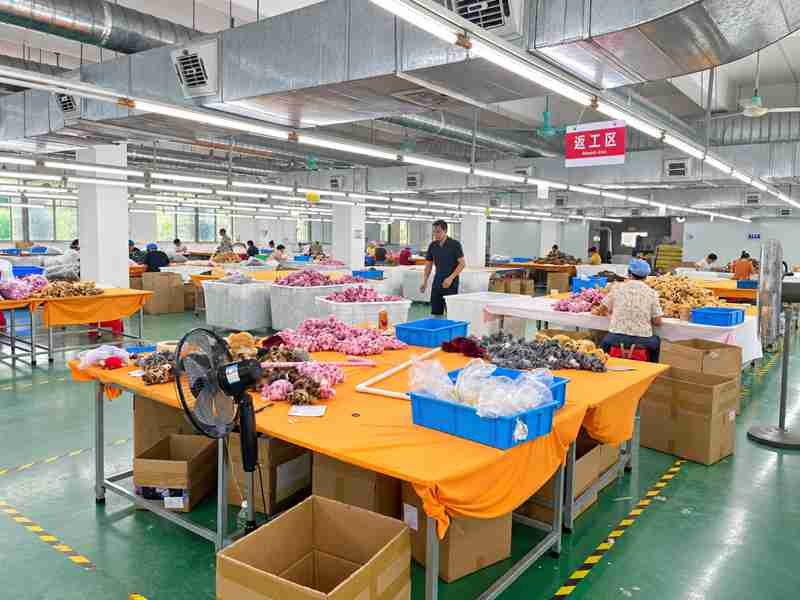
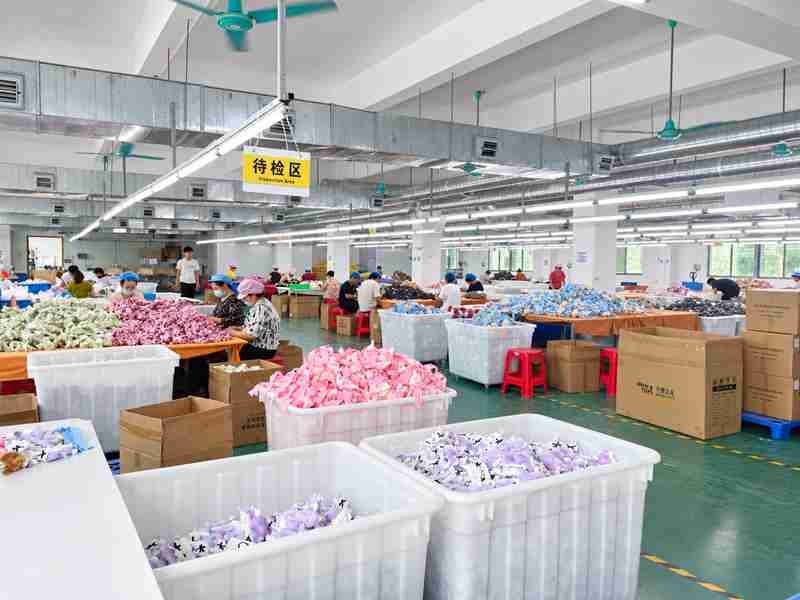
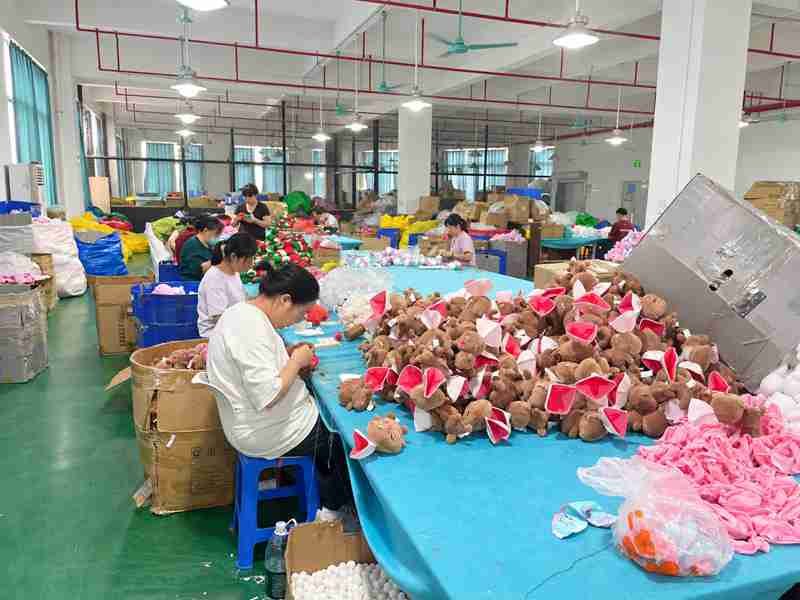
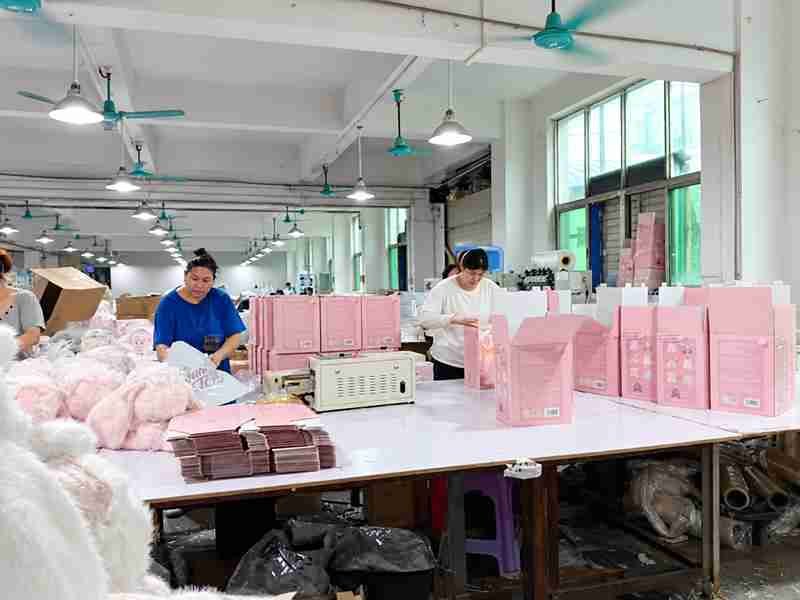
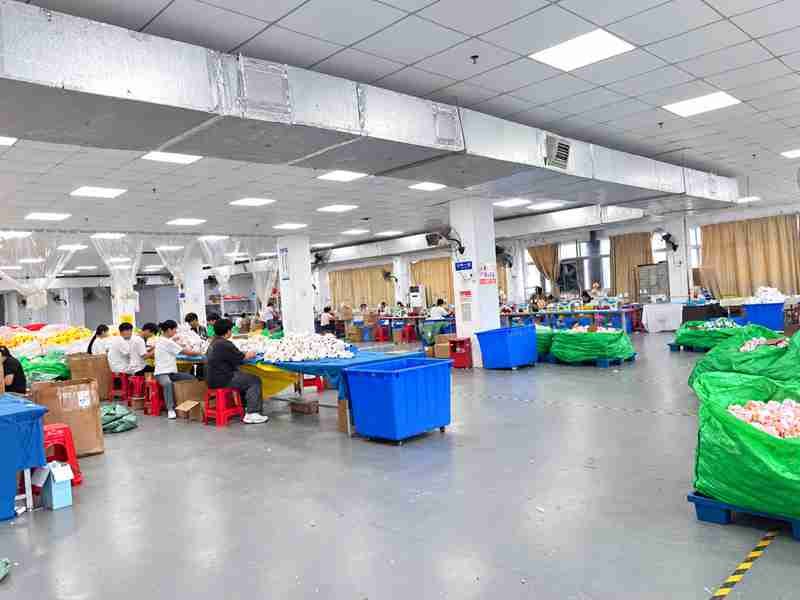
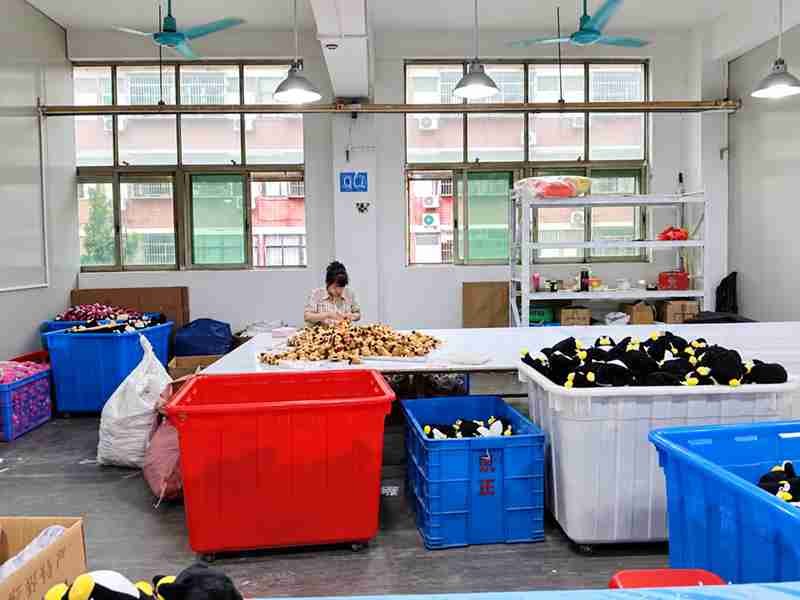
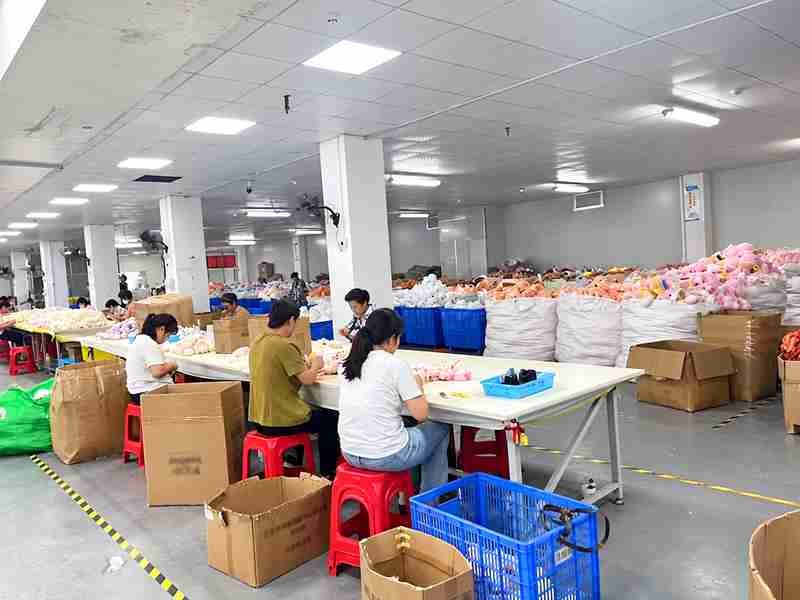
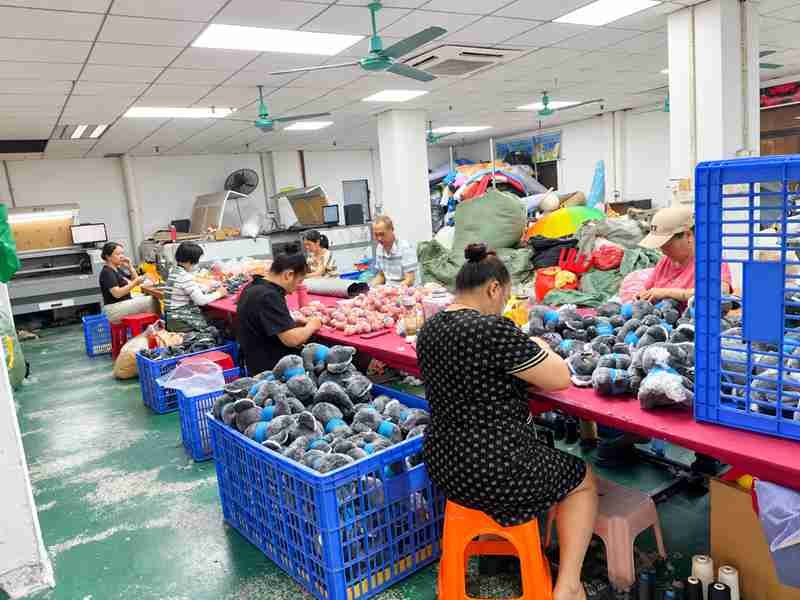
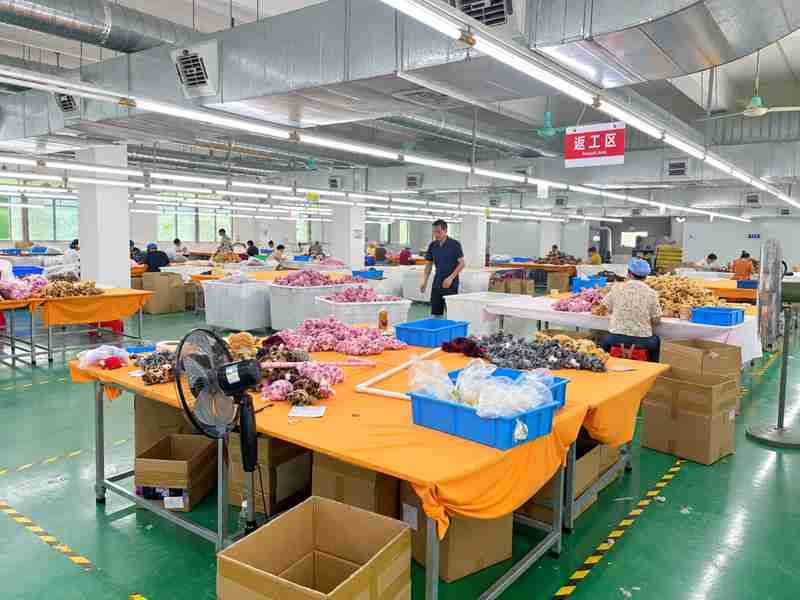
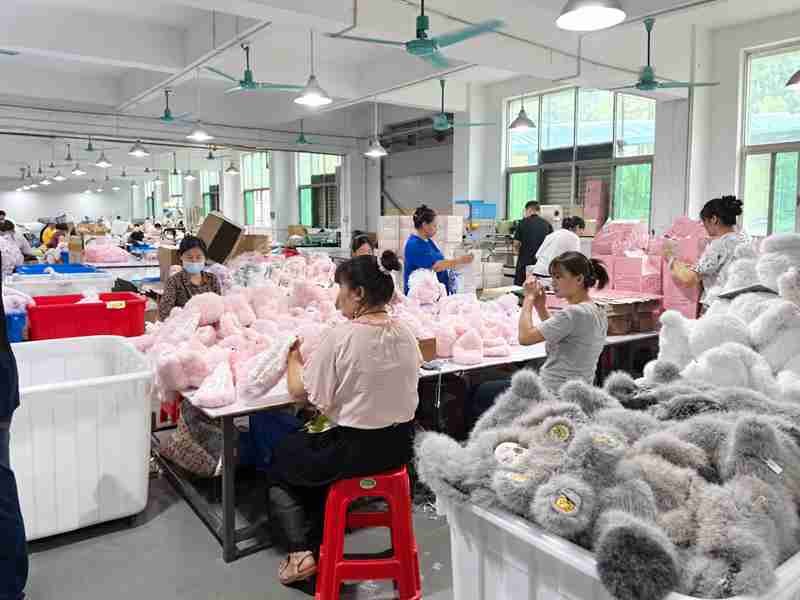
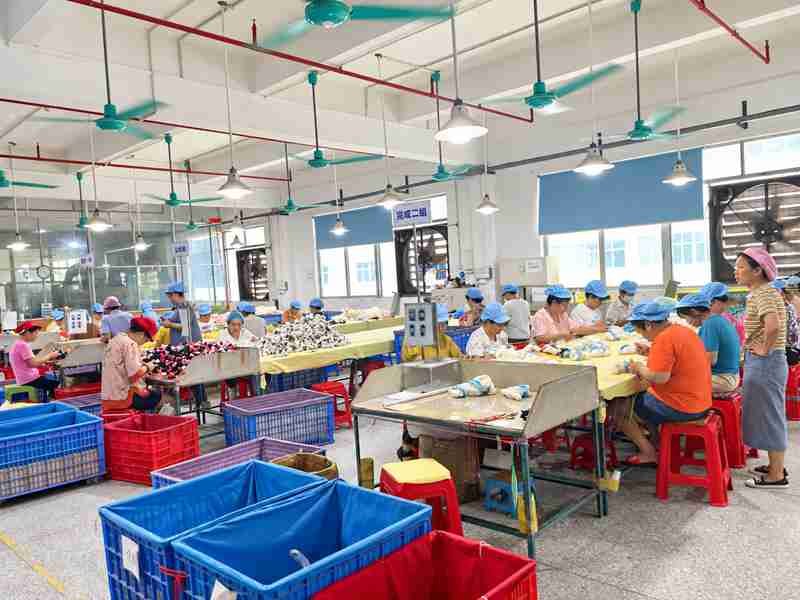
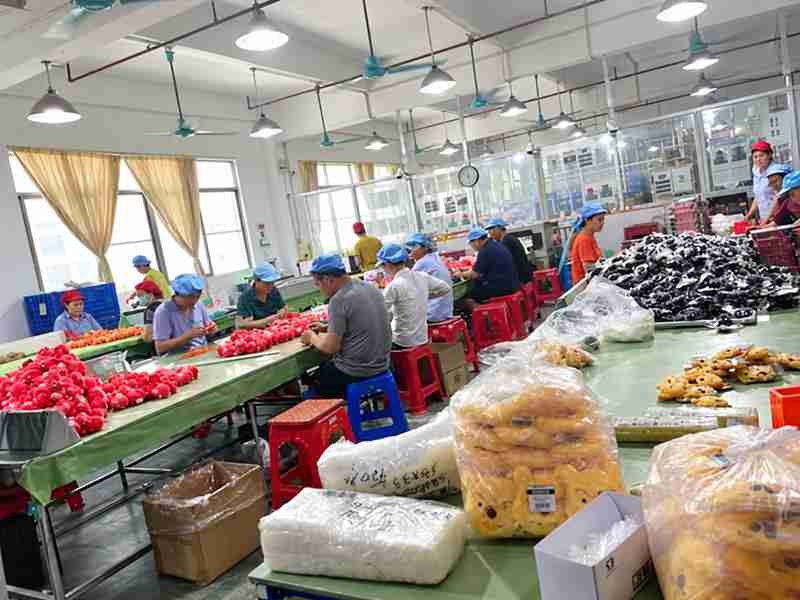
From Prototype to Production: Our Real Plush Factory Show
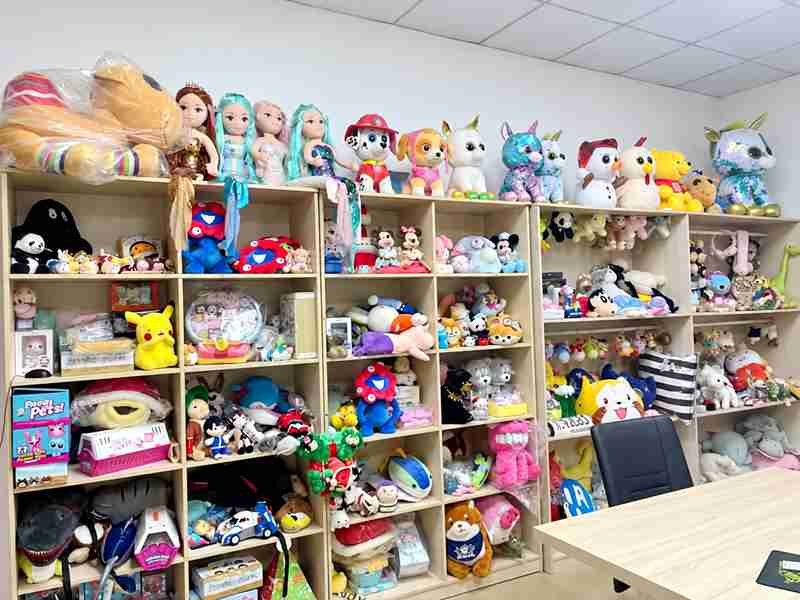
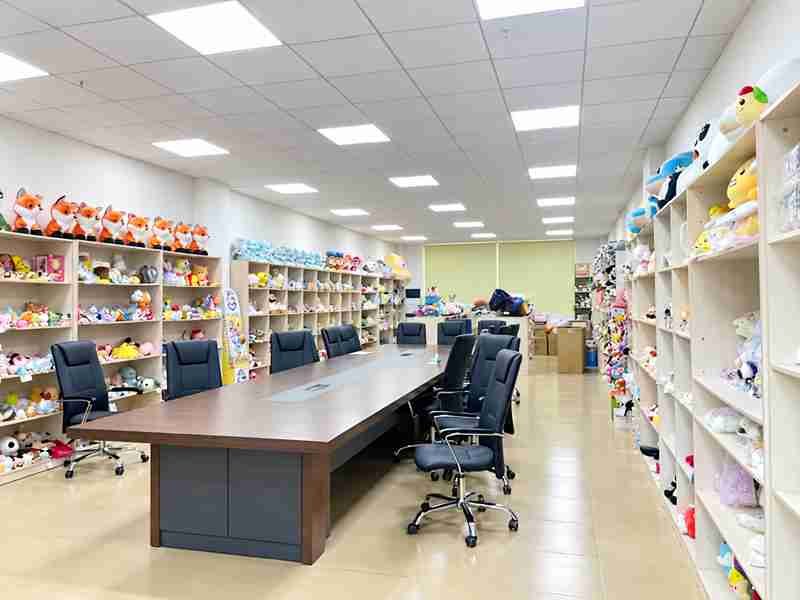
At Ewintoys, every plush project follows a structured development and production process, from initial design review and pattern making to sampling, mass production, quality inspection, and final delivery. Our real factory images provide a transparent view of how ideas are transformed into high-quality plush products through professional craftsmanship, engineering control, and careful production management.



























Frequently Asked Questions
Ewin can begin from artwork, character sheets, three-view drawings, 3D renders, approved prototypes, physical samples, or technical packages. Better multi-angle references reduce geometry assumptions during pattern development.
Yes, but side depth, back geometry, hidden seams, pose, and unsupported details still need definition. Ewin can identify the missing decisions before a representative prototype is made.
Not directly. Digital geometry must be translated into soft panels, seams, openings, material behavior, filling, supports, and manufacturing access before it becomes a workable plush pattern.
Separate panels create volume, material changes, decoration access, structural support, or assembly function. More panels are used only when they contribute enough value to justify added complexity.
Stretch, pile, thickness, nap, stiffness, and backing change finished volume and sewing behavior. The same cut dimensions can produce different shapes when the material construction changes.
Position marks are linked to the current pattern revision using centerlines, landmarks, seam clearance, and approved artwork. Pattern changes require a fresh decoration-position review before production.
Not by simple linear scaling. Each size needs review of seam allowance, pile, decoration, hardware, openings, filling, balance, and sewing access so the character remains manufacturable and visually consistent.
Each meaningful change receives a traceable pattern revision linked to the sample version and approval comments. Old files are retained instead of being overwritten with informal names such as “latest.”
A pattern becomes releasable after physical validation, revision closure, Golden approval alignment, current materials and decoration references, and controlled Released Pattern identification for production use.
Yes. Ewin can measure the product, review construction, materials, hidden seams, filling, and accessories, then rebuild or improve the pattern under a controlled supplier-transfer or redevelopment route.
Send Your Product for a Pattern Engineering Review
Share the reference that best explains the intended product: artwork, character sheets, front/side/back views, 3D renders, an existing sample, or the latest approved prototype. Include target product type, finished size, size range, quantity by SKU, material direction, logo or facial-decoration files, key accessories, functional components, target market, and the current development stage. If a sample already exists, include front, 45-degree, side, and back photos together with the shape, proportion, seam, scaling, or production problem you want corrected. Ewin Toys can review the geometry against pattern structure, material behavior, decoration placement, assembly access, sampling, DFM, revision control, and the route toward a Released Pattern and production-ready product definition.