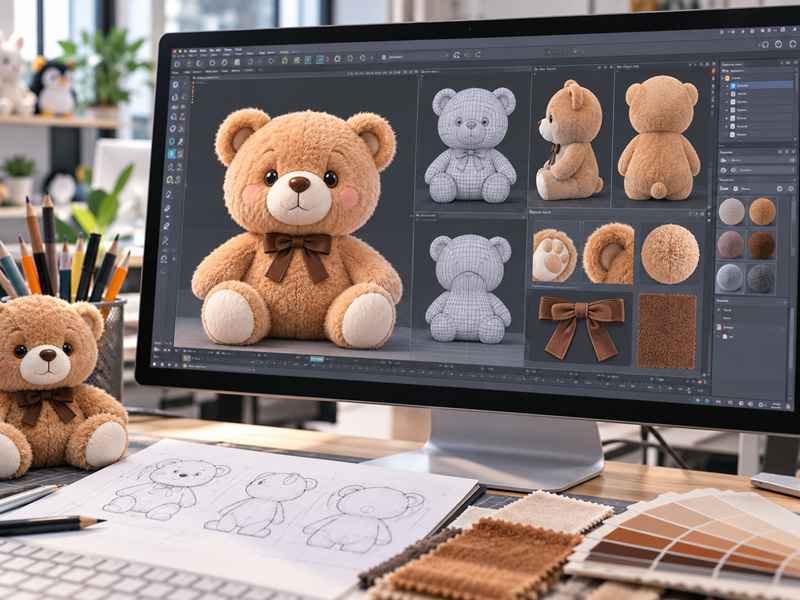
Plush 3D Modeling for Faster Design Validation
Visualize character proportions, structure and key details before physical sampling begins. Ewin Toys uses 3D development tools to help brands review complex forms earlier, reduce avoidable revisions and improve communication between design, pattern engineering and production teams.
60+ Product Development Team | 3D Scanner & 3D Printer Support | Character Proportion Review | Structural Visualization | Molded Part Validation | Accessory Fit Checking | Prototype Preparation
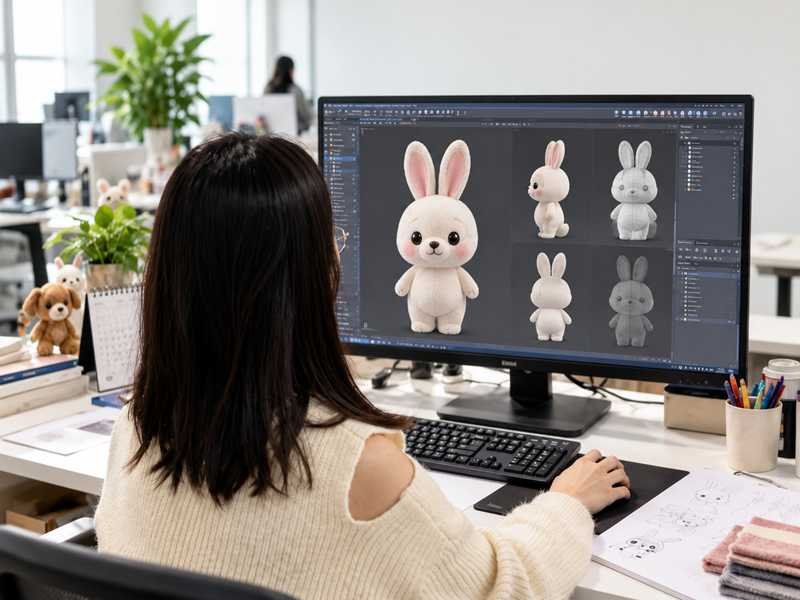
What a Plush 3D Model Really Means
Visual Geometry Reference
Engineering Development Input
Not a Production File
Project Inputs Ewin Can Develop From
3D Render
Character Turnaround
Character Sheet
Game Animation Reference
Artwork Plus 3D View
Physical Reference
Translate Digital Geometry Into Soft Plush Structure
Rebuild Hard Geometry as Sewable Volume
A game or animation model may use perfectly sharp cheek planes, knife-like hair points, thin fins, hollow gaps, or hard mechanical corners. Soft fabric behaves differently: it stretches, compresses, rounds under stuffing, and changes shape when seams pull against each other.
Ewin first identifies which geometry defines the character and which geometry only exists because digital modeling has no textile constraints. Major rounded volumes can be created through panel curvature, darts, gussets, seam lines, and controlled filling. Sharper forms may need Felt, EVA, foam, layered panels, PU, selected molded parts, or internal reinforcement.
The objective is not to make every polygon visible. The objective is to preserve the silhouette, proportion, expression, and signature features people recognize while creating a construction that can be cut, sewn, turned, filled, inspected, and repeated in production.
Give Floating Details a Real Attachment Method
Digital hair strands, capes, wings, weapons, badges, tails, antennae, armor panels, and decorative layers can appear to float or intersect without gravity. A physical plush needs a defined connection point, load path, thickness, orientation, and assembly sequence.
Ewin reviews whether each feature should be sewn into a seam, topstitched, inserted through a slot, attached with a reinforced base, supported internally, connected with a soft loop, or produced as a separate accessory. Large off-center parts also affect balance and may change the character’s sitting or standing posture.
Attachment decisions are made before final pattern release because a late-added feature can force new openings, extra layers, seam changes, or handwork. Resolving the interface early reduces visible distortion and makes the detail easier to reproduce across many pieces.
Convert Surface Effects Into Real Materials and Processes
Digital models can display metal, leather, glowing parts, gradients, scales, fur, smooth plastic, transparent effects, and complex textures without manufacturing limits. Plush development needs each visual effect assigned to a real material or decoration route.
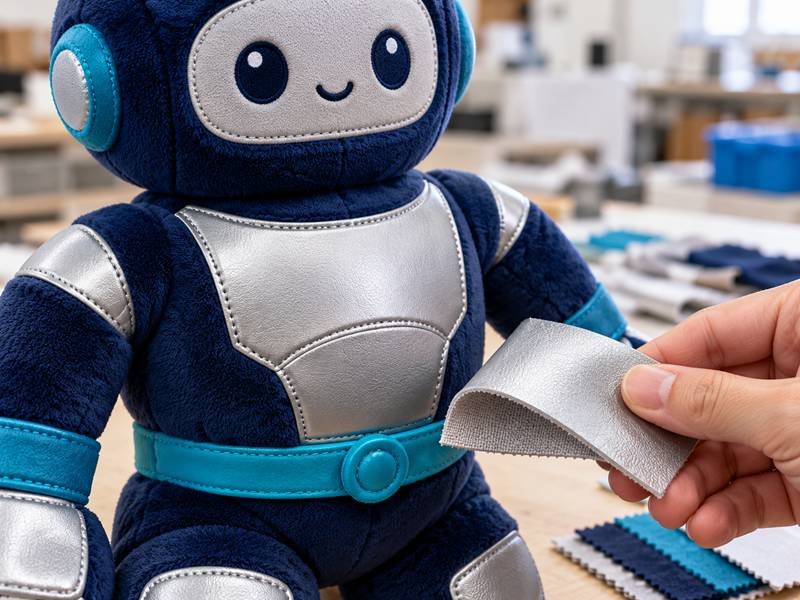
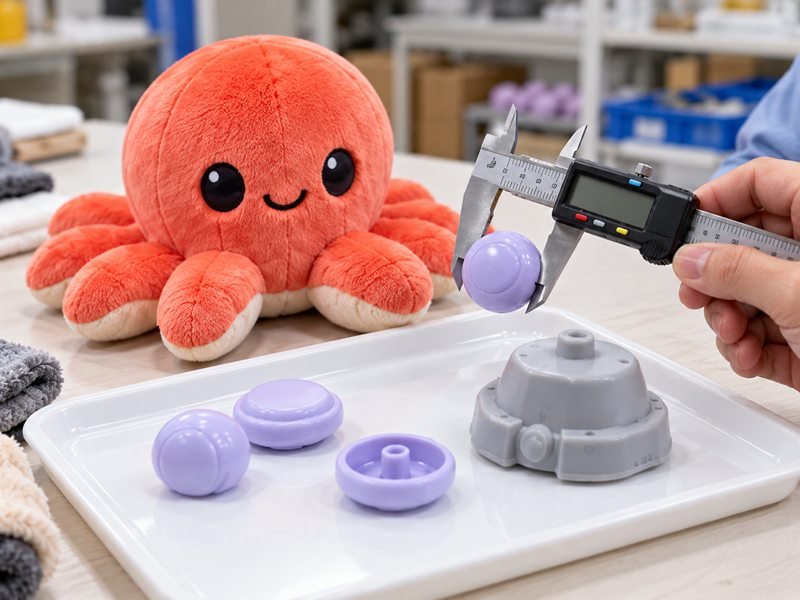
Ewin may translate a smooth colored area into short-pile plush, a hair mass into long-pile fur or layered fabric, armor into Felt or PU, a fine face detail into embroidery, a gradient into compatible printing, and a hard emblem into a controlled molded or soft component. Material choice also changes perceived volume, edge definition, stiffness, and color.
The approved surface language therefore becomes a material-and-process map, not only a color image. That map helps sampling, sourcing, decoration, sewing, QC, and later reorders work from the same visual definition.
Character Geometry We Define Before Sampling
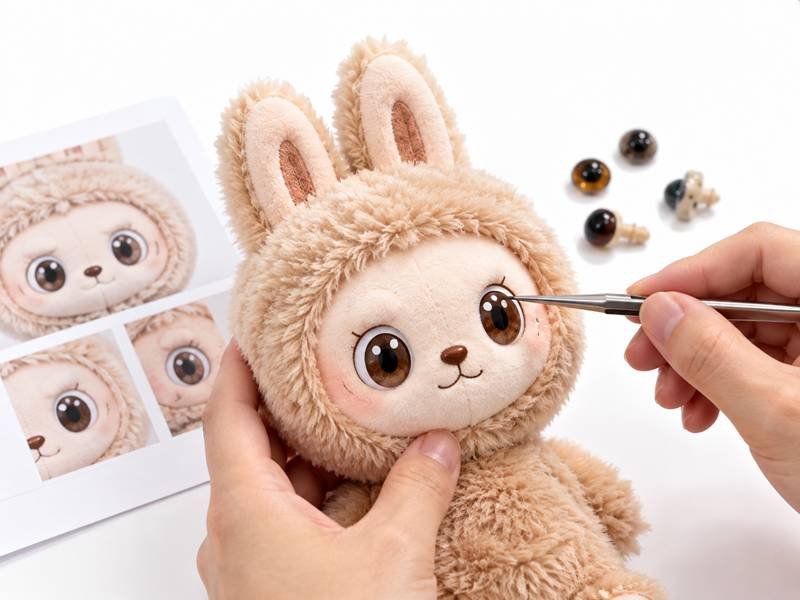
Eye Position

Face Shape
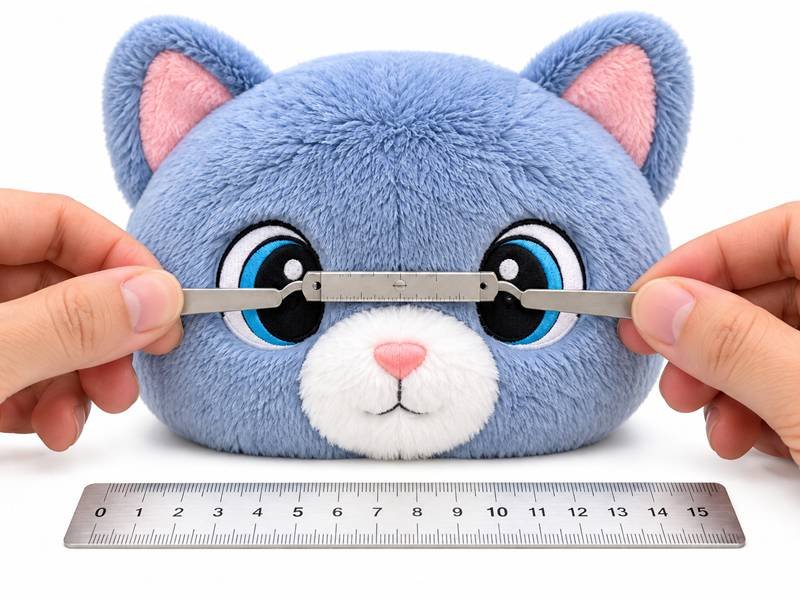
Eye Spacing
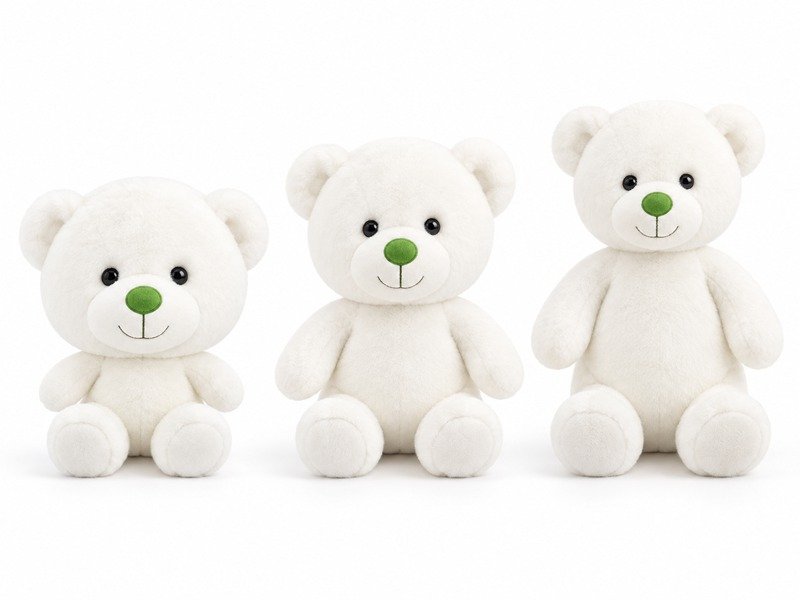
Head Body Ratio
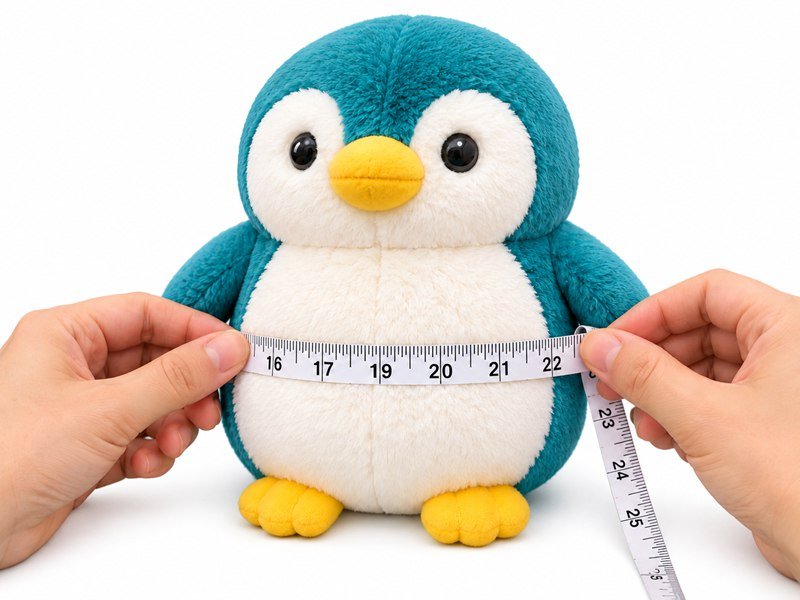
Body Proportion
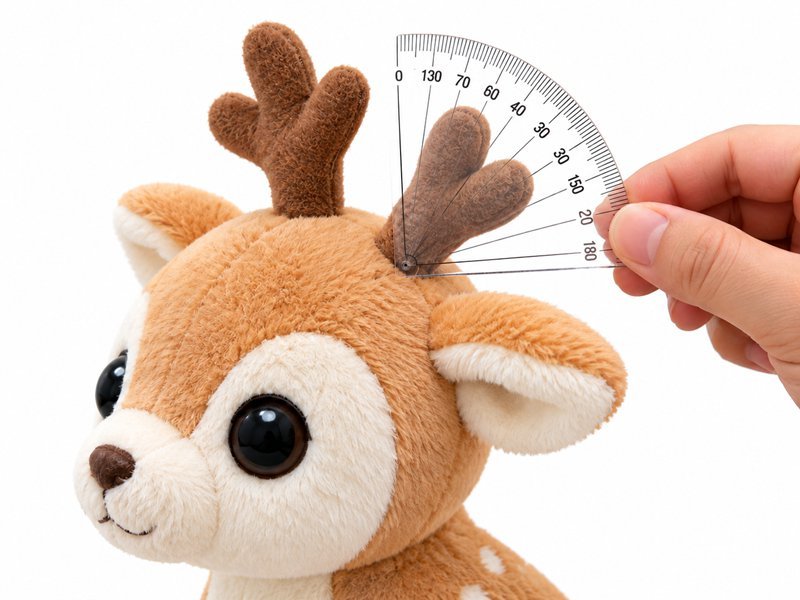
Ear Horn Angle
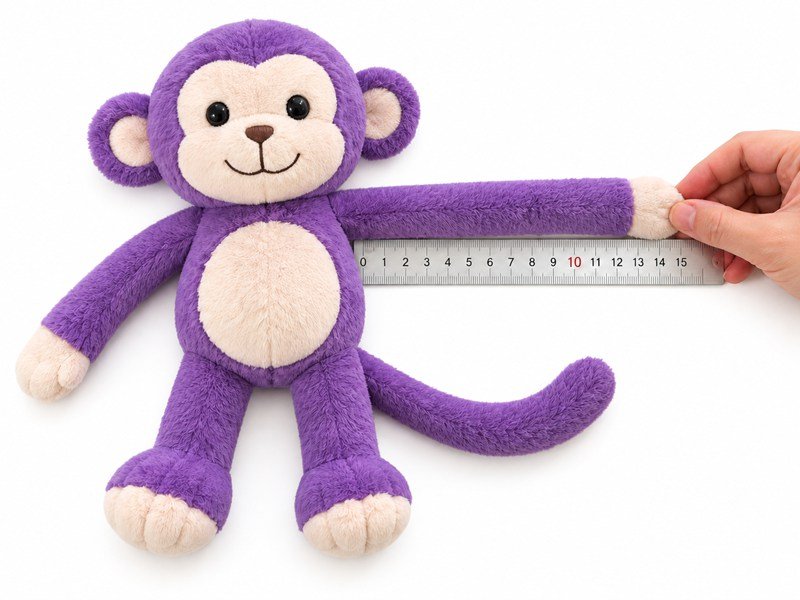
Limb Length
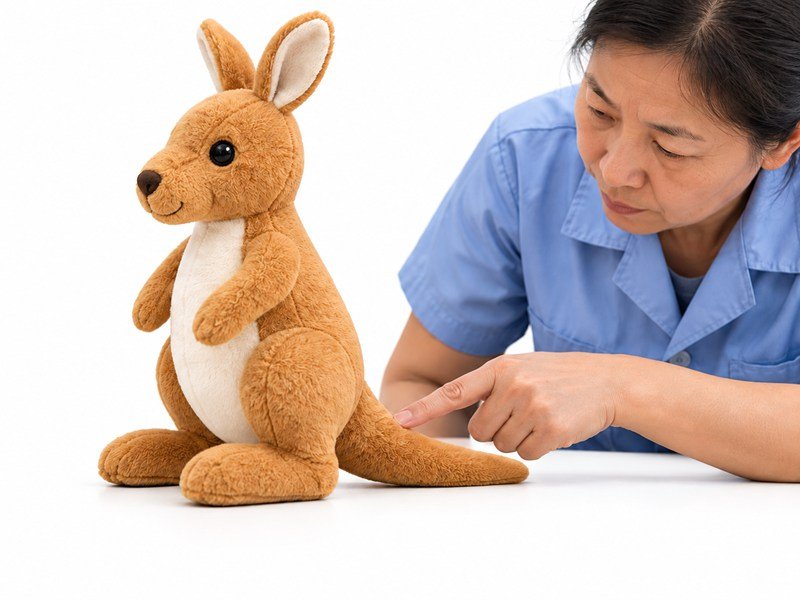
Pose and Balance
Product Types Developed From 3D Character References
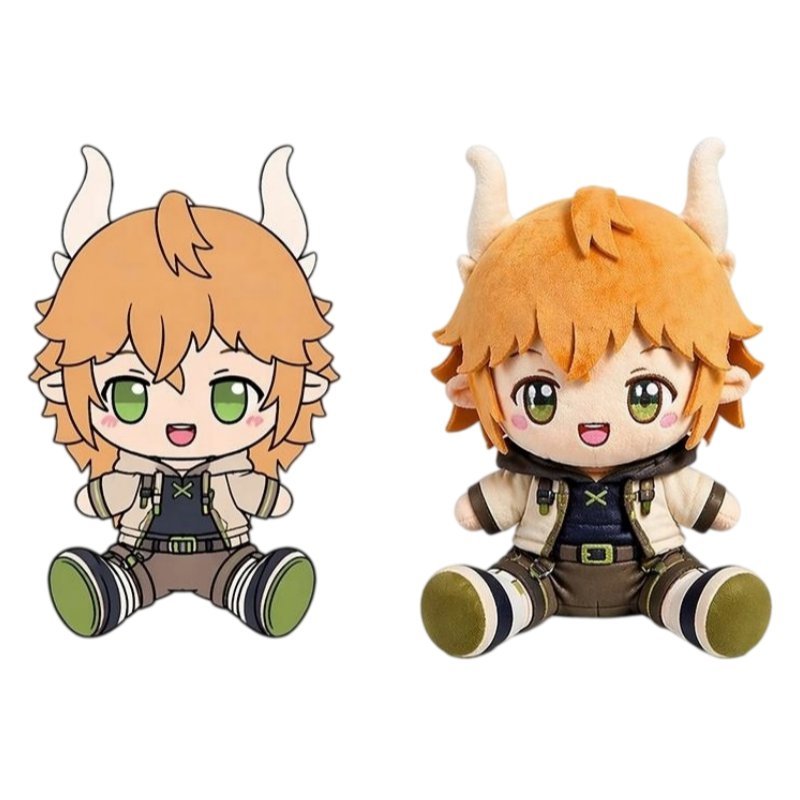
Anime Plush
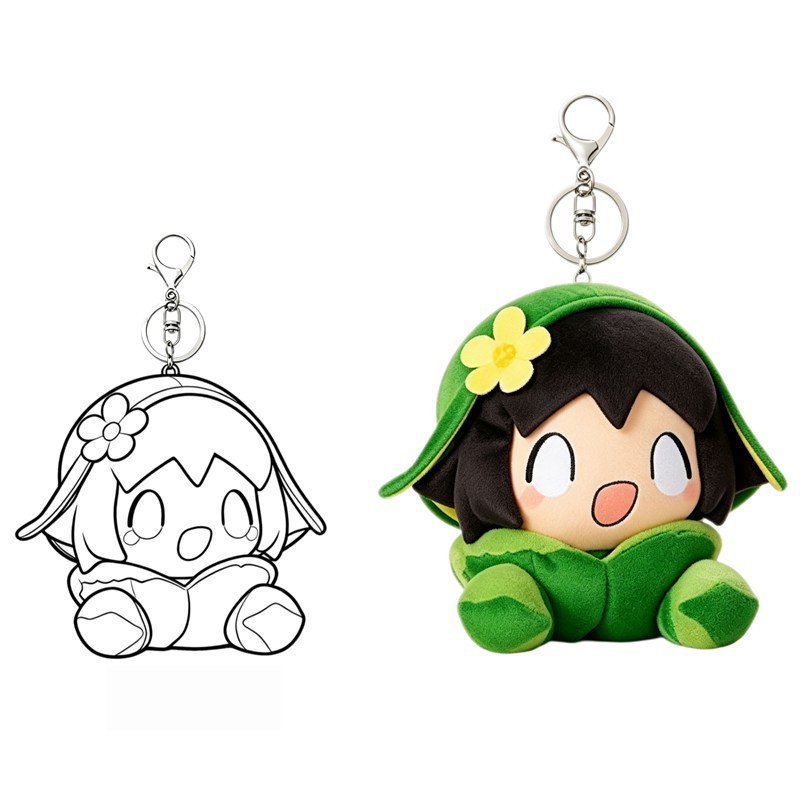
Character IP Plush
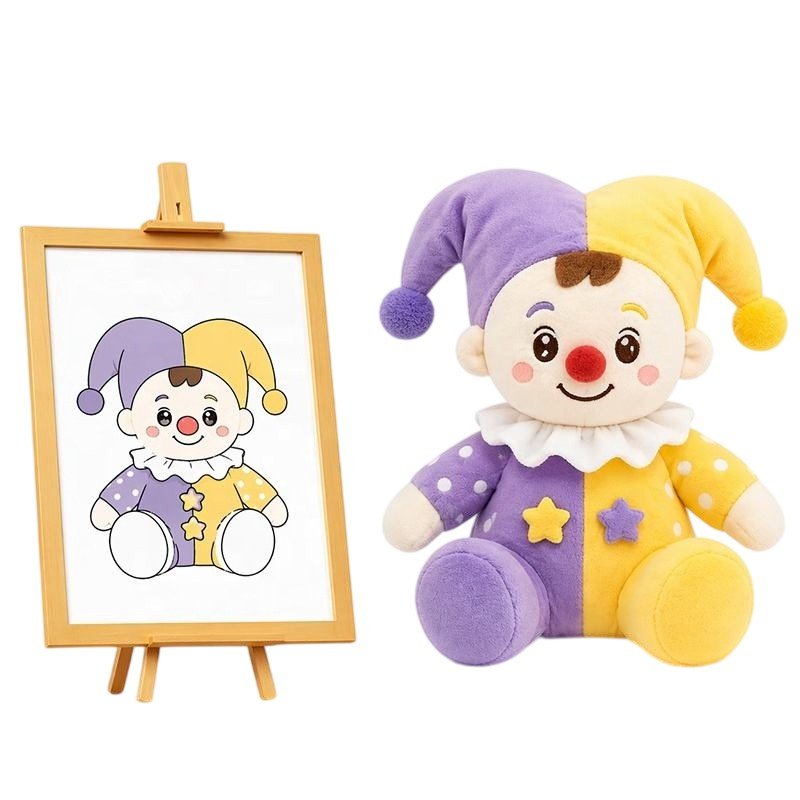
Collectible Plush
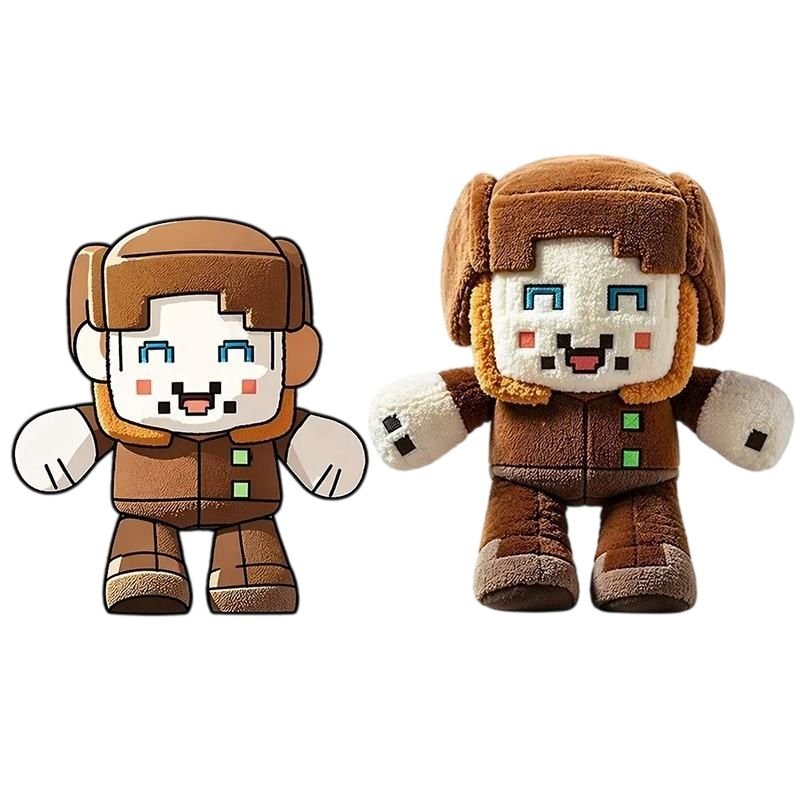
Gaming Character Plush
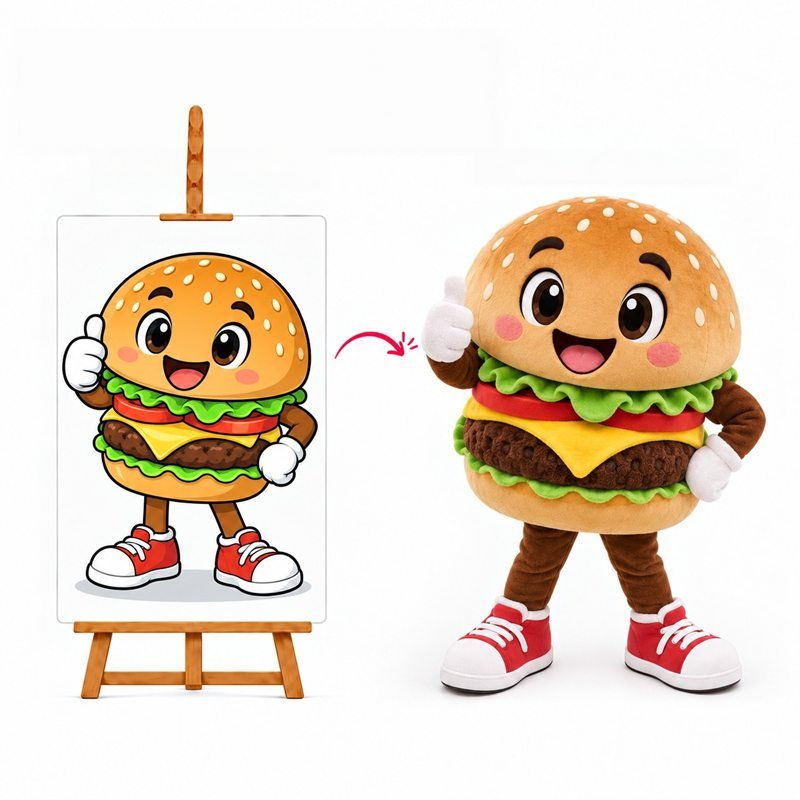
Mascot Plush
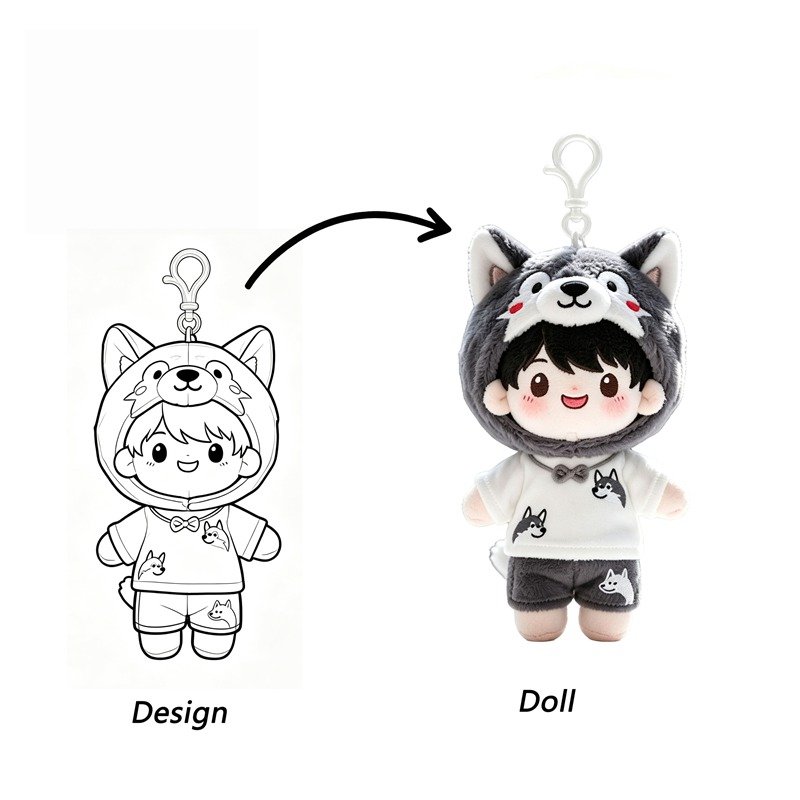
Plush Keychain
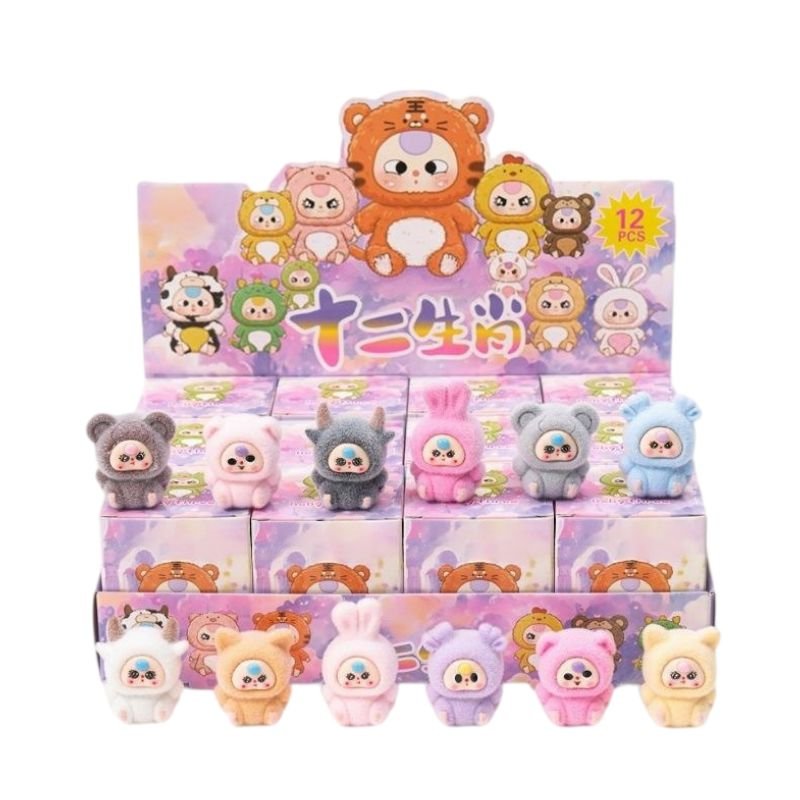
Mini Blind Box
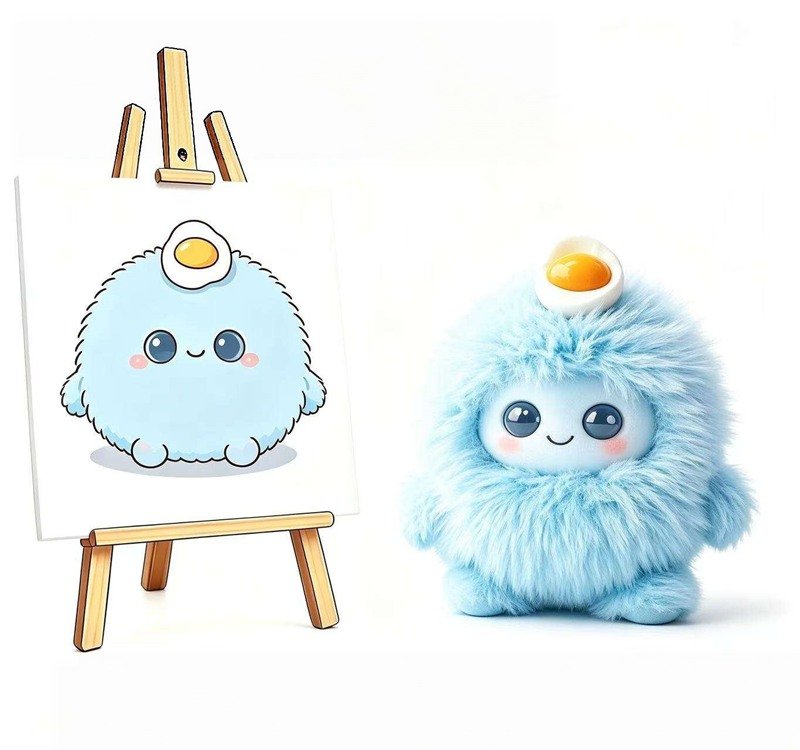
Hybrid Electronic Plush
Translate 3D Surface Language Into Real Materials
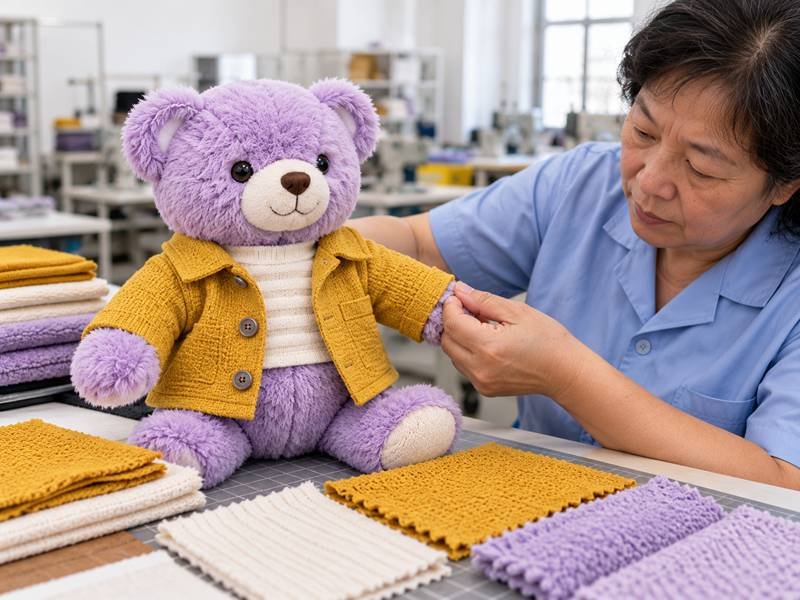
Material choice affects volume, edge definition, color, softness, and how closely a physical plush can reproduce the visual language of the 3D reference.
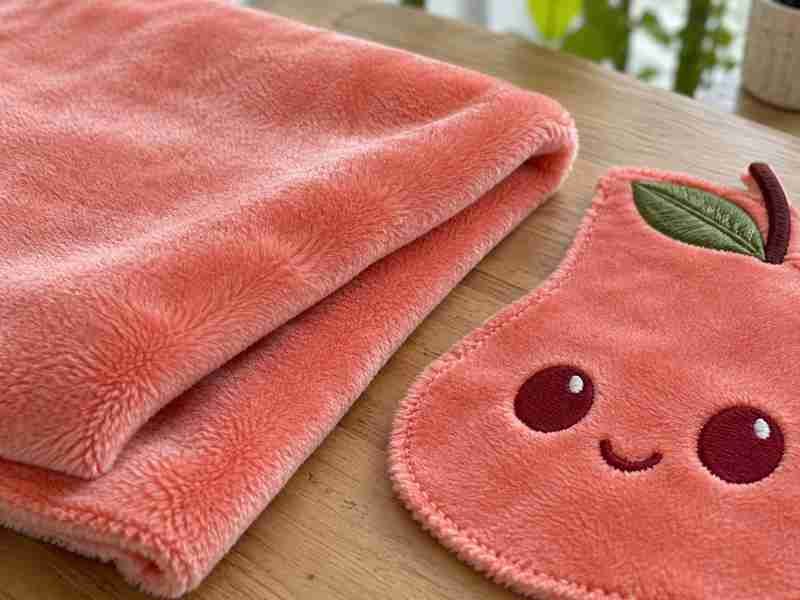
Short Pile Plush
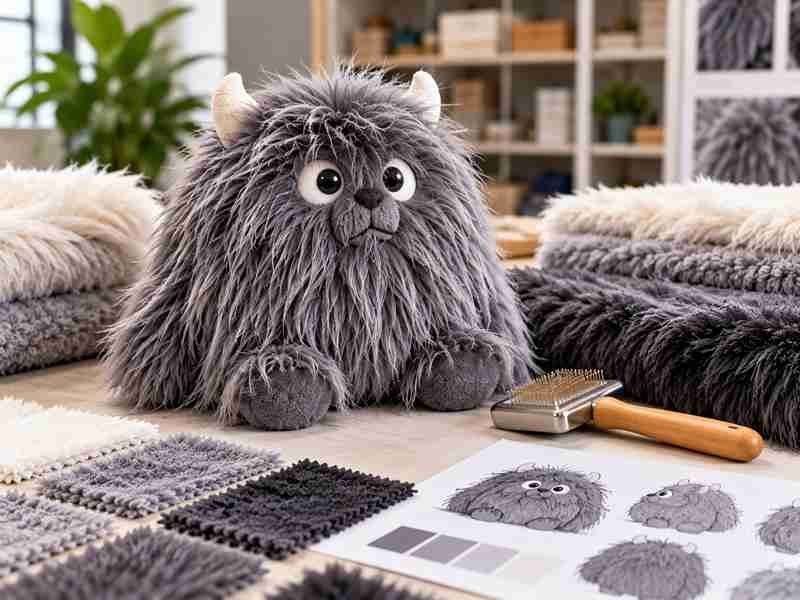
Long Pile Fur
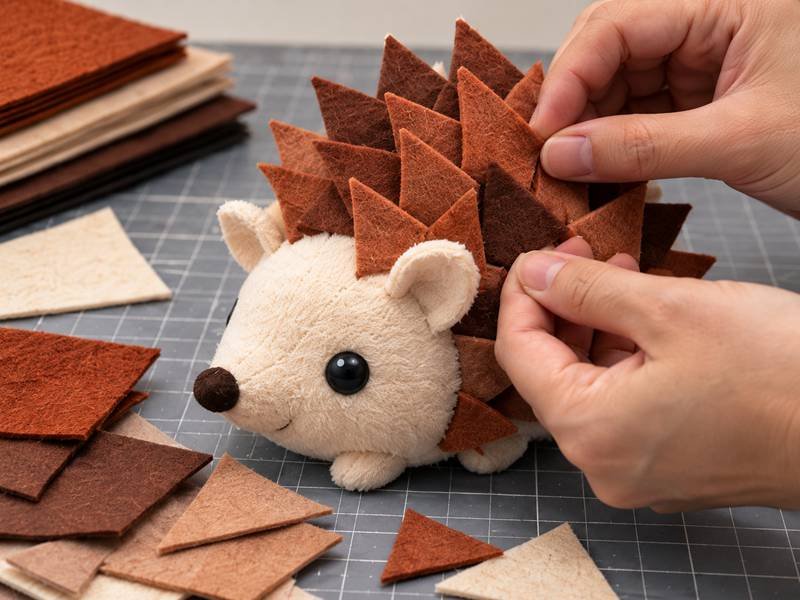
Felt Structures
PU Surface Detail
Molded Components
Clothing Fabrics
Re-Engineer Hard Features for Soft Product Construction
Hair, Spikes, Ears, and Horns
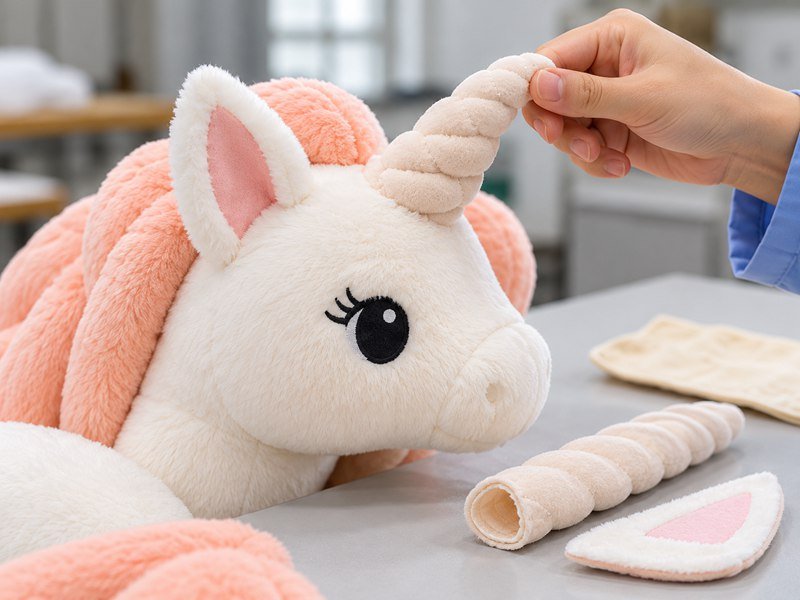
Pointed digital forms are among the first details to lose shape in soft plush. A narrow spike may round after turning, long ears may collapse, layered hair may become too thick, and horns may twist because fabric and filling respond to gravity.
Ewin evaluates whether the feature should be created through curved panels, layered Felt, folded construction, foam, EVA, selected reinforcement, long-pile shaping, or a controlled molded component. Root width and attachment angle are reviewed together because a beautiful tip is useless if the base cannot hold orientation.
Hair also needs a silhouette strategy. Large hair masses should be defined first, then secondary layers and surface detail. This avoids overbuilding the character with too many tiny pieces that increase sewing time and variation without improving recognition. The result should look intentional from front, 45-degree, side, and back views.
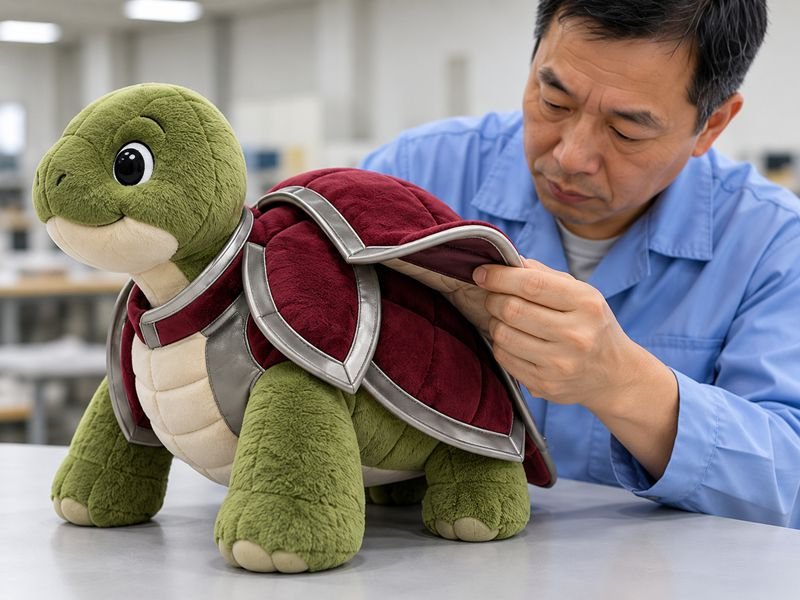
Armor, Equipment, and Hard-Looking Details
Armor plates, belts, shoes, mechanical panels, helmets, shields, and other hard-looking features can be translated through fabric layers, PU, Felt, quilting, appliqué, embroidery, soft padding, or selected hardware. Literal hardness is not always necessary to preserve the character.
The development team reviews thickness, edge treatment, bending, contact with the body, sewing access, and whether a hard detail could create an uncomfortable pressure point. Large accessories also affect packing volume, center of gravity, and attachment strength.
Where a rigid or molded component is justified, Ewin defines how the plush shell interfaces with it: pocket, stitched flange, backing patch, internal anchor, opening, or assembly sequence. The goal is to make the hard visual feature feel intentional while keeping the surrounding plush safe, soft, and manufacturable.
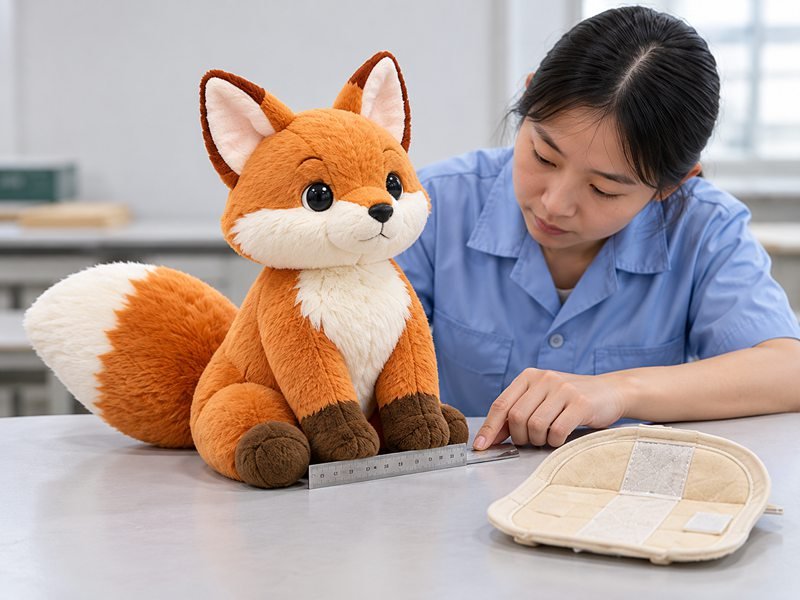
Standing, Sitting, and Action Structures
Digital characters can stand in poses that ignore gravity. Physical plush must balance its own head, limbs, accessories, and filling on a real support surface. A large head, narrow legs, long tail, backpack, or weapon can move the center of gravity outside the intended base.
Ewin reviews whether the character is best developed as standing, sitting, leaning, four-legged, flat, or supported by an accessory. Pattern angles, foot shape, hip volume, filling zones, internal supports, and weighted sections can be adjusted so posture comes from construction rather than manual posing.
Action poses such as a tilted head, outstretched arm, crossed legs, or flying position should also be engineered into seam angles and attachment points. A pose that only one sample maker can recreate by hand will not remain stable in large production.
Review the Character From Every Important Angle
Front View
45-Degree View
Side View
Back View
Develop Physical Samples From the 3D Reference
Start With Feasibility and Prototype Logic
The first development task is deciding what must be validated before a complete visual sample is built. Projects with sharp geometry, unusual pose, thin limbs, internal modules, large accessories, or unclear side and back views may benefit from an early structural prototype.
A prototype can use approximate materials or temporary colors when the purpose is to verify volume, head-body proportion, appendage attachment, balance, basic face location, or whether the intended structure can be sewn and turned. Any temporary condition should remain clearly identified so it is not mistaken for final material approval.
Ewin’s 60+ development organization, including 20+ senior pattern masters, supports the transition from visual reference to pattern and physical form. The first sample stage should expose unknowns early – before final materials, decoration, packaging, and bulk production decisions make corrections more expensive.
Build V1 as the First Full Review Sample
V1 is the first version where the project should begin to look and feel like the intended commercial product. Target fabrics, primary colors, embroidery or printing, filling logic, clothing, accessories, and main structural features should be represented closely enough for a meaningful review.
The team compares V1 with the locked 3D and artwork references across silhouette, face, proportion, side volume, pose, color, material, hair, clothing, accessories, and handfeel. Comments should identify measurable problems rather than broad statements such as “make it more accurate.”
Examples include moving an eye center 3 mm, widening the front face, adding rear-head volume, reducing hair thickness, changing an ear angle, shortening an arm, increasing foot area, or adjusting filling around the muzzle. Each change should connect back to the affected pattern, material, decoration, or assembly definition.
Revise Toward Golden and Production Readiness
V2, V3, and later revisions should close specific comments while checking the knock-on effects of each change. Widening the head may alter eye spacing and hair placement. Changing fabric may alter apparent volume. A larger accessory can change balance and packaging.
Once the visual and structural definition is approved, the final state moves toward Golden Sample, frozen BOM, released pattern, current artwork, and production specifications. A PP or production-readiness sample can then verify whether the approved design can be reproduced using bulk conditions rather than sample-room techniques alone.
Sampling therefore does more than prove Ewin can make one attractive plush. It progressively converts the 3D reference into an approved, traceable, inspectable, and manufacturable product definition that production teams can repeat without relying on memory or personal interpretation.
Control Every Sample and 3D Revision
Clear version language prevents approved geometry, patterns, materials, and decoration files from becoming mixed during multi-round development or later production.
| Version | Purpose | Main Review | Production Status |
| P0 / Prototype | Explore structure and volume | Proportion, pose, support, difficult features | Not for bulk |
| V1 | First full development sample | Fidelity, material, decoration, construction | Not for bulk |
| V2 / V3 / V4 | Controlled revision samples | Comment closure and linked changes | Not for bulk |
| FA Candidate | Final approval candidate | Remaining visual, structural, commercial checks | Awaiting freeze |
| G1 / Golden | Approved physical product definition | Full appearance, material, process, dimensions | Bulk reference after required release gates |
| PP1 | Production-readiness sample | Frozen BOM, released pattern, bulk process, QC feasibility | Supports bulk release |
| R1 / Reorder | Controlled repeat-order version | Previous Golden plus approved changes | Reorder-controlled |
Review Character Fidelity as an Engineering Process
Lock the Character Before Judging Accuracy
A fidelity review starts with one agreed reference set. Brand teams often hold multiple renders, screenshots, marketing art, in-game models, color references, and costume versions. If the development team and approval team are looking at different assets, “accuracy” becomes impossible to judge consistently.
Ewin establishes a reference baseline for silhouette, proportion, face, expression, materials, colors, hair, clothing, accessories, pose, and the most important character-defining features. Those critical features should remain visible across all revisions and should not be traded away casually for easier production or lower cost.
A structured baseline also helps resolve contradictions. A front render may show one eye spacing while a perspective image visually compresses it. A game model may contain geometry hidden by camera angle. Reference locking gives the team a clear hierarchy before physical development begins.
Review Silhouette and Proportion Before Small Details
If the overall head, hair, body, ear, limb, or tail silhouette is wrong, adding more embroidery will not fix the character. Ewin therefore reviews the large geometry first: head width and height, body volume, head-to-body ratio, appendage length, accessory scale, and key angles.
Proportion comments are converted into relationships or dimensions instead of vague language. Eye spacing can be related to face width; ear length to head height; arm length to torso; accessory width to body; sitting height to total height. Those relationships are especially useful when one character will later be developed in several sizes.
Only after silhouette and proportion are stable should the team spend more effort on facial lines, surface decoration, small accessories, and premium finishing. This review order shortens revision loops because it prevents detailed work from being repeated after a major geometry change.
Confirm Face, Surface, Pose, and Overall Character Spirit
The final review needs more than a measurement sheet. Face and expression are judged as a group: eye position, spacing, brows, mouth, muzzle volume, cheeks, and head angle all influence emotion. Materials and colors affect perceived geometry, softness, and brand tone. Hair, clothing, and accessories affect the silhouette.
Ewin also reviews the physical sample from front, 45-degree, side, back, and intended sitting or standing positions. A character that is accurate only from the marketing-photo angle is not a strong manufacturing result.
Once the key features are approved, the development team identifies which ones become Critical-to-Quality references for production and QC. Fidelity then moves from subjective approval into measurable pattern, decoration, material, filling, assembly, and inspection controls.
Hand 3D Geometry Into Pattern and DFM
Convert Volume Into Pattern Logic
A plush shape is created through two-dimensional panels rather than a direct 3D mesh. Pattern engineers decide where volume should come from curved edges, darts, gussets, separate color panels, hair layers, muzzle pieces, foot soles, ear structures, and body sections.
Panel count is not a quality score. More panels can reproduce complex curves and color boundaries, but they also add cutting, matching, sewing time, cumulative seam variation, and opportunities for wrong-part assembly. Ewin keeps panels that contribute meaningful shape, material separation, decoration access, or assembly function.
Seam placement also becomes part of the visual design. Nonessential seams are moved away from sensitive facial zones where possible, while some seams are intentionally used to create cheeks, muzzles, bellies, or other three-dimensional transitions. The pattern becomes the bridge between the 3D reference and the sewing line.
Check Sewing, Turning, Filling, and Assembly Access
A digital form can look simple while being difficult to build. Narrow internal corners may be unreachable by the presser foot. Thin limbs may be hard to turn right-side out. Deep cavities may be impossible to fill evenly. A hard component can block a later seam.
DFM review asks whether operators can hold the part, align notches, sew the curve, turn the panel, insert filling, place an internal support, attach accessories, and close the product without excessive hand correction. Turning and stuffing openings are planned around visibility, strength, access, and finishing rather than placed wherever there is leftover space.
The same review applies to embroidery and printing. Decoration zones should stay flat enough for controlled placement and should not be pulled into strong seam curvature after assembly. Resolving access during development prevents a beautiful prototype from becoming an unstable production process.
Scale the Design Without Blind Linear Resizing
A 10 cm keychain cannot be created by printing a 40 cm collectible pattern at 25 percent. Seam allowance, pile length, embroidery line width, hardware thickness, turning openings, and sewing access do not shrink in the same proportion. Large products introduce different filling weight, gravity, support, and packaging effects.
Ewin treats scaling as re-engineering. A master size can establish the main character geometry, then each additional size receives its own review of pattern, decoration, material, appendage thickness, accessory size, filling, and balance. Some small features may be simplified while other features need to be exaggerated to remain visually correct.
This approach helps a character family feel consistent across Mini, Standard, and Large products without forcing one construction to perform outside its manufacturing limits.
Quality Gates for 3D-to-Plush Development
Inspection begins during development, where geometry, revisions, and sample approvals can be corrected before the design reaches volume production.
| Review Gate | What Is Checked | Typical Risk | Main Reference |
|---|---|---|---|
| Reference Lock | Correct 3D render, artwork, costume, color, expression version | Teams reviewing different source assets | Approved reference set, Project ID |
| Feasibility Review | Sharp geometry, thin parts, attachments, standing or sitting logic | Unmanufacturable or unstable construction | Risk list, development route |
| Prototype Review | Main volume, proportion, pose, support, key feature feasibility | Structure works digitally but fails physically | Prototype photos, dimensions, notes |
| V1 Review | Face, proportion, material, decoration, filling, accessories | Sample is complete but does not match character | V1 record, Character Ratio Card |
| Revision Review | Comment closure and linked pattern/material/process changes | One correction creates another visual problem | Revision Log, current sample |
| Multi-Angle Review | Front, 45-degree, side, back, intended pose | Product only looks correct from one angle | 3D reference, sample photos |
| Golden Review | Final visual and physical product definition | Approved appearance not tied to manufacturing data | Golden Sample, Frozen BOM, Released Pattern |
| PP Review | Production-line repeatability under bulk conditions | Sample-room method cannot scale | PP sample, QC plan, production references |
| Bulk QC | Key character features and sample-to-bulk consistency | Geometry, face, color, pose, or accessories drift | Golden, CTQ, current revision |
Prevent Common 3D-to-Plush Development Failures
Head Looks Flat
Face Becomes Too Wide
Eyes Feel Wrong
Hair Loses Shape
Limbs Become Unstable
Character Cannot Stand
Accessories Sag
Small Size Loses Detail
Keep Character Families Consistent Across Sizes and SKUs
Master Character Ratios
Master Development Size
Size-Specific Engineering
Multi-SKU Consistency
Teams That Use Ewin 3D-to-Plush Development
IP Owners
Licensing Companies
Game Studios
Animation Studios
Collectible Brands
Entertainment Companies
Global Retail Brands
Multi-SKU Merchandise Teams
Frequently Asked Questions
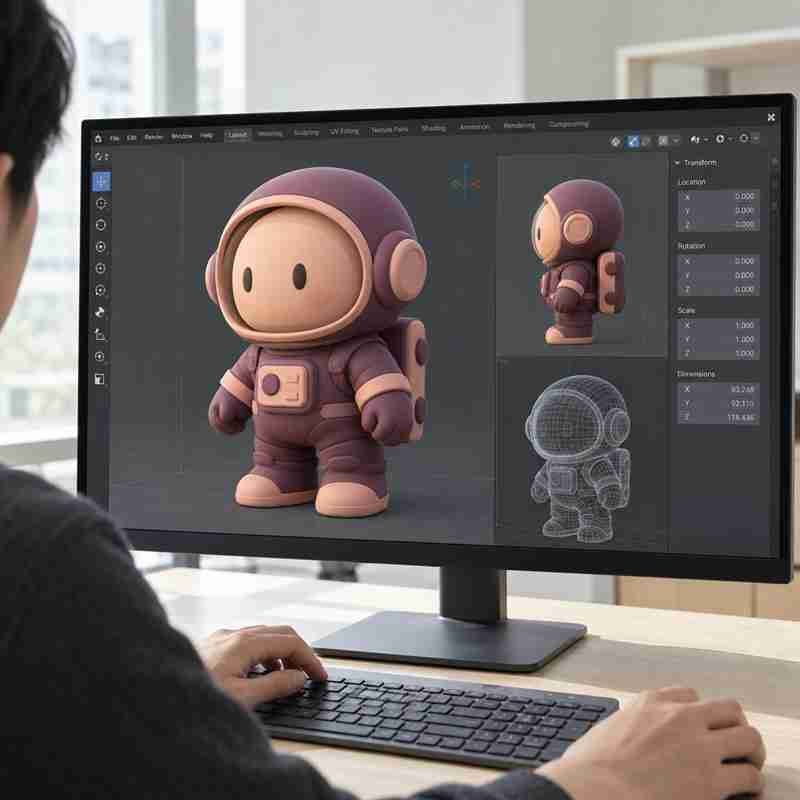
Send Your 3D Character for Development Review
Share the character information available now; a complete manufacturing package is not required to begin. Useful inputs include 3D renders, character turnarounds, front/side/back views, character sheets, approved artwork, target product size, intended pose, quantity by SKU, target market, launch timing, material preferences, accessories, electronic or molded components, packaging direction, and any features the brand considers non-negotiable. If a current sample already exists, include front, 45-degree, side, and back photos together with the problems you want corrected. Ewin Toys can review the visual reference against soft-goods structure, pattern logic, materials, decoration, sample strategy, DFM, fidelity risks, and the path toward a controlled Golden Sample and bulk release.